December 3, 2017 Rivets and Glue.
I’ve been getting on with the process of attaching the sheet aluminium to the now painted frame.
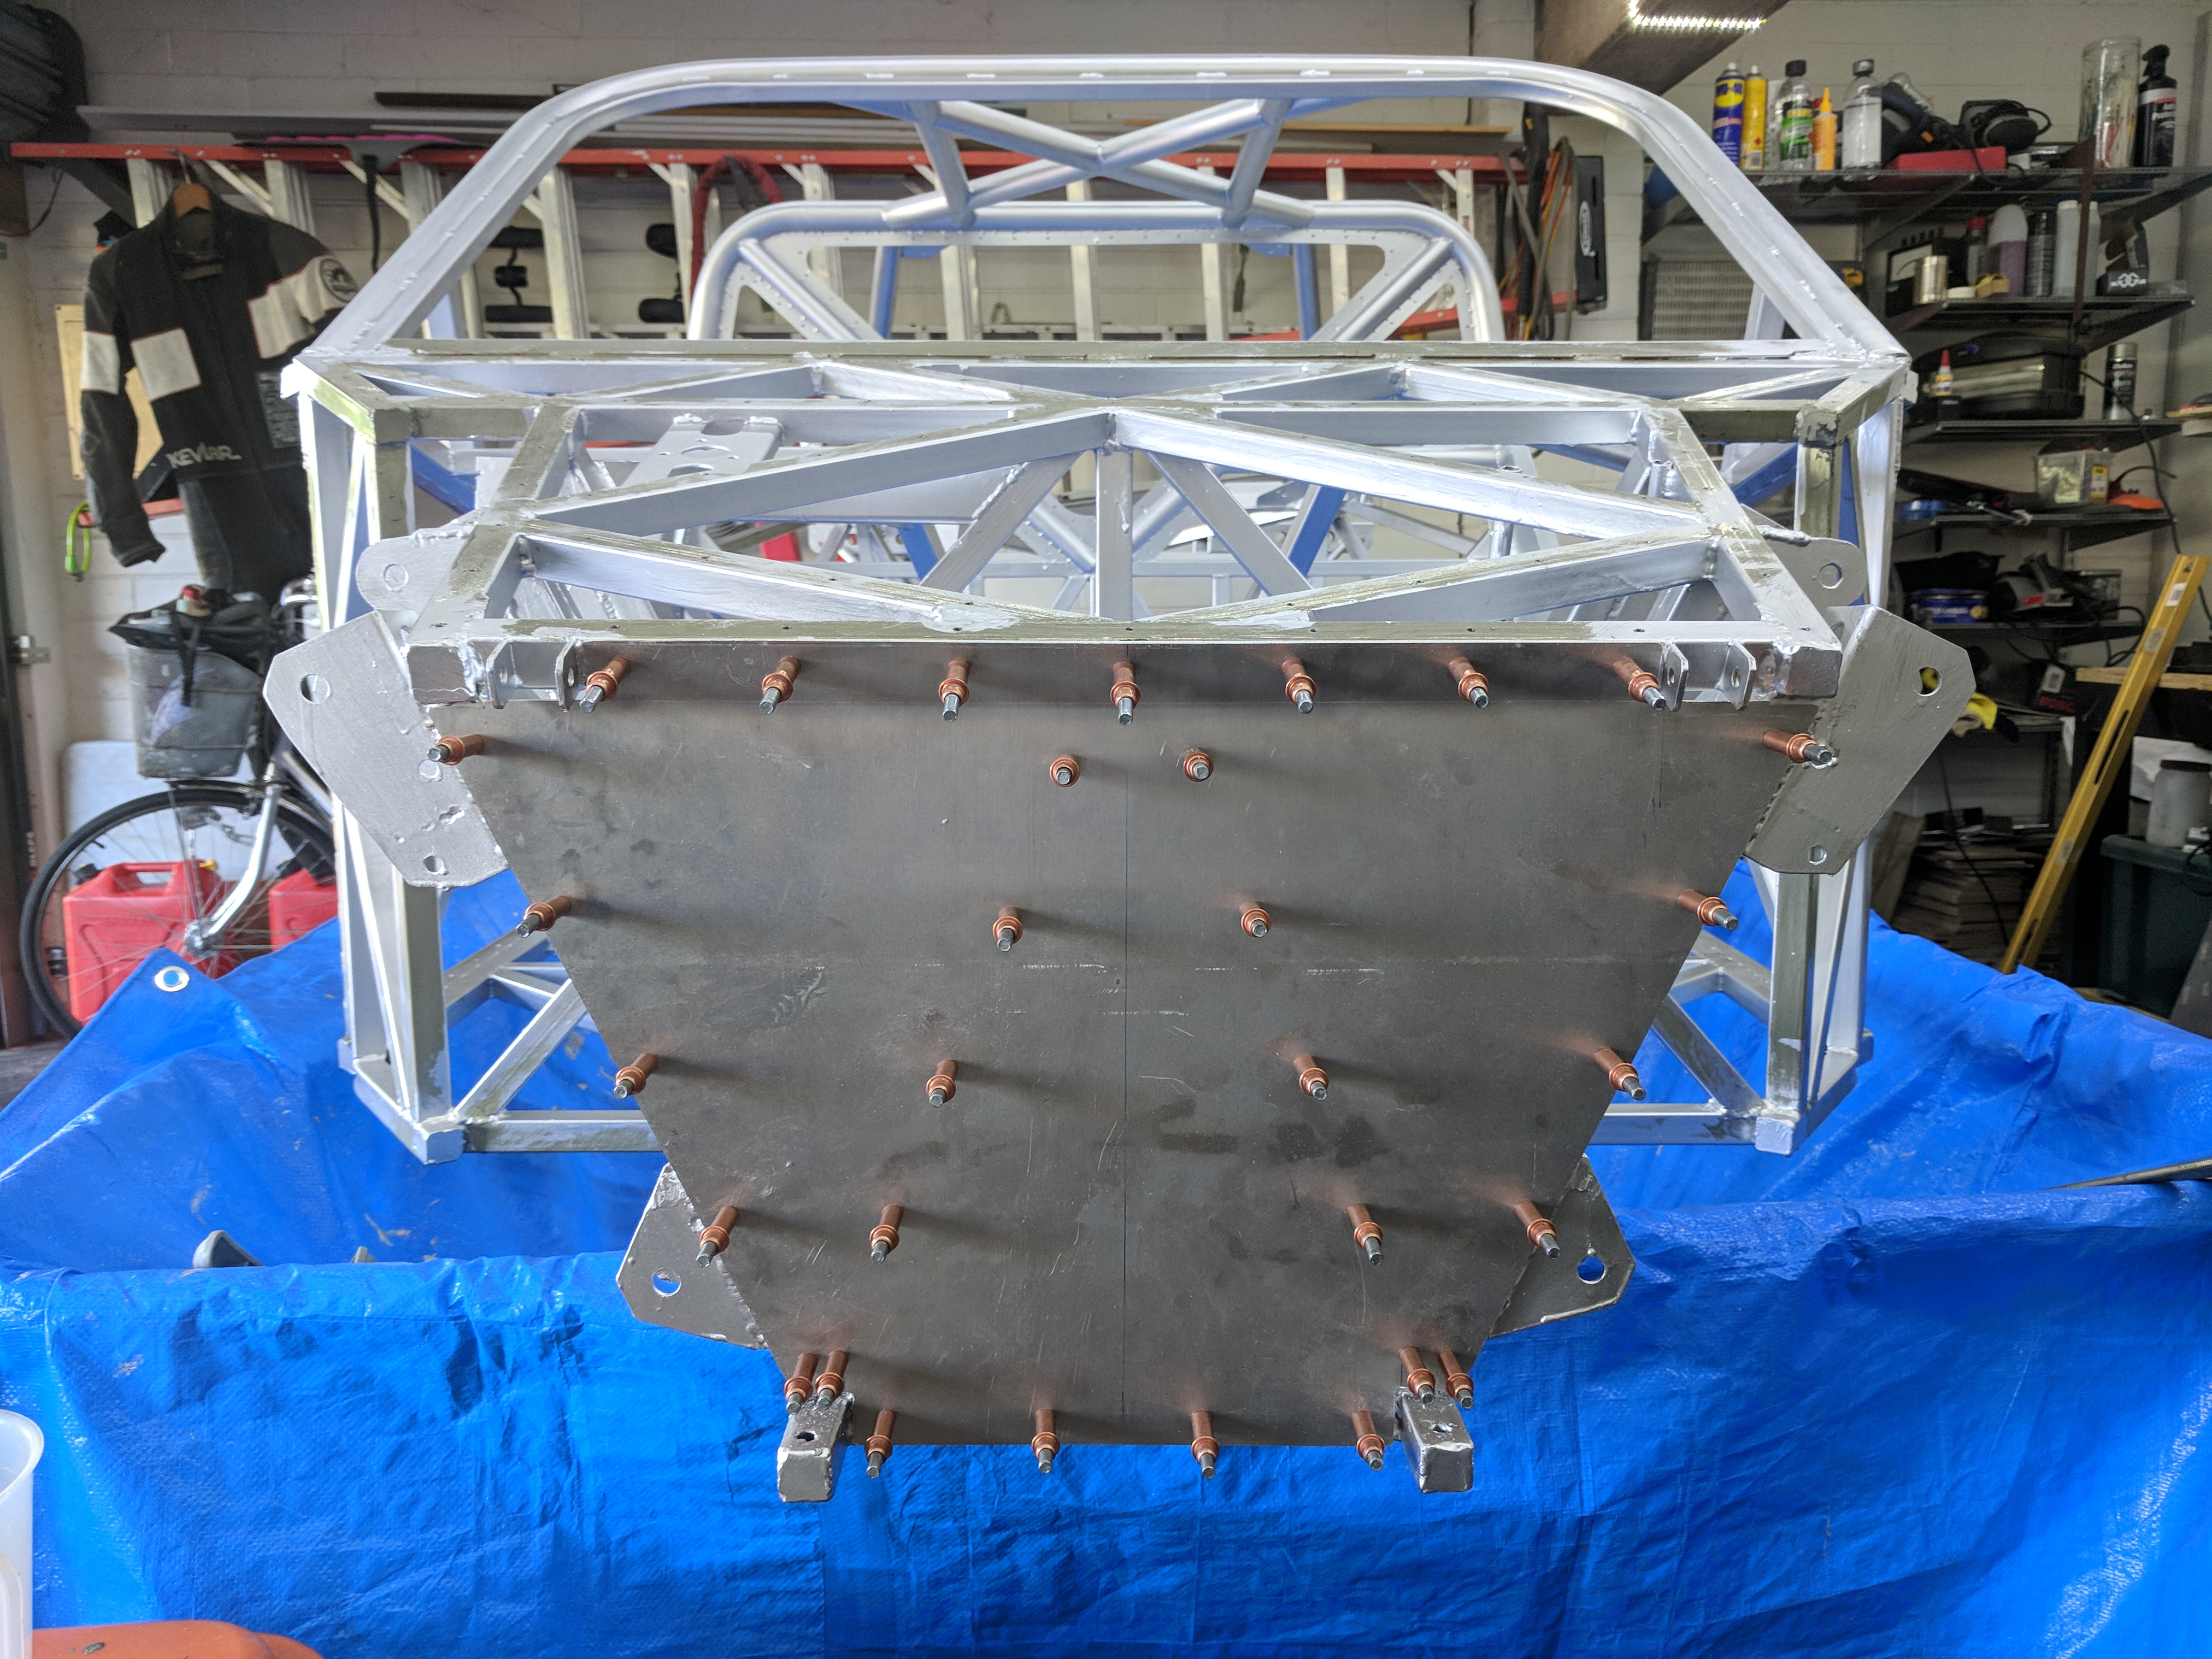
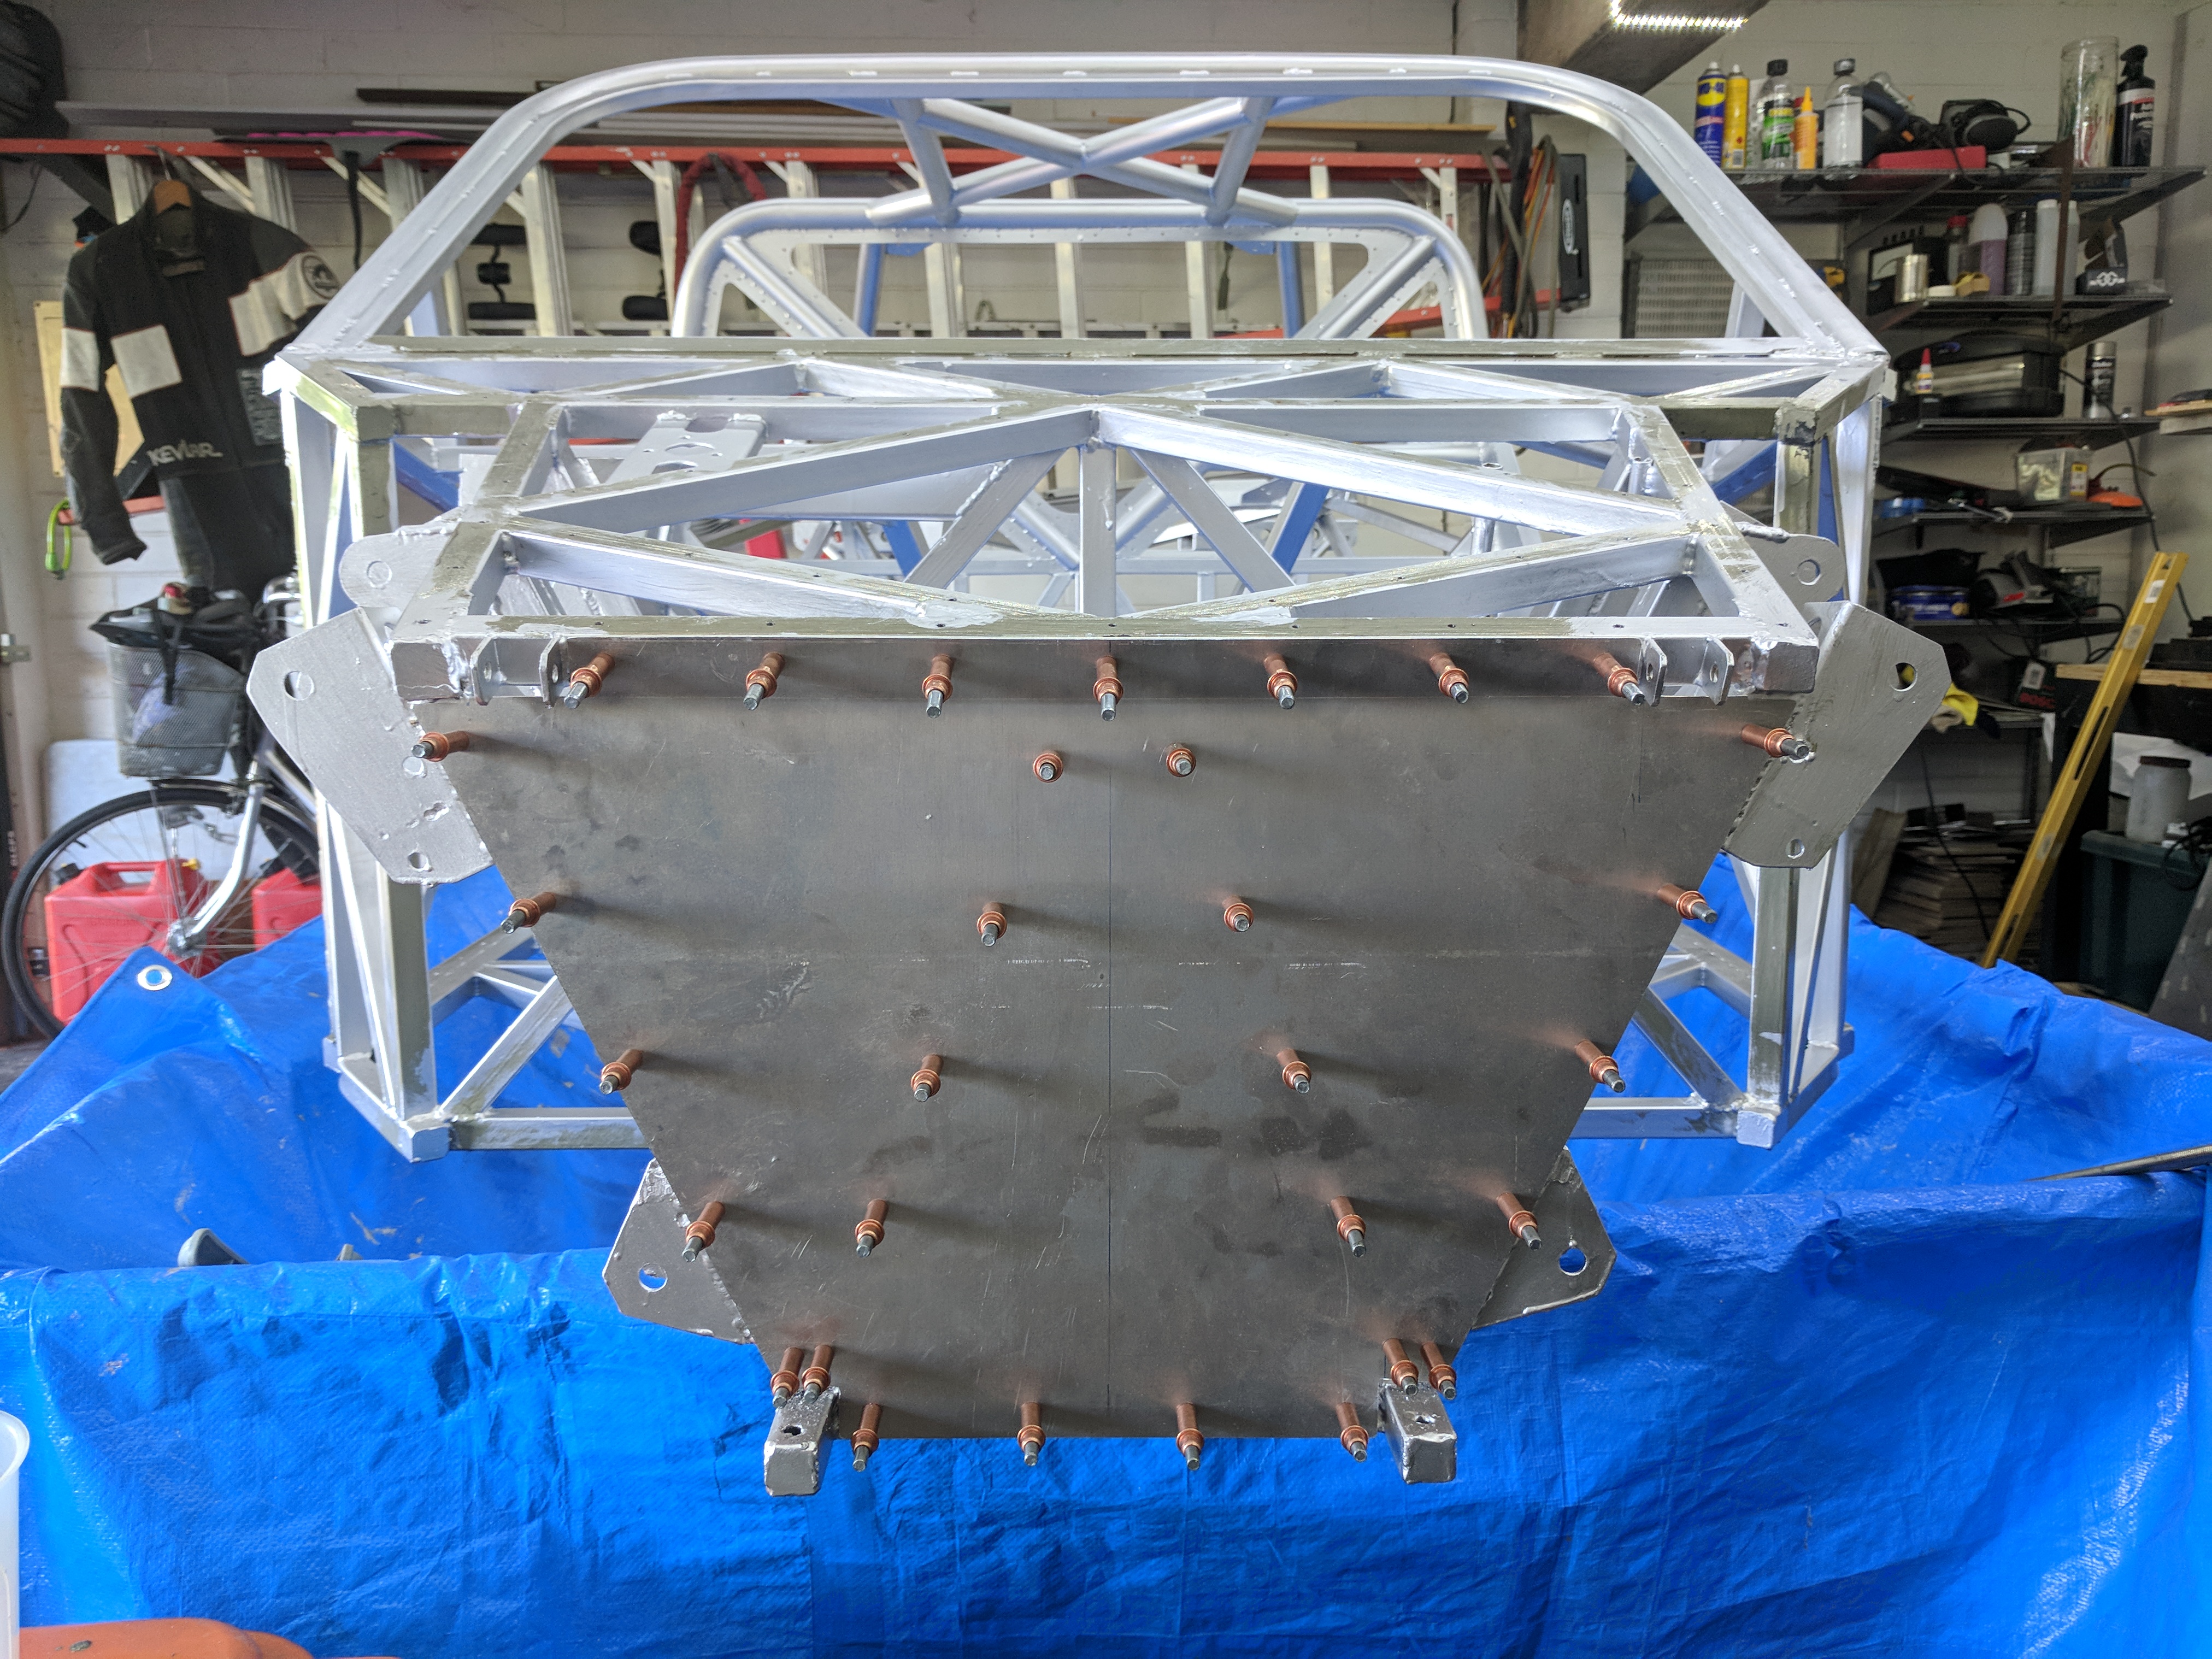
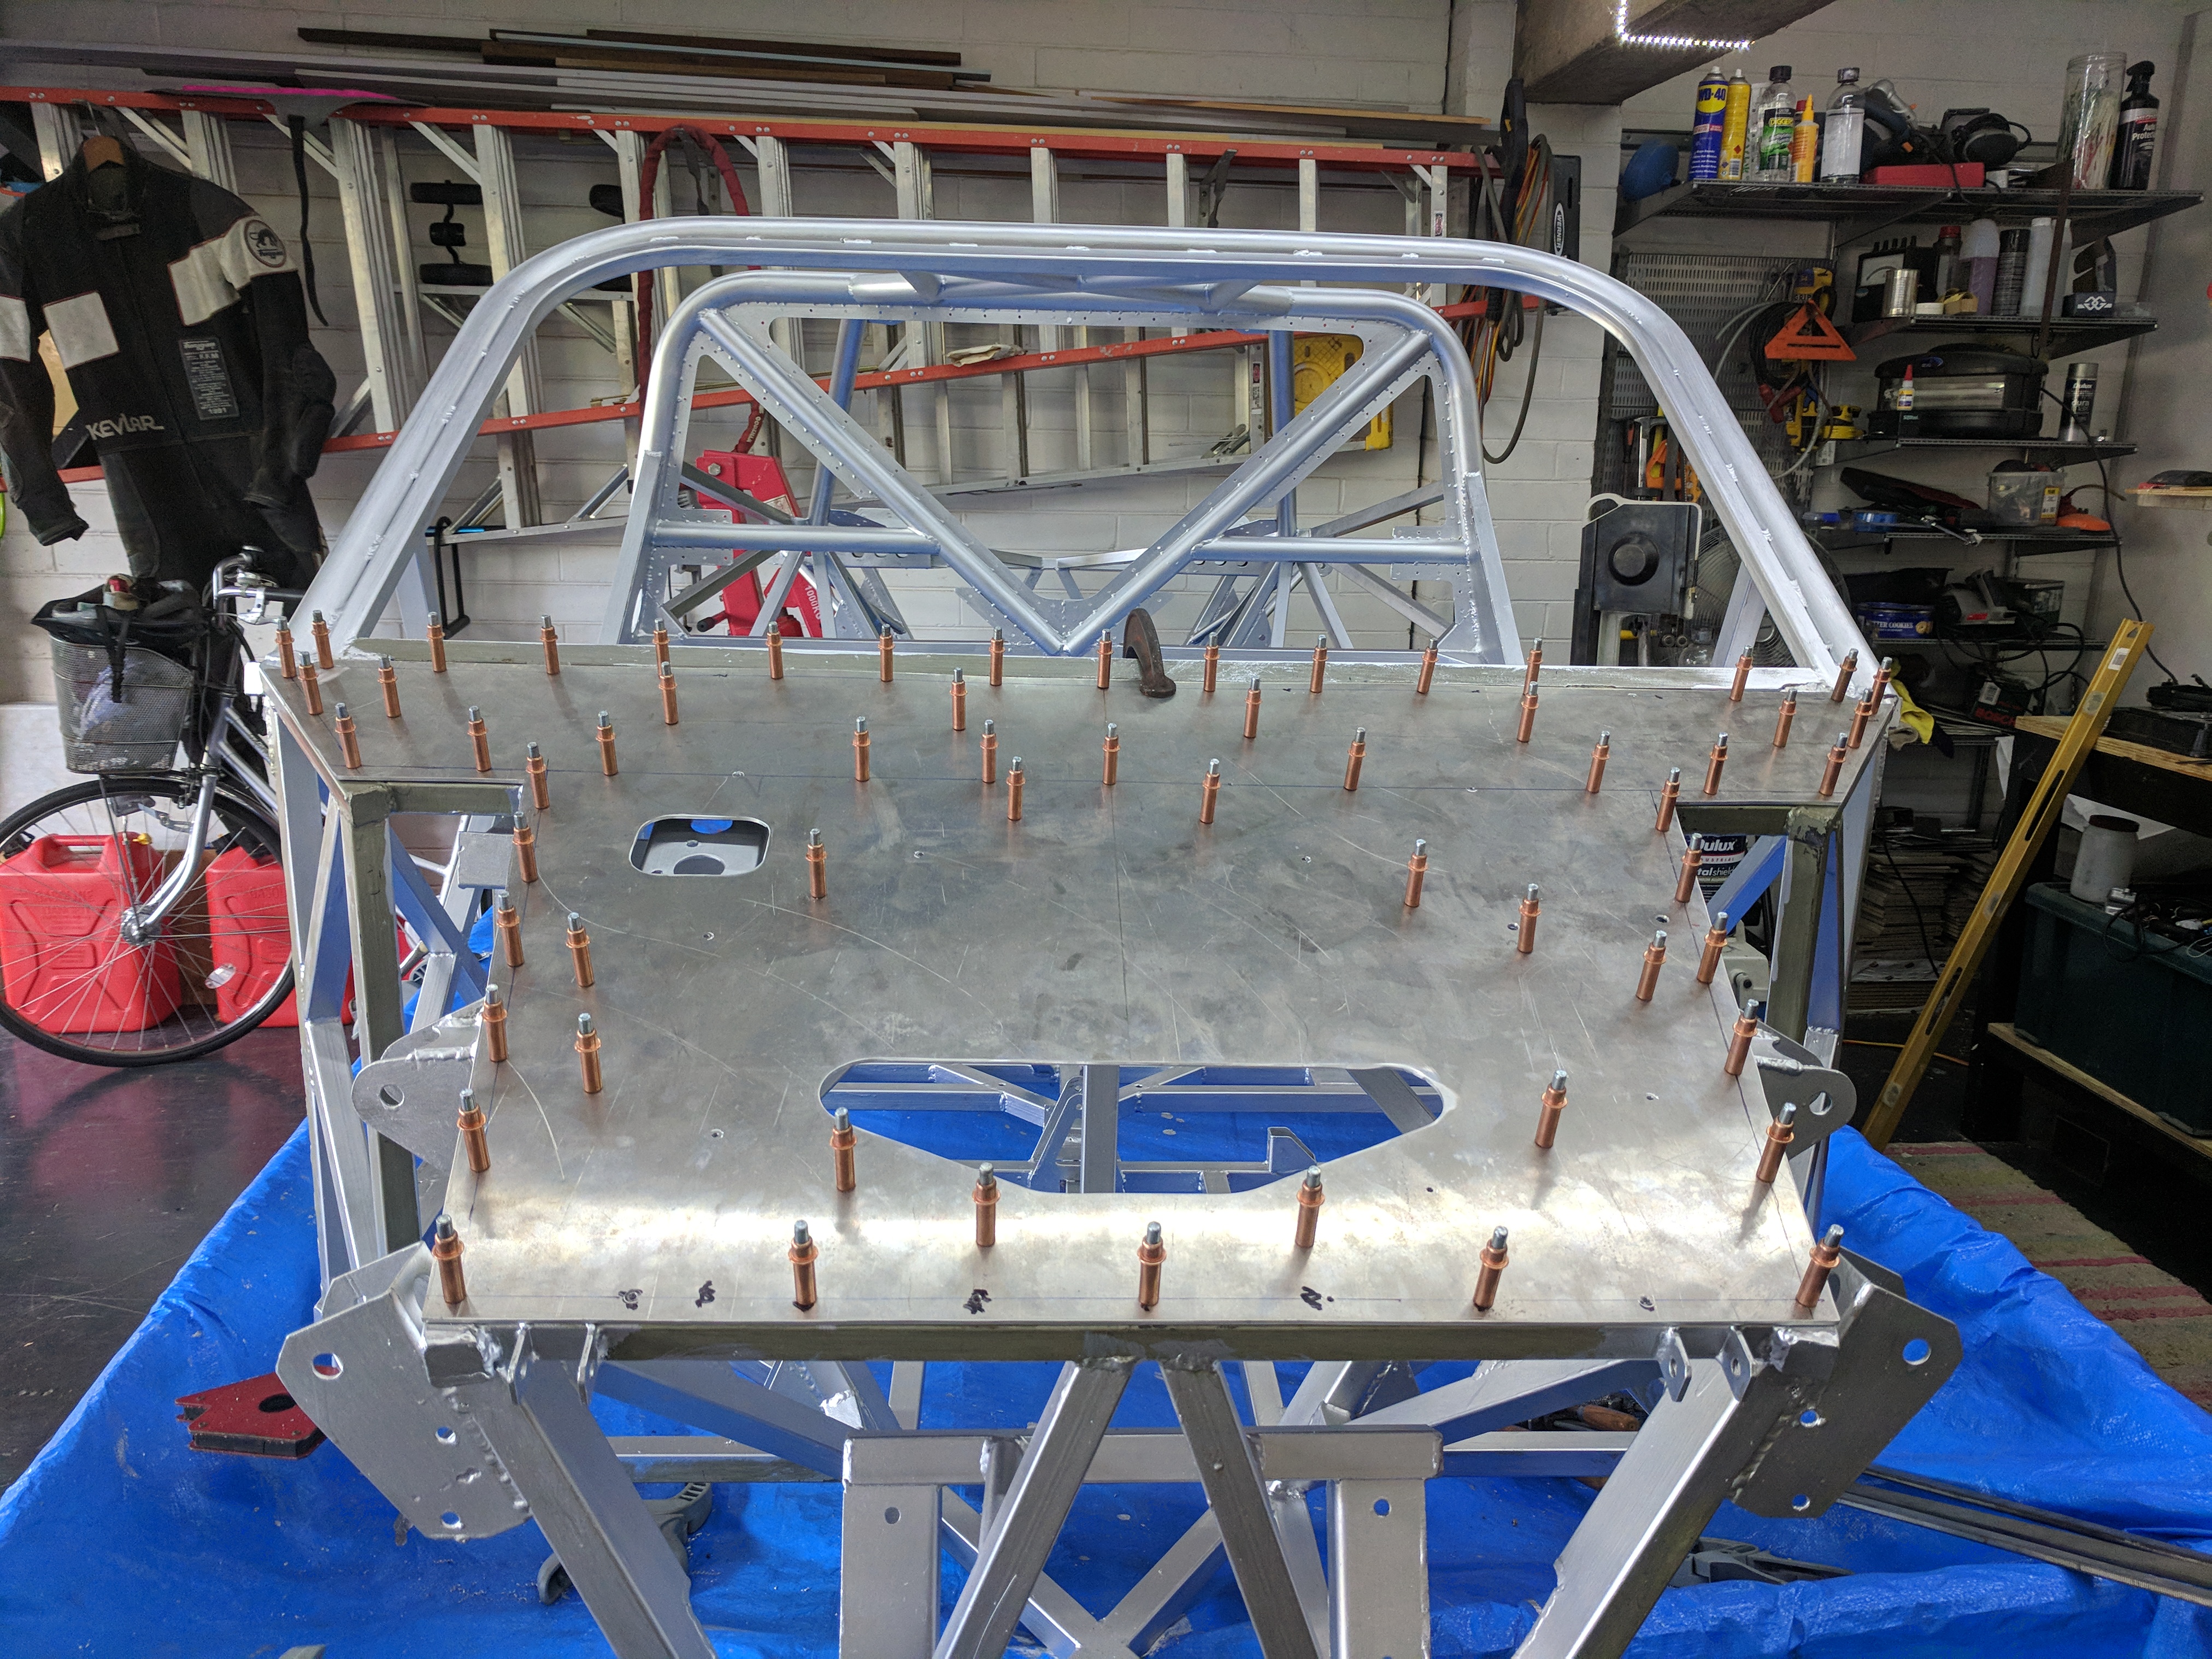
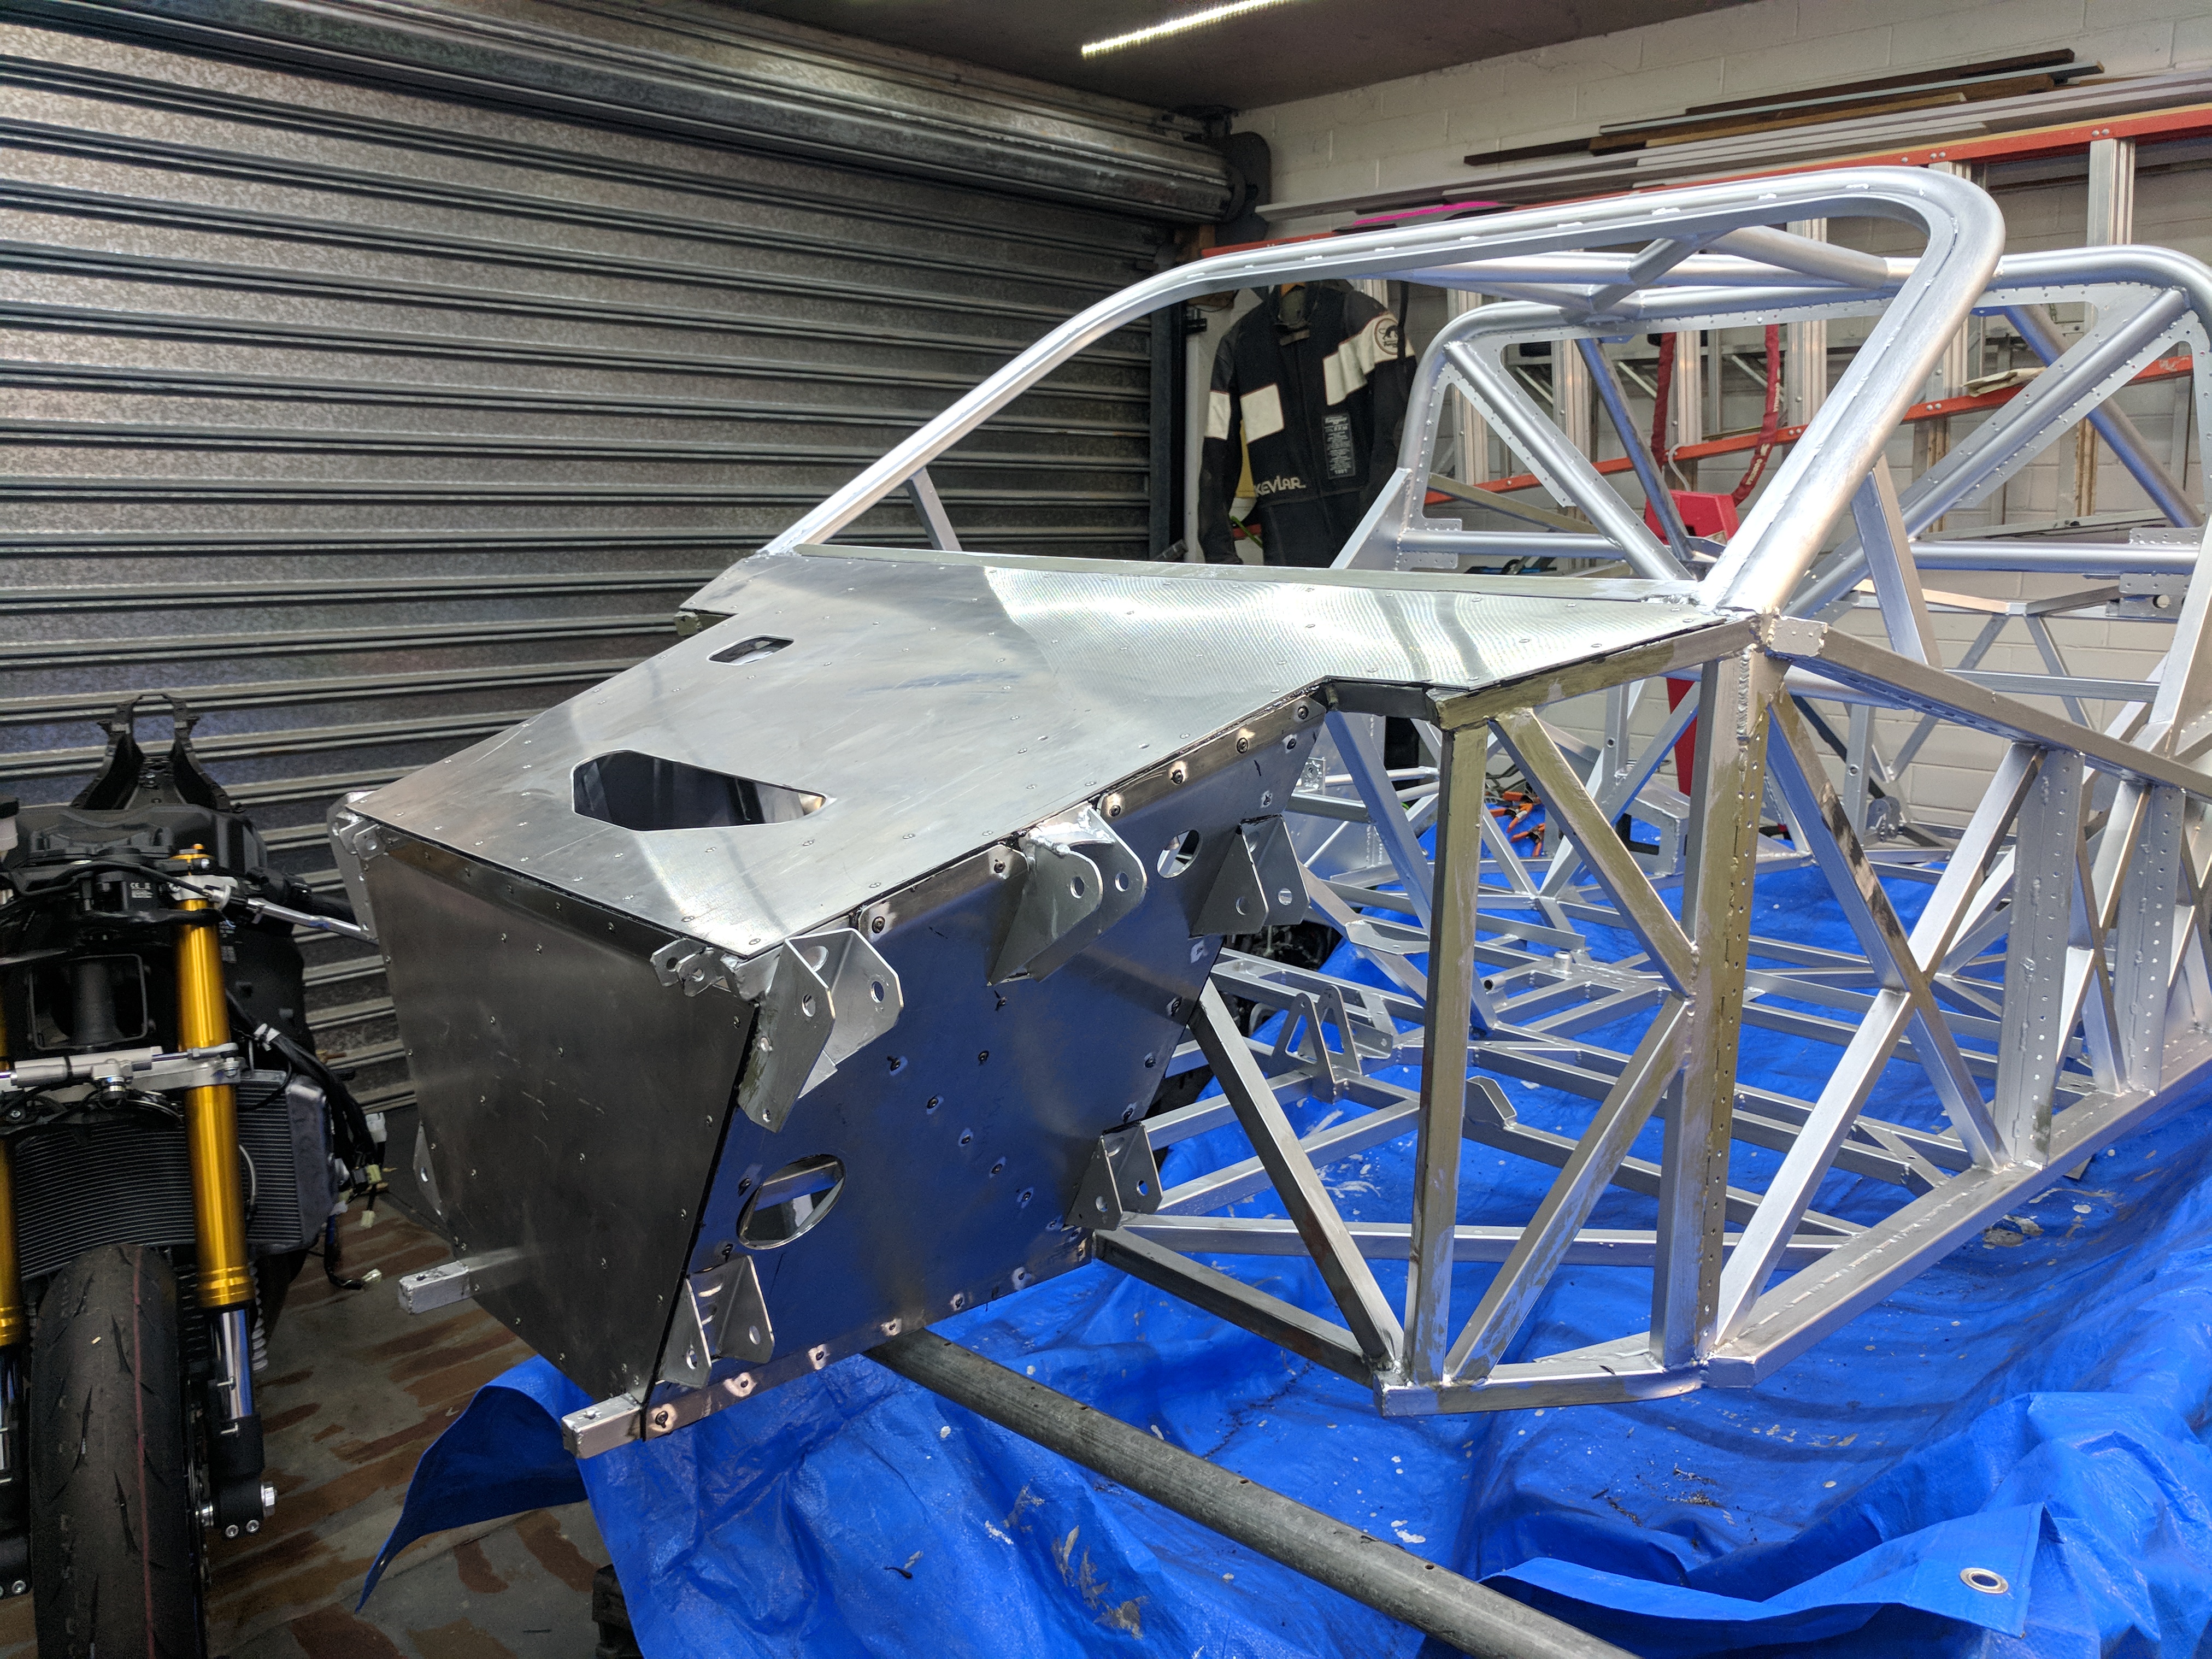
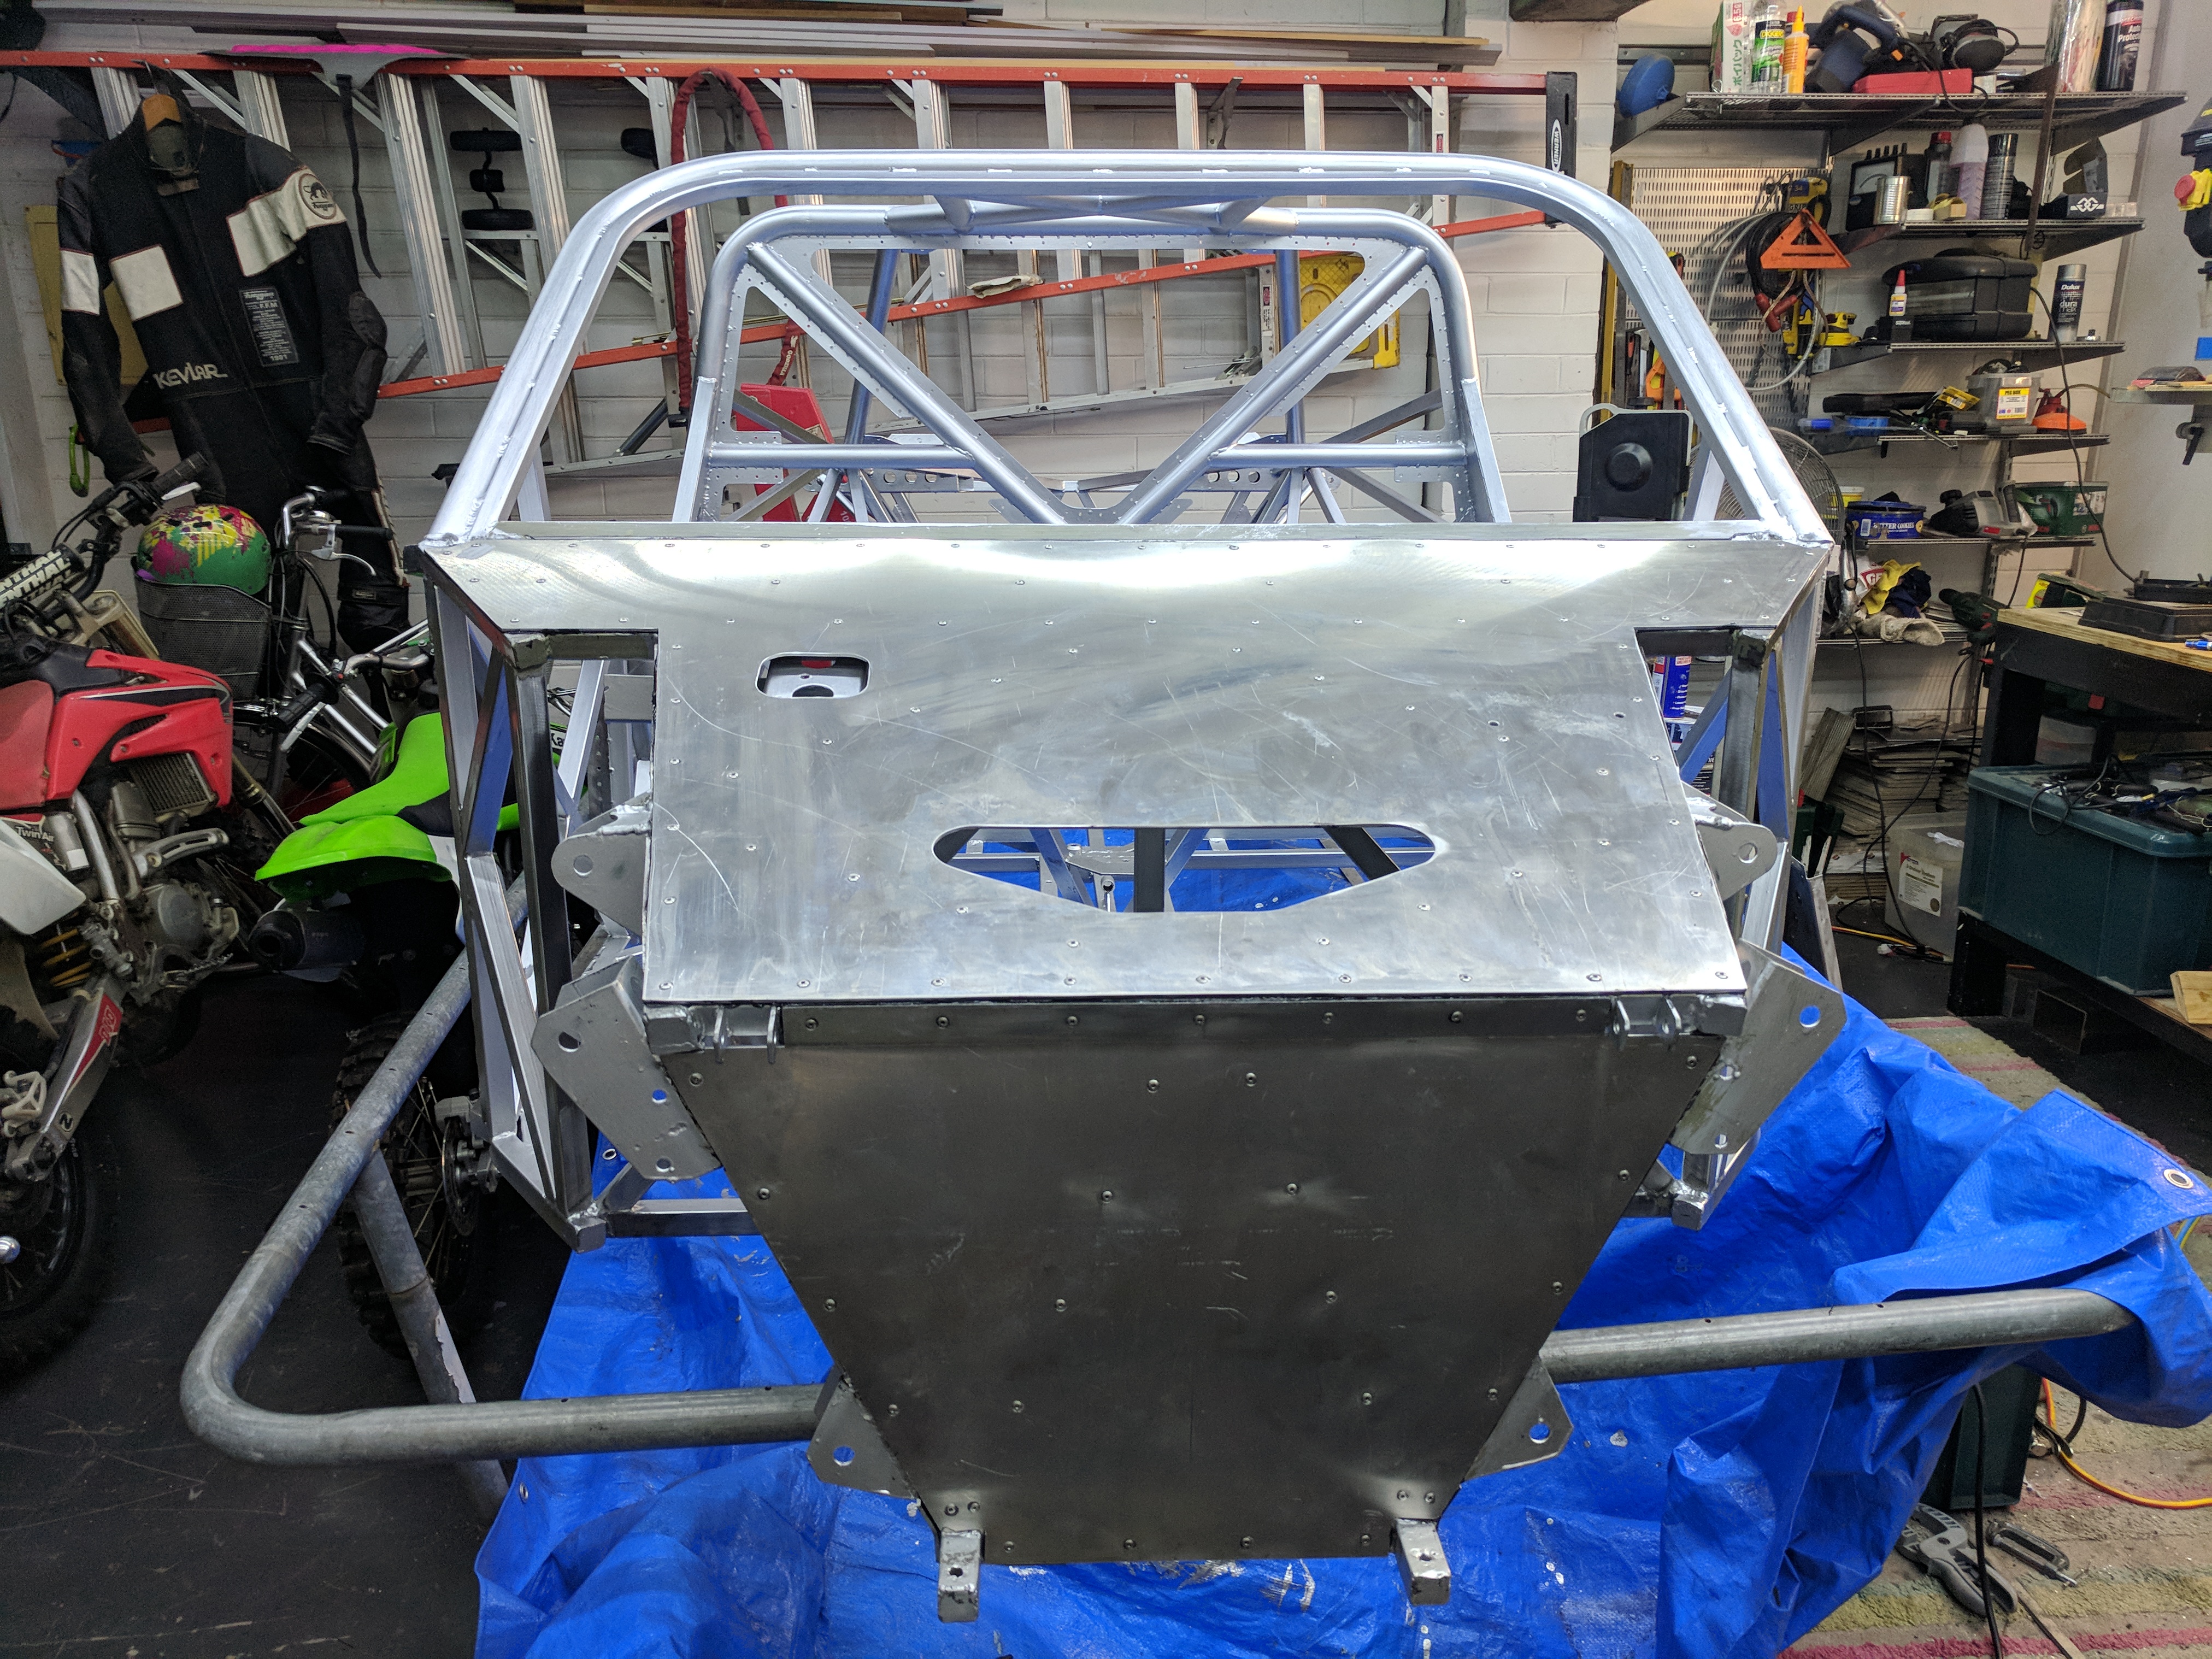
The sheet parts are glued and riveted on, in this process the parts are marked out with the rivet locations at approx. 75mm centres then drilled under size de-burred and then clamped on to the frame. Then each hole is drilled to size (#30 drill for an 1.8″ rivet). and clamped into place using a Cleco. The Clecos stop the part moving so the rivets will all fit when it comes time.
Here’s a few panels at this stage…
Once this is done each panel is then removed and de-burred again.
Then the paint gets sanded off down to bare metal on the frame and the parts of the sheet where the glue will go are also sanded and all these surfaces cleaned with acetone.
After that comes the part with no pictures as its a race against time and messy as hell.
The glue I’m using is SikaPower 4720, which is an epoxy glue with clever glass beads in it to stop it get all squeezed out of the joint. It get applied to both surfaces then the panel get held back in place with the Clecos, then the Clecos come out one by one as the rivets are fixed in place.
The rivets I’m using are 1/8″ stainless steel Cherry Q rivets see page 24 of this doc for more information. To fit them I’ve got a pneumatic gun, it’d be crazy to try this without one.
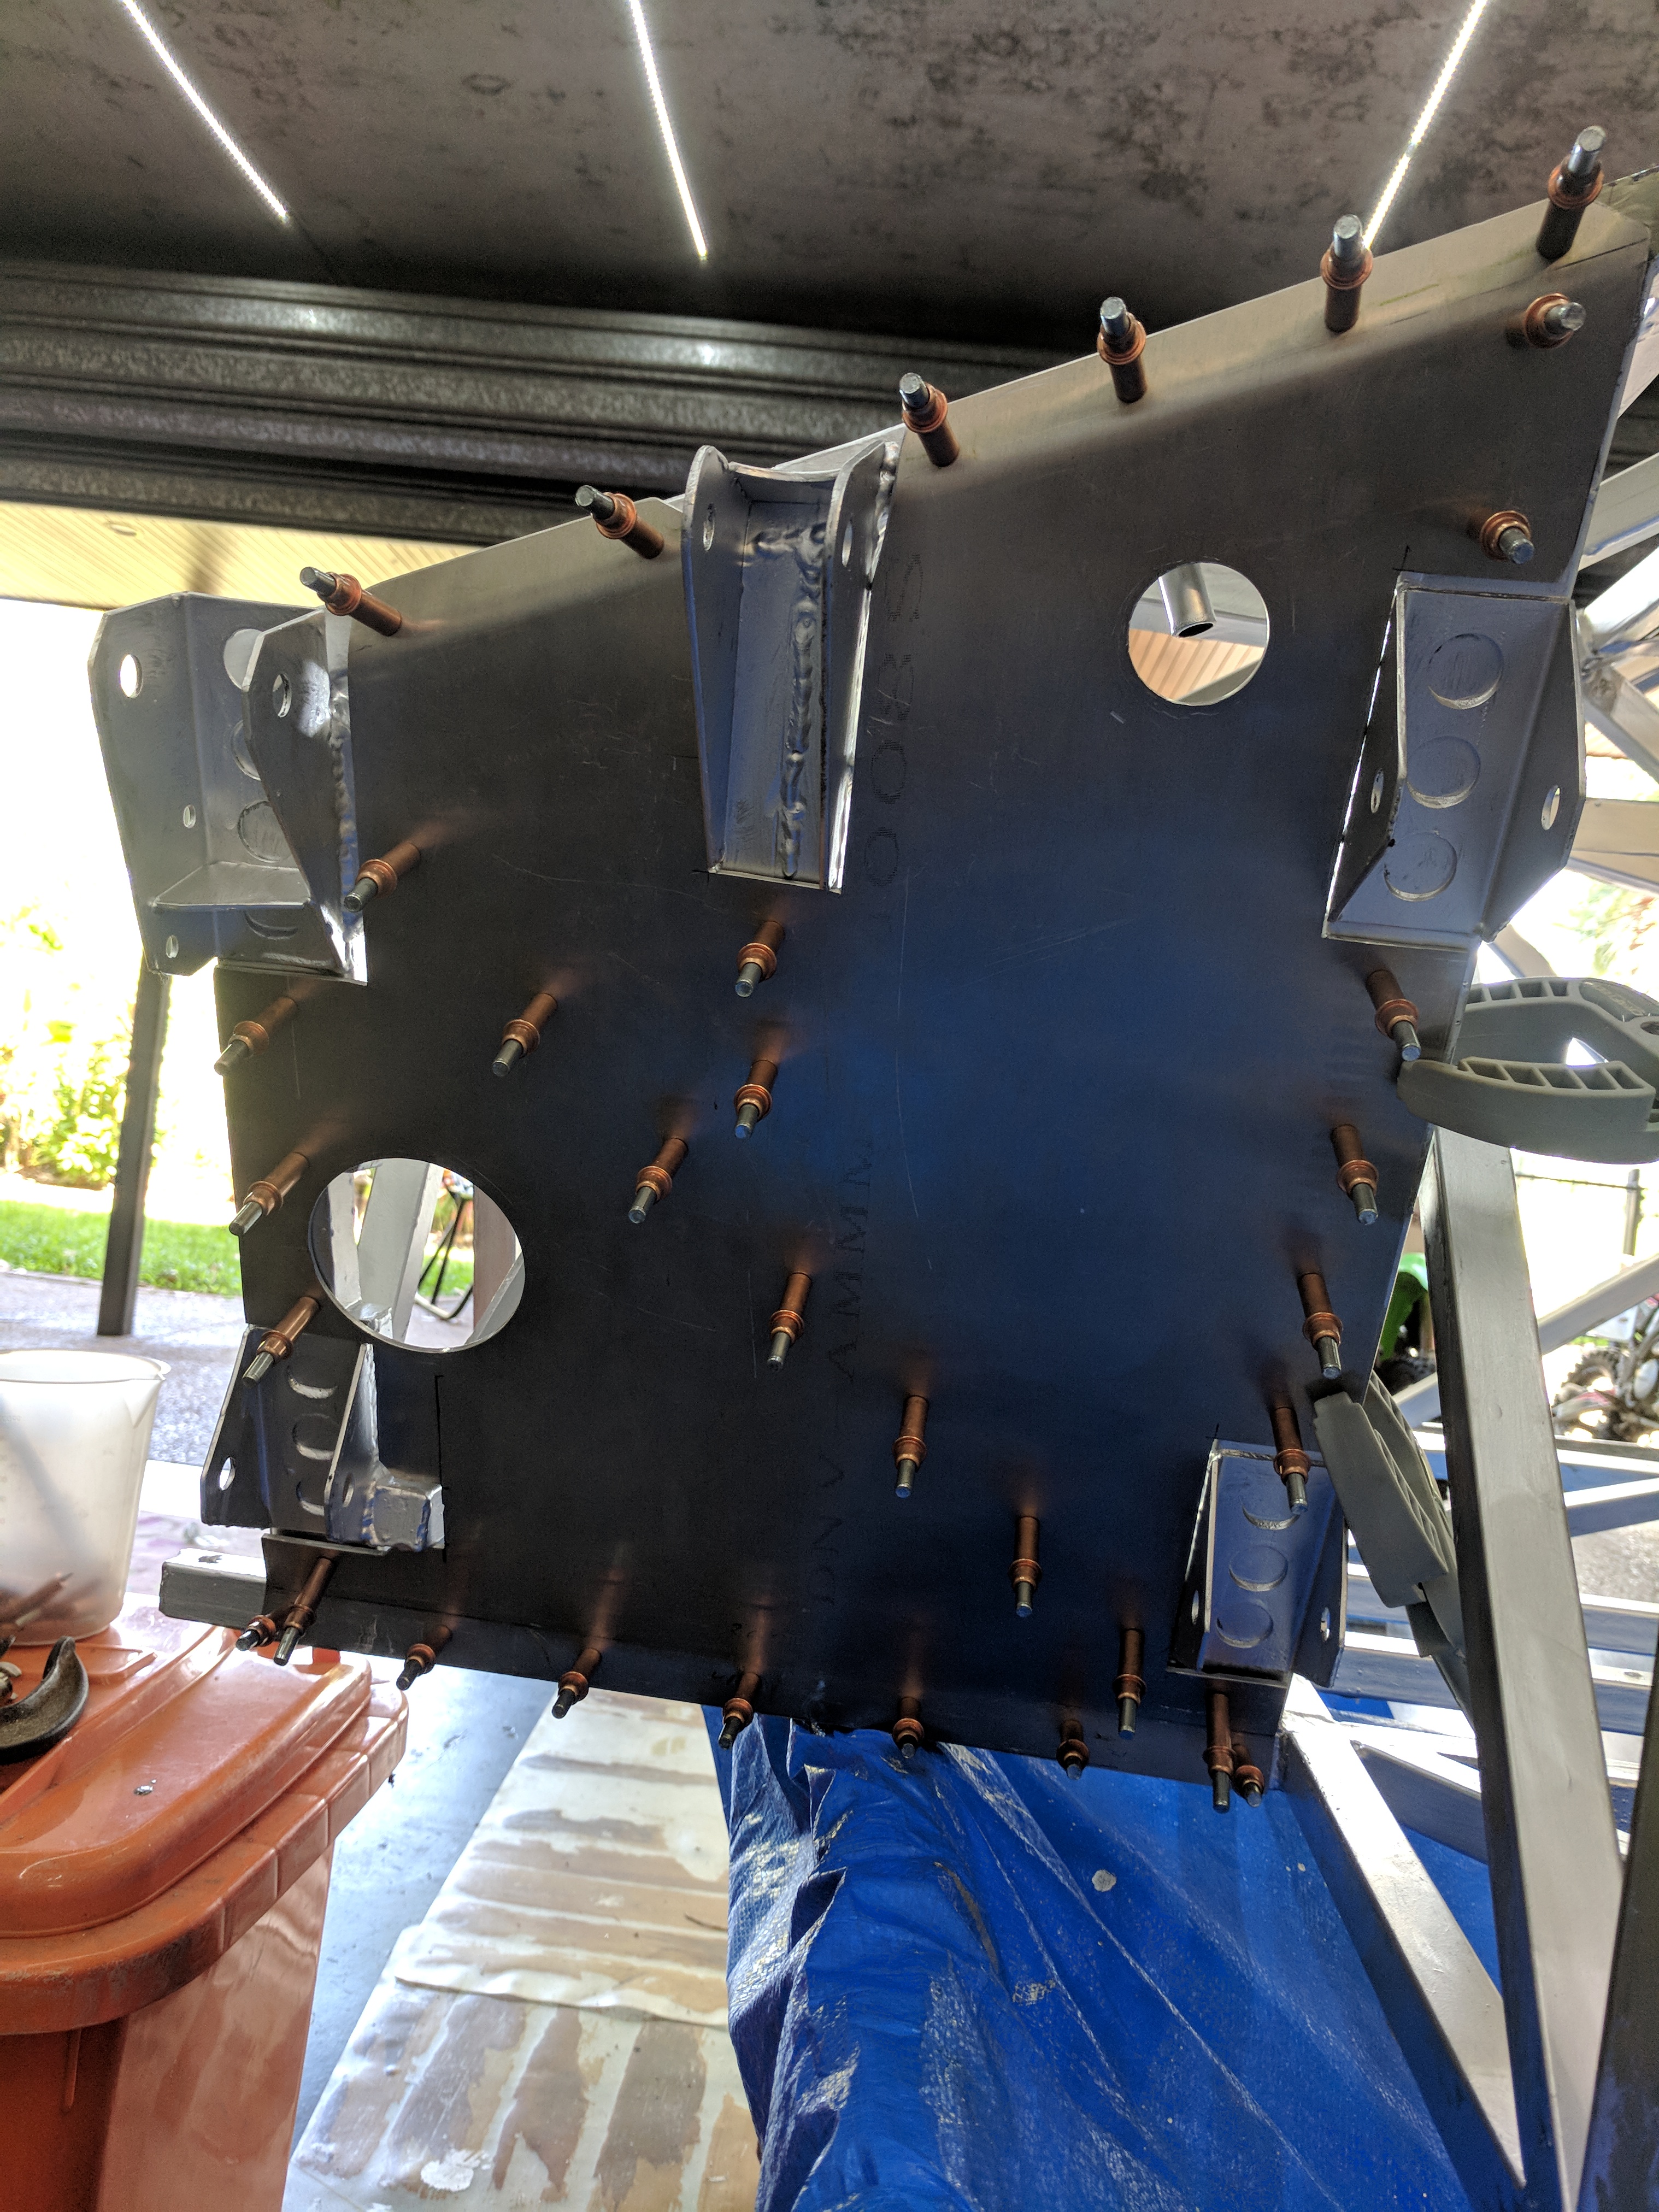
The 2 part glue is mixed in the nozzle of the tube as its squeezed out, if it sits there too long it go hard so once a tube is started its a race to get everything done or the tube is used. Here’s finished parts:
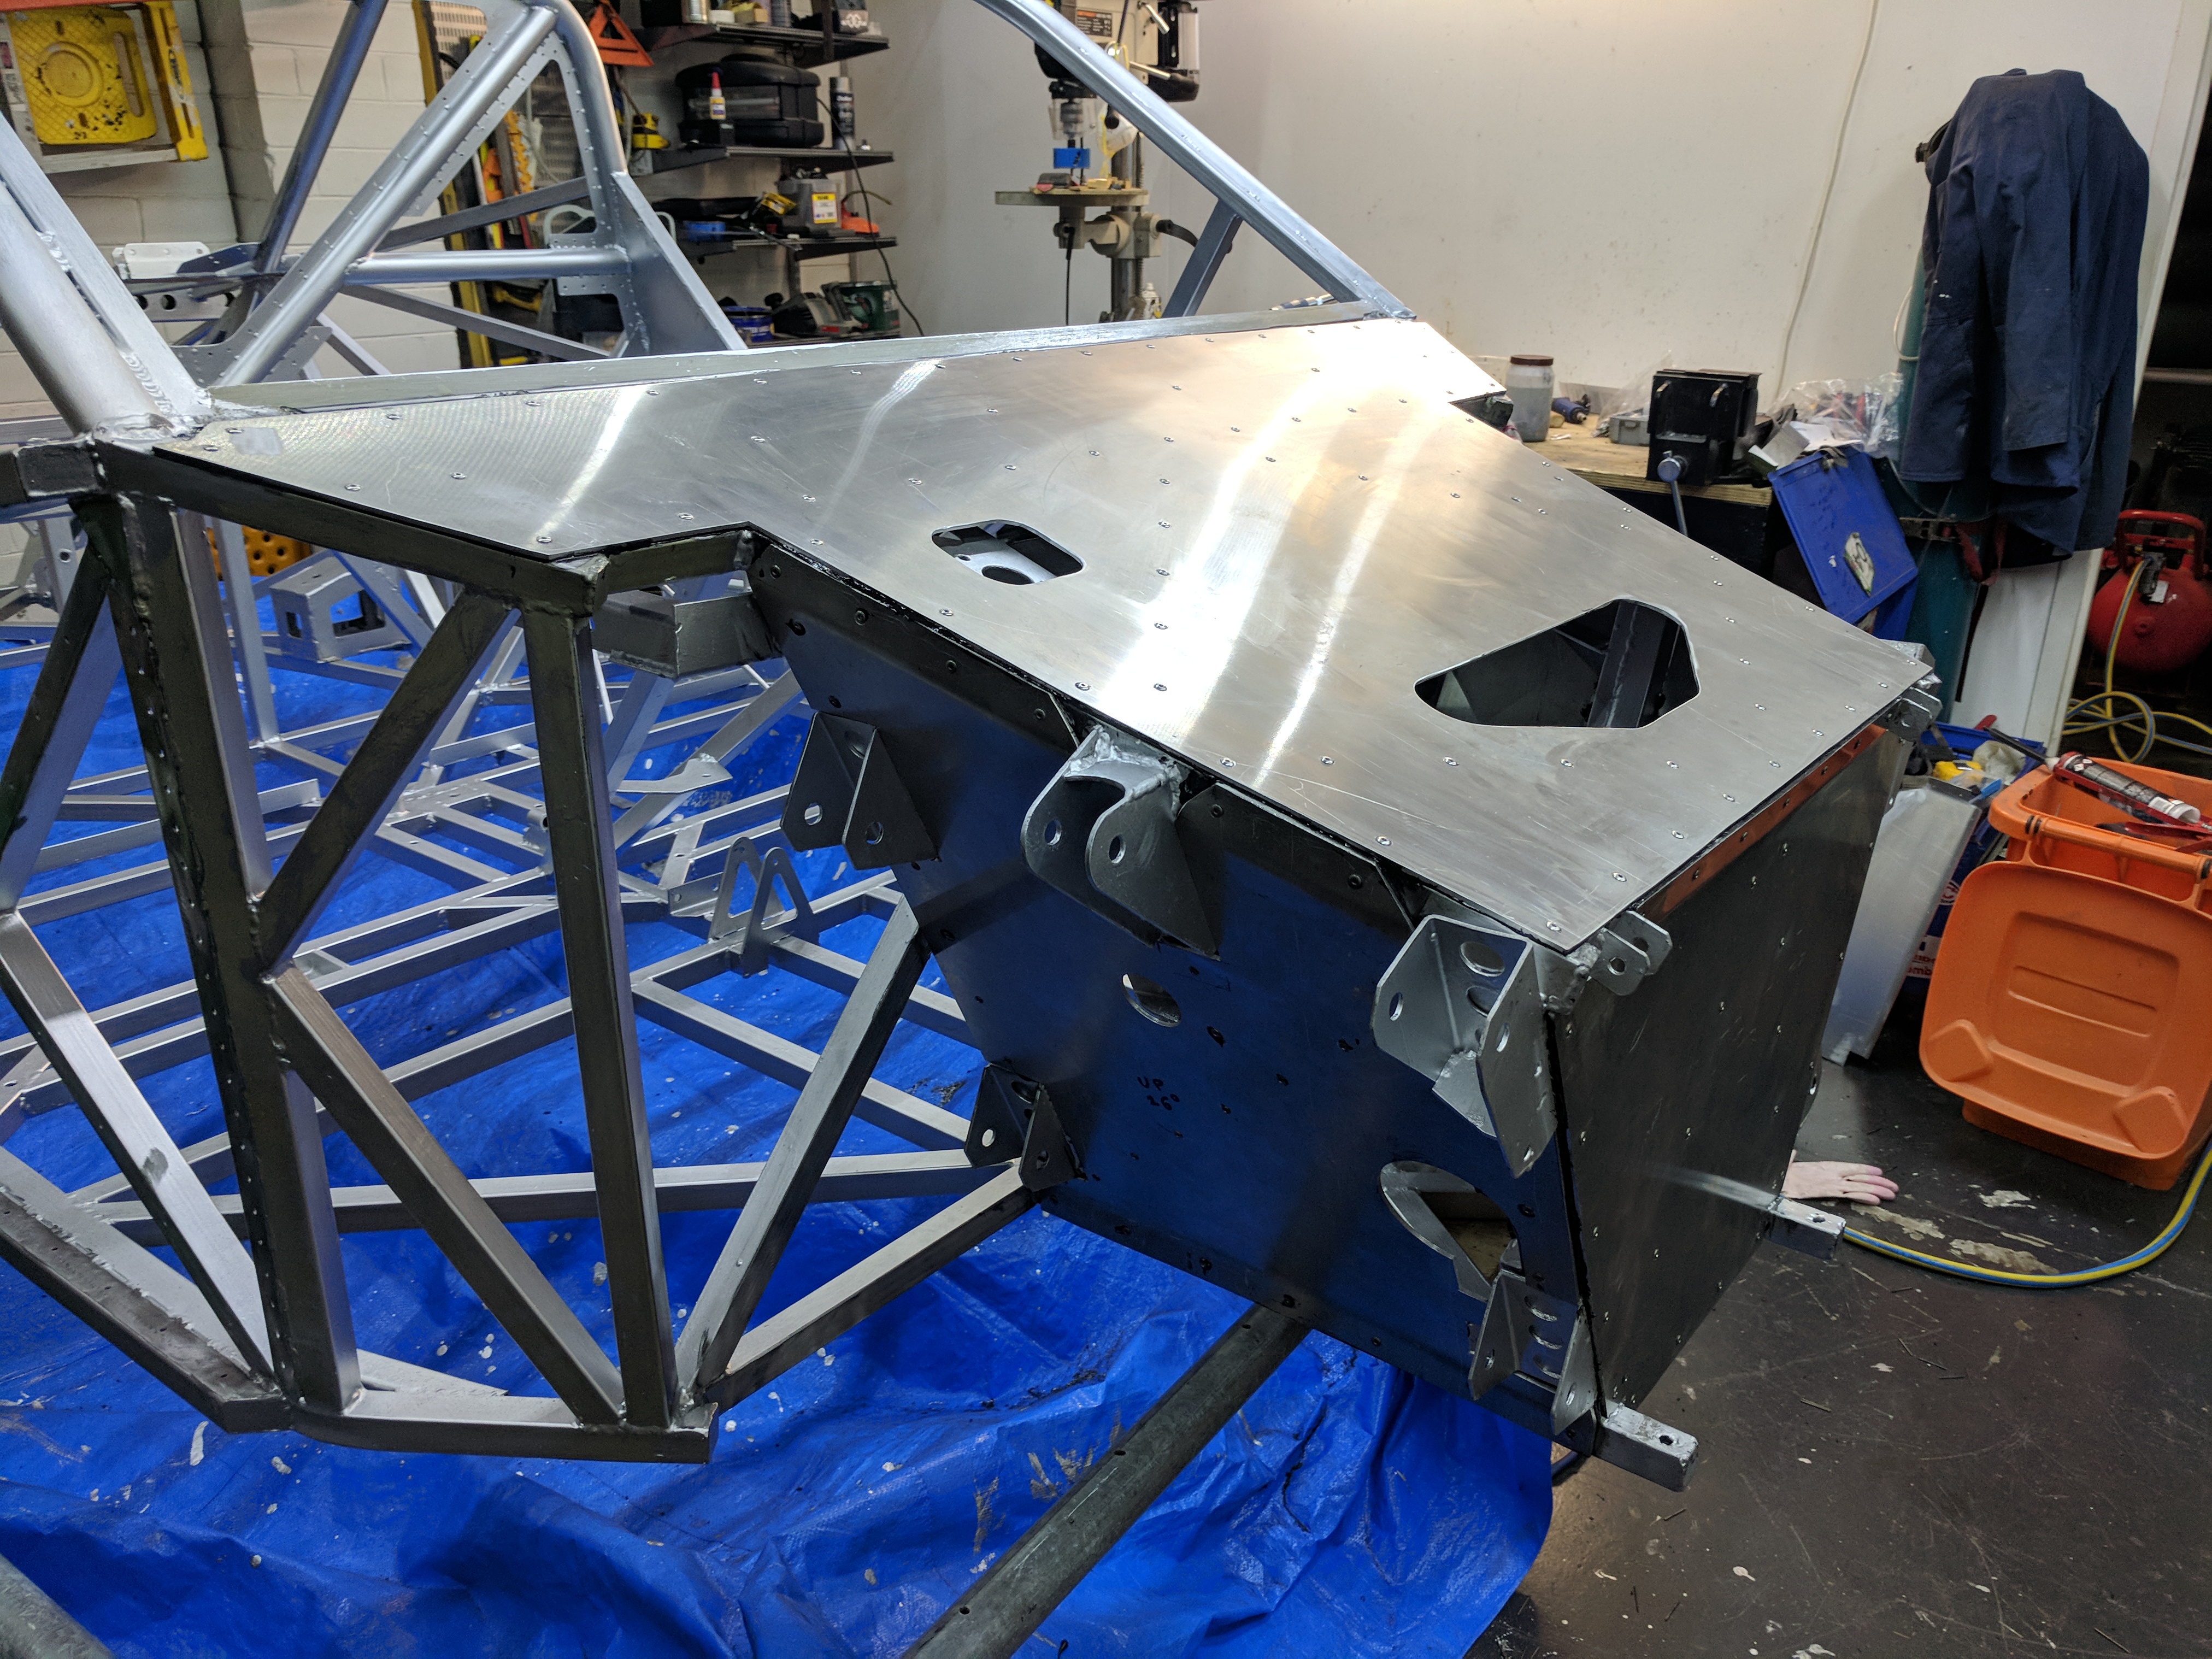
The stuff sets off like a rock so if its going to come off of anything it needs to come off before its set. The Cleco’s after this now live in an acetone bath to stop them being glued up solid.