February 13, 2019.
Carrying on from the last post, after the foam was shaved down to size, I could then get on with gluing an riveting the outer panel on.
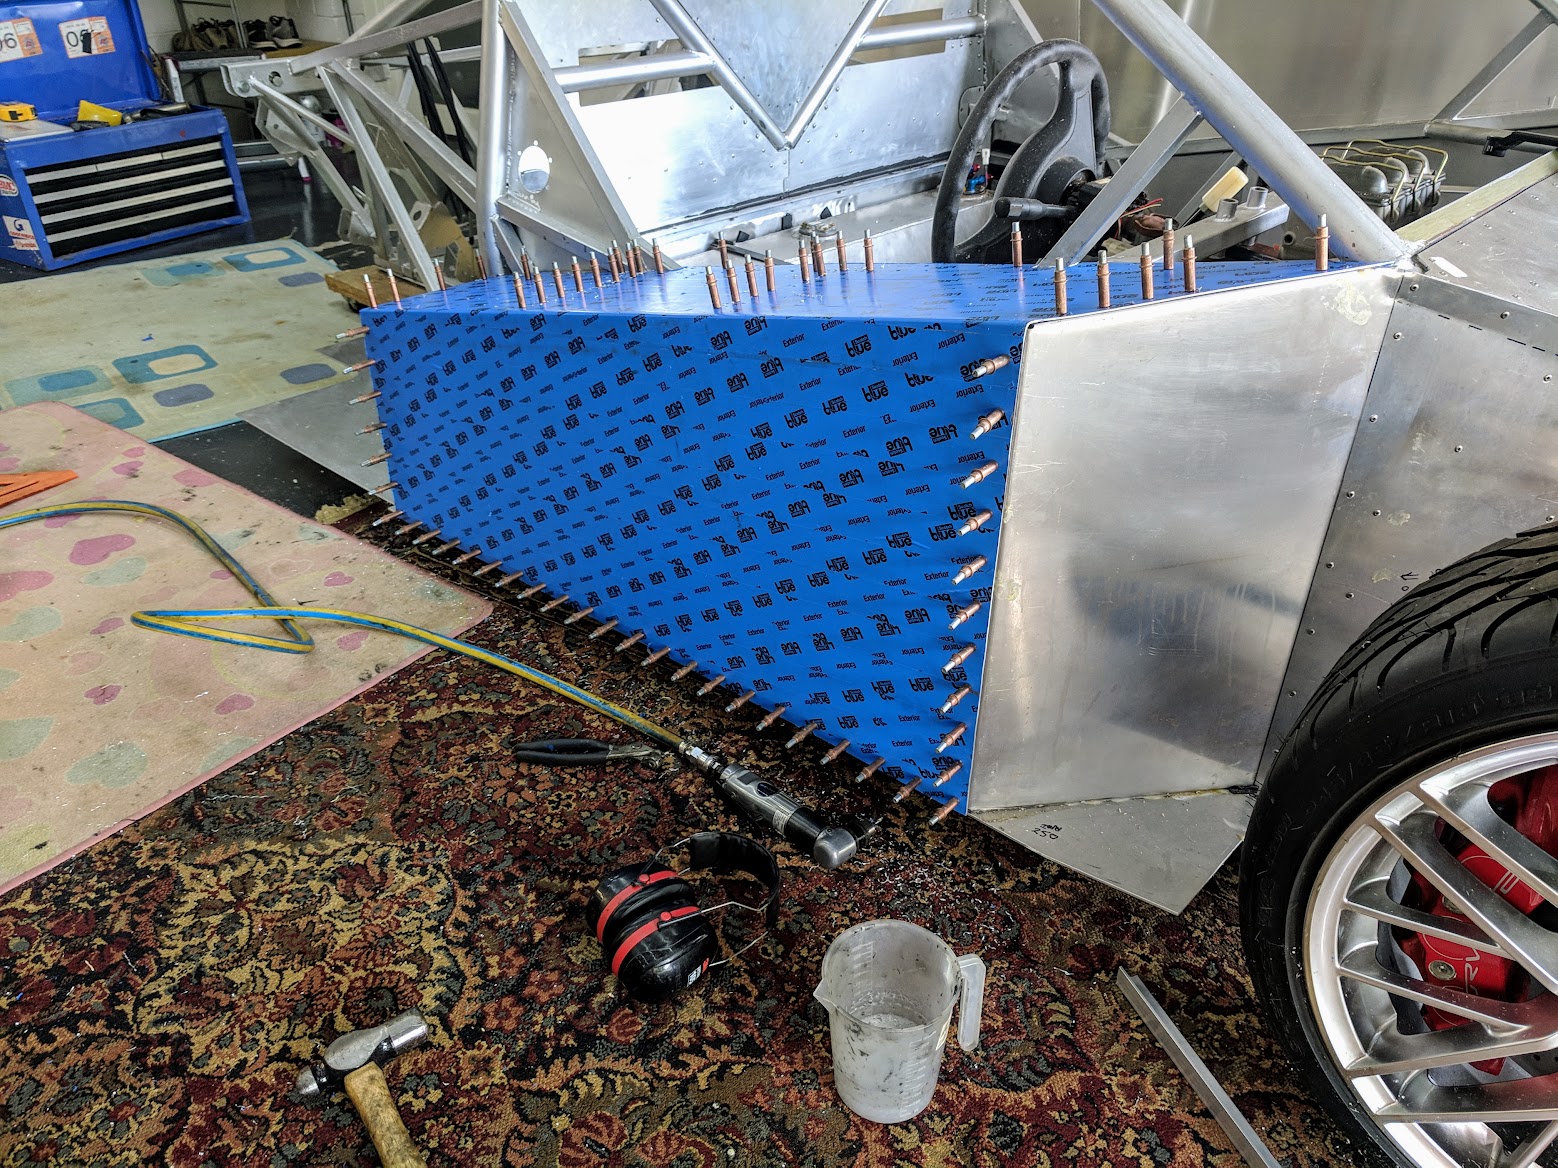
Drilling and clecos repeat and repeat some more.
Then glue and rivet, these syringes came in useful for getting glue into hard to reach places, due to the Darwin weather / temperature everything goes off too fast so the glue / rivet was done in two parts other wise it’d never get done before the glue went off.

Then on to the other side, after repeated measuring I realised I’d stuffed up cutting the floor panel, taking it back too far on this side, so the 50 x 25 x 3 angles are used to get the correct dimensions back. The internal angles are on 3mm strip so they can run to the edge. Note this is when the holes were first drilled so the bolts are upside down.
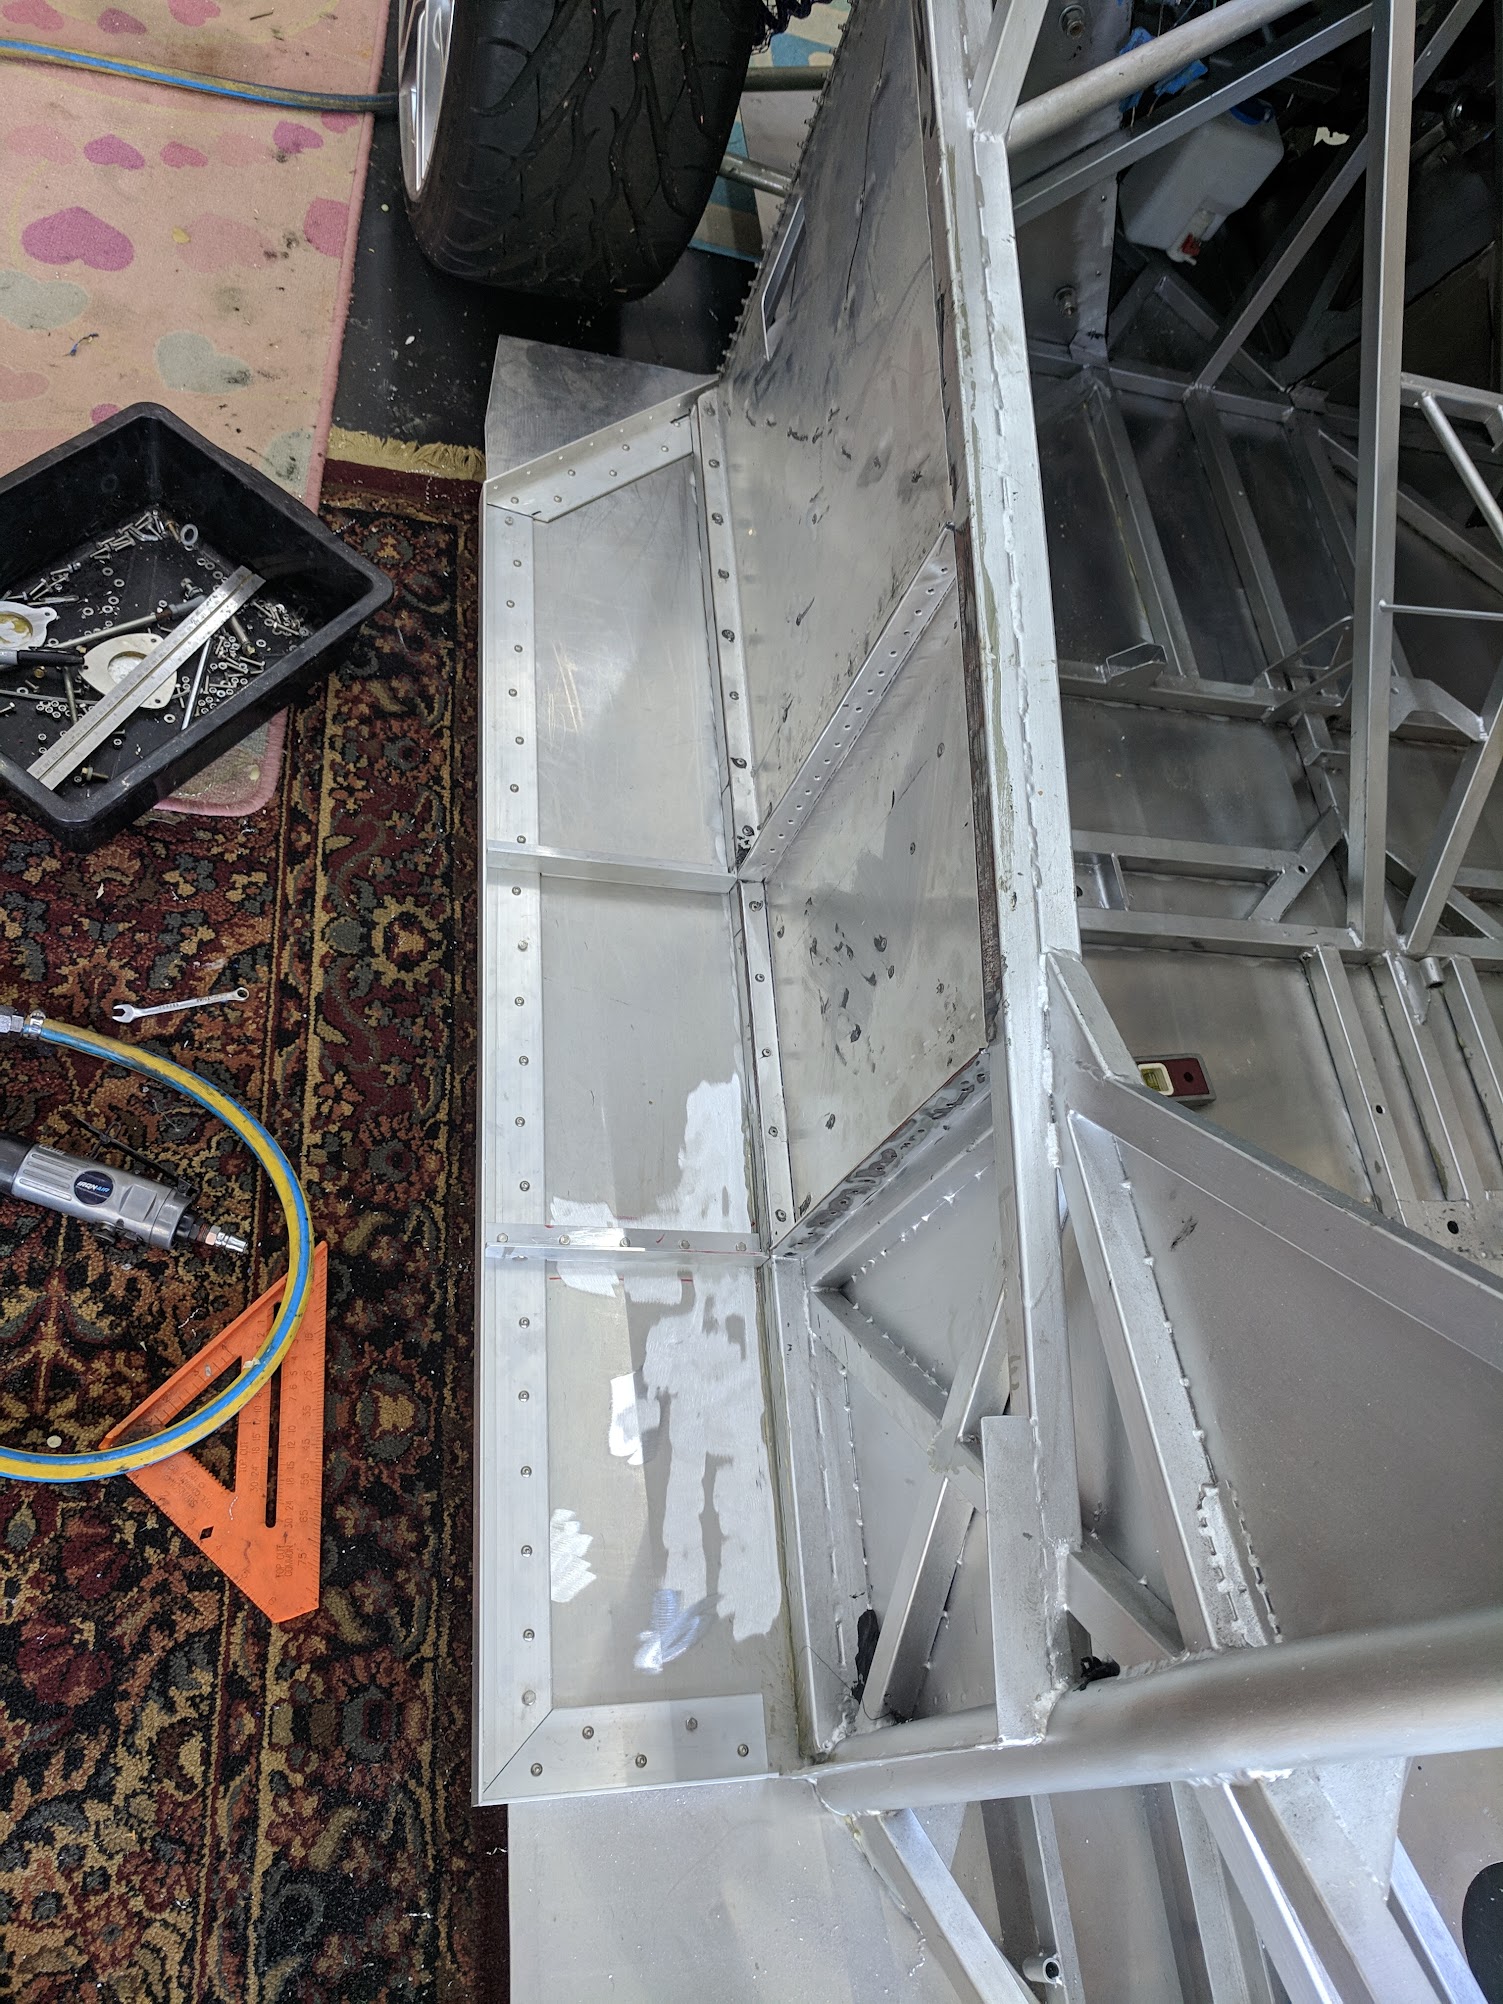
Making the internal bulkheads for the box. The first attempt was a screw up as usual. This one came out Ok after measuring repeatedly then making a cardboard template and working to that. None of this is as square or true as it may look in the pictures.
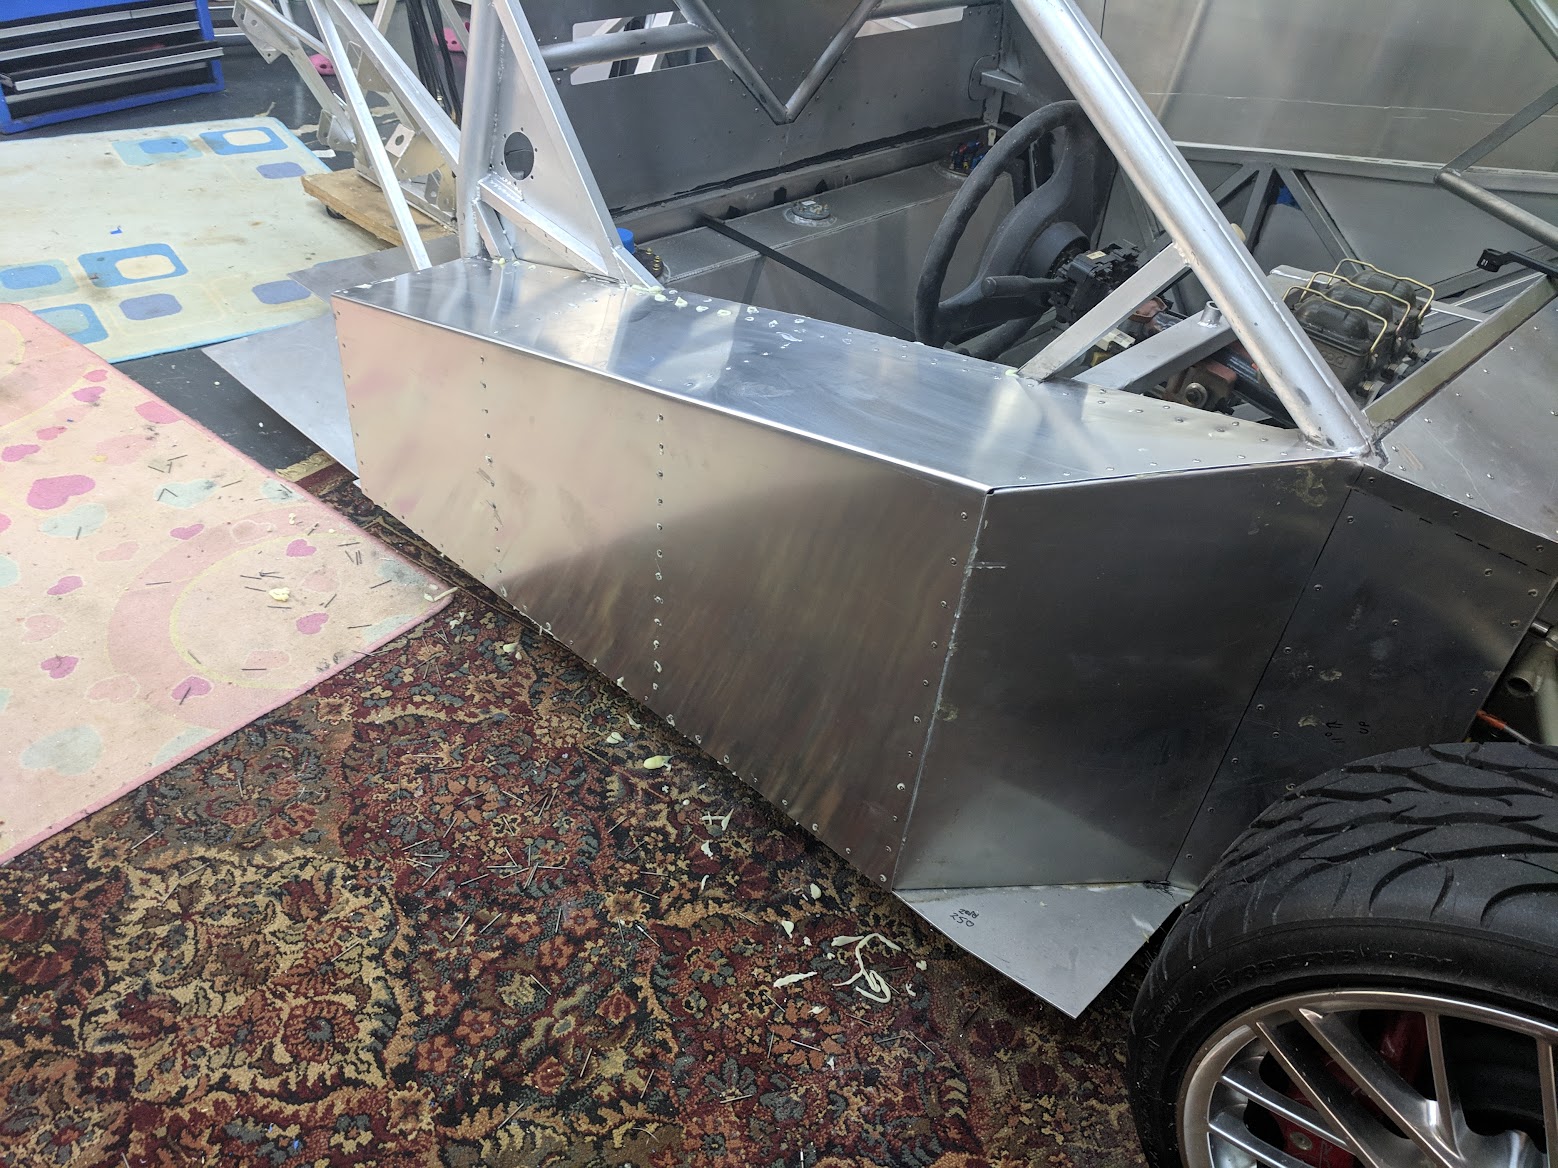
The first 3 panels made and glued and bolted in place.
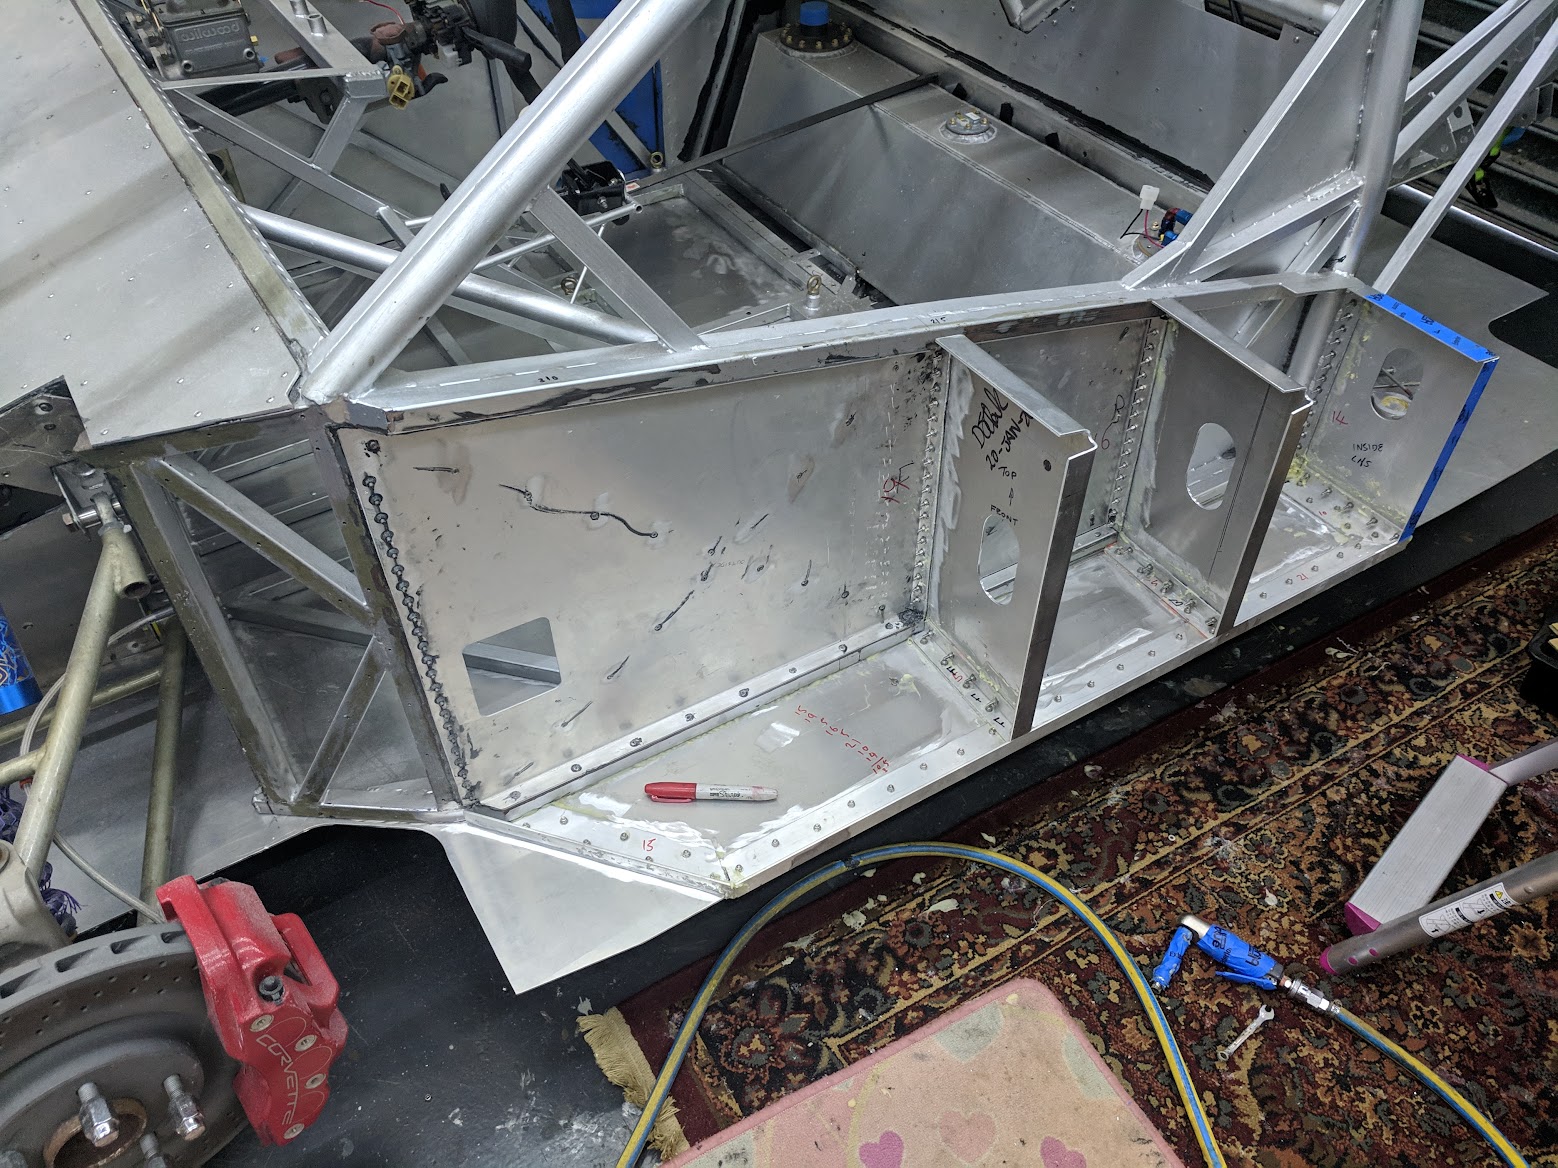
I’d assemble the parts with the bolts in loose, then push the glue into the gap, after the glue was in the bolts were done up by air ratchet. trying to fiddle with the bolts with glue on your hands is impossibly slow.
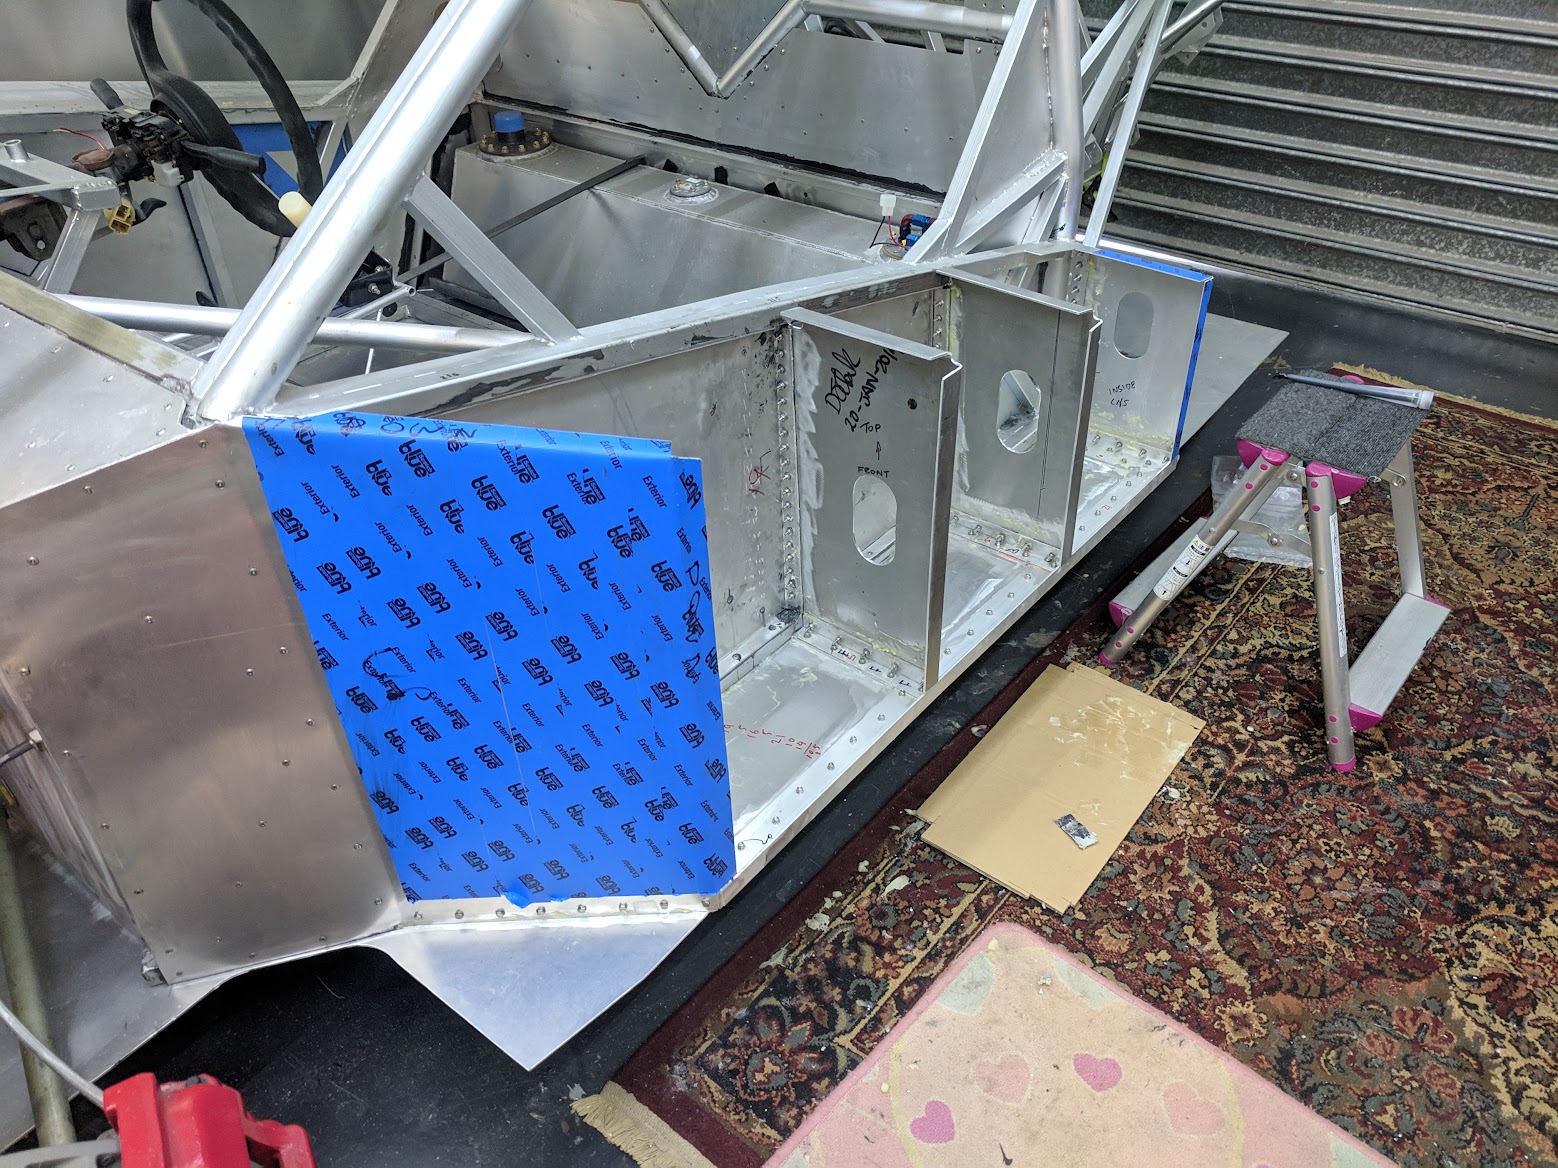
Last panel in place. Note template being used to mix glue on.
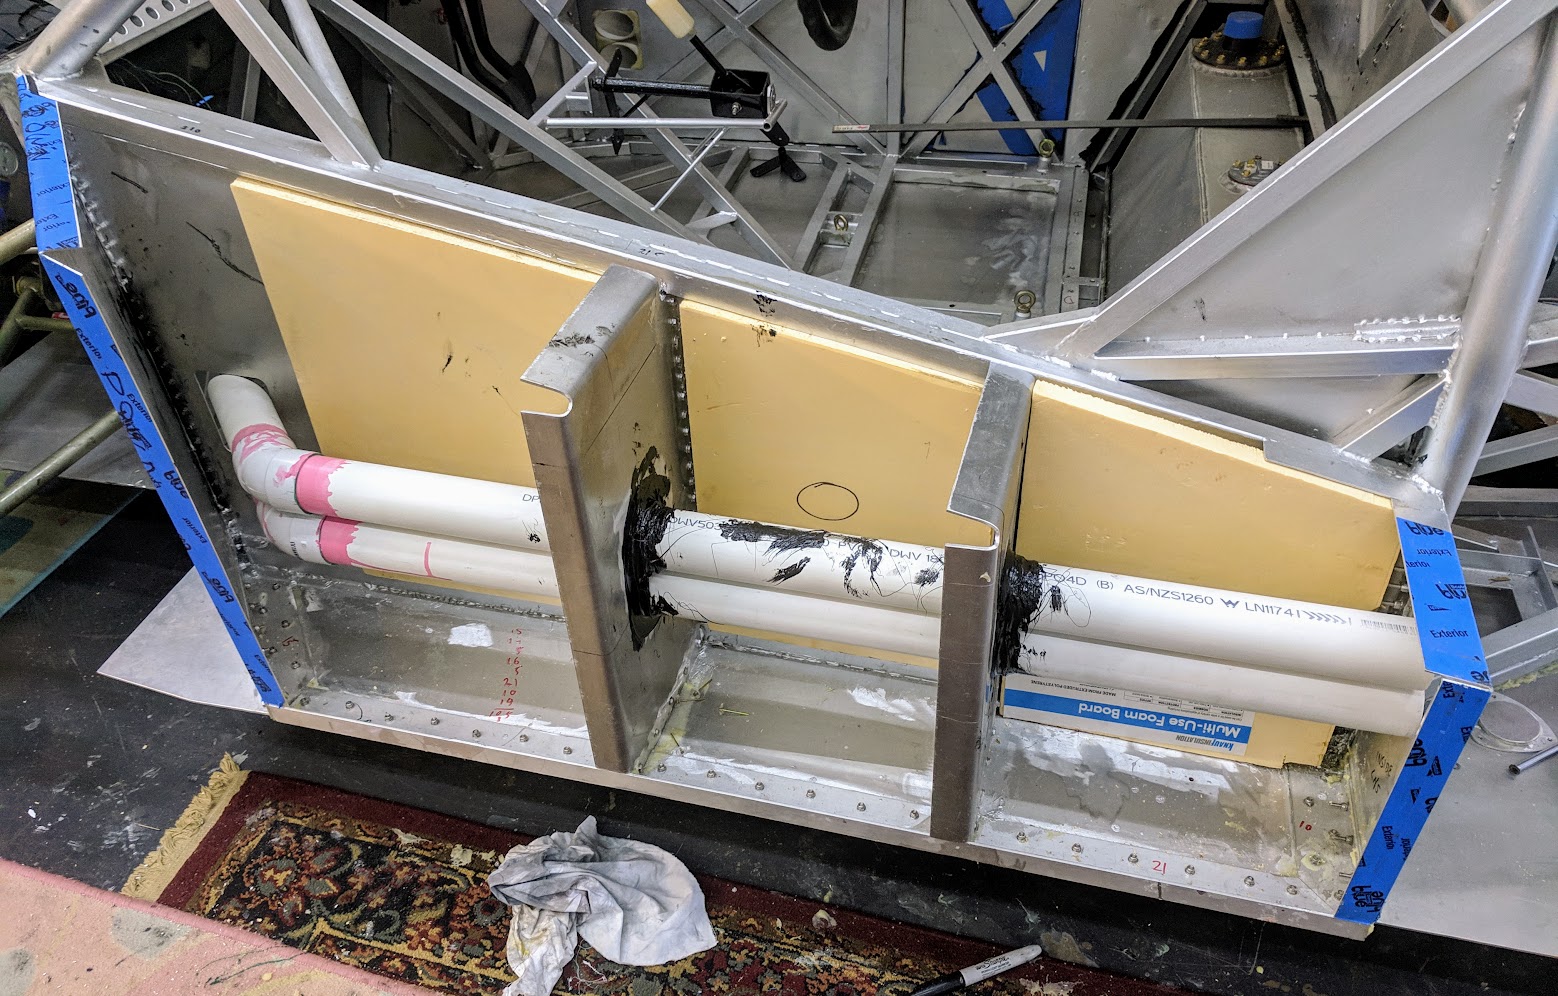
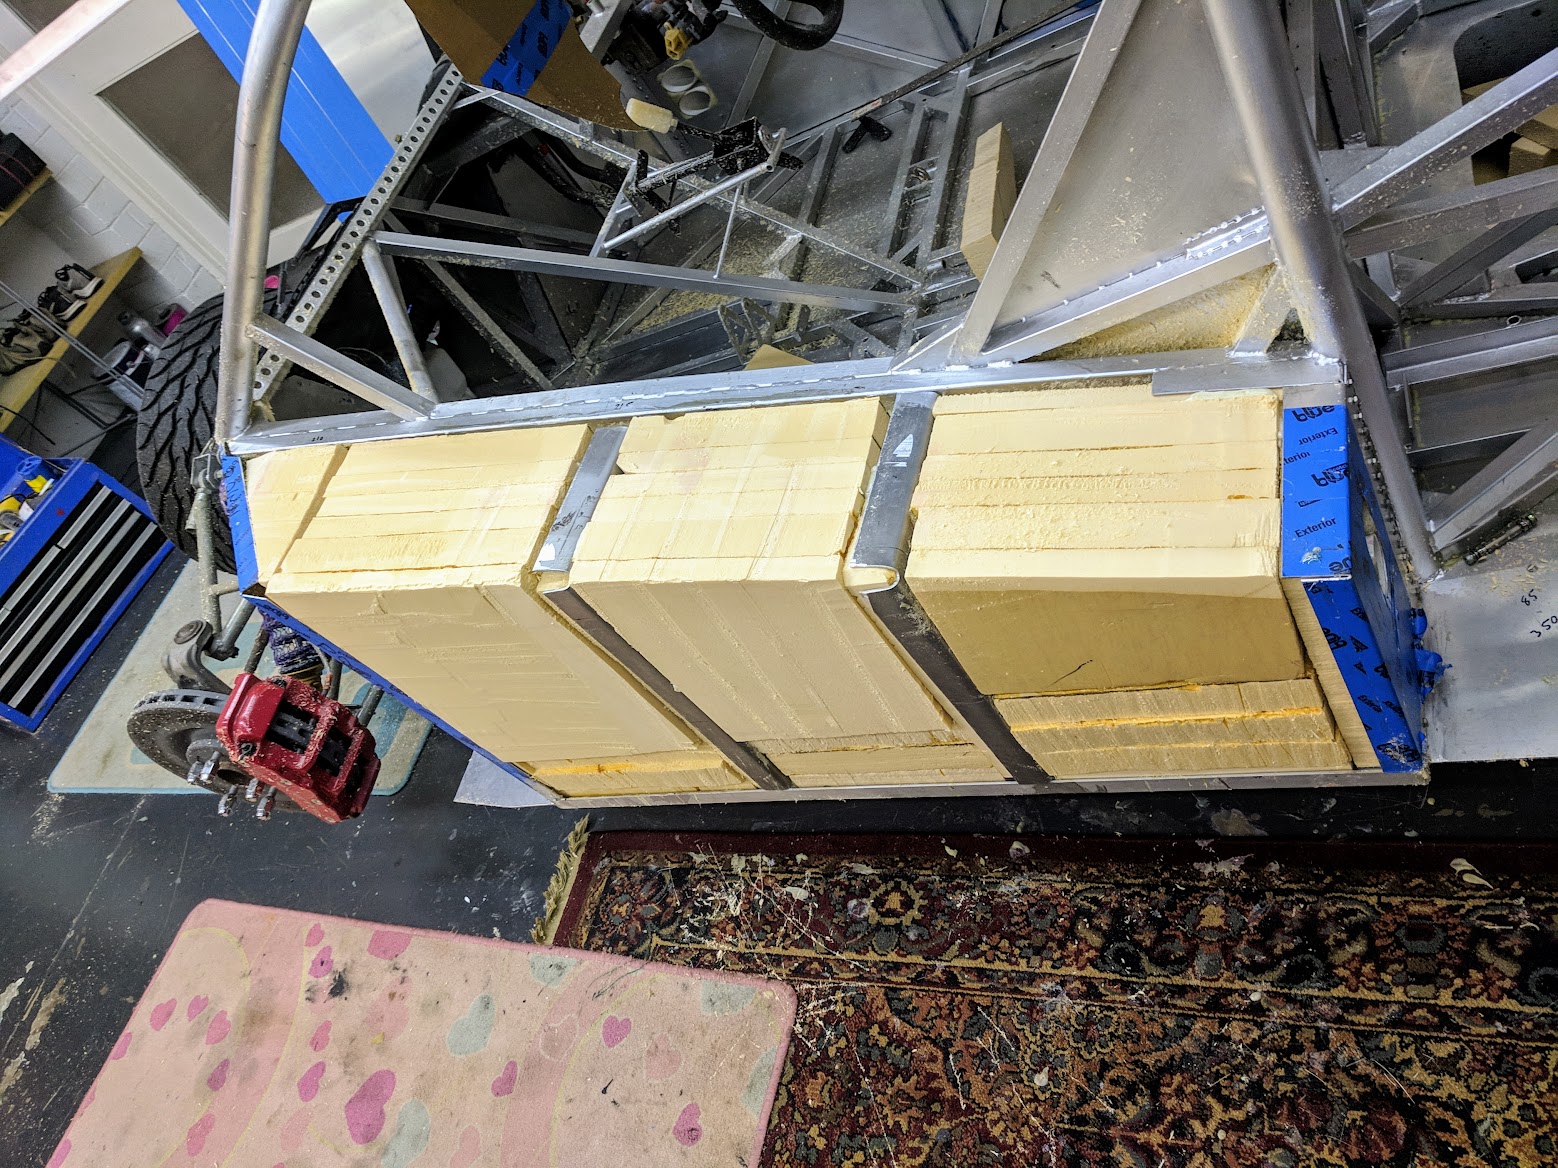
Then a repeat of the plastic tubes and foam filling as per the drivers side.
To get to this point…
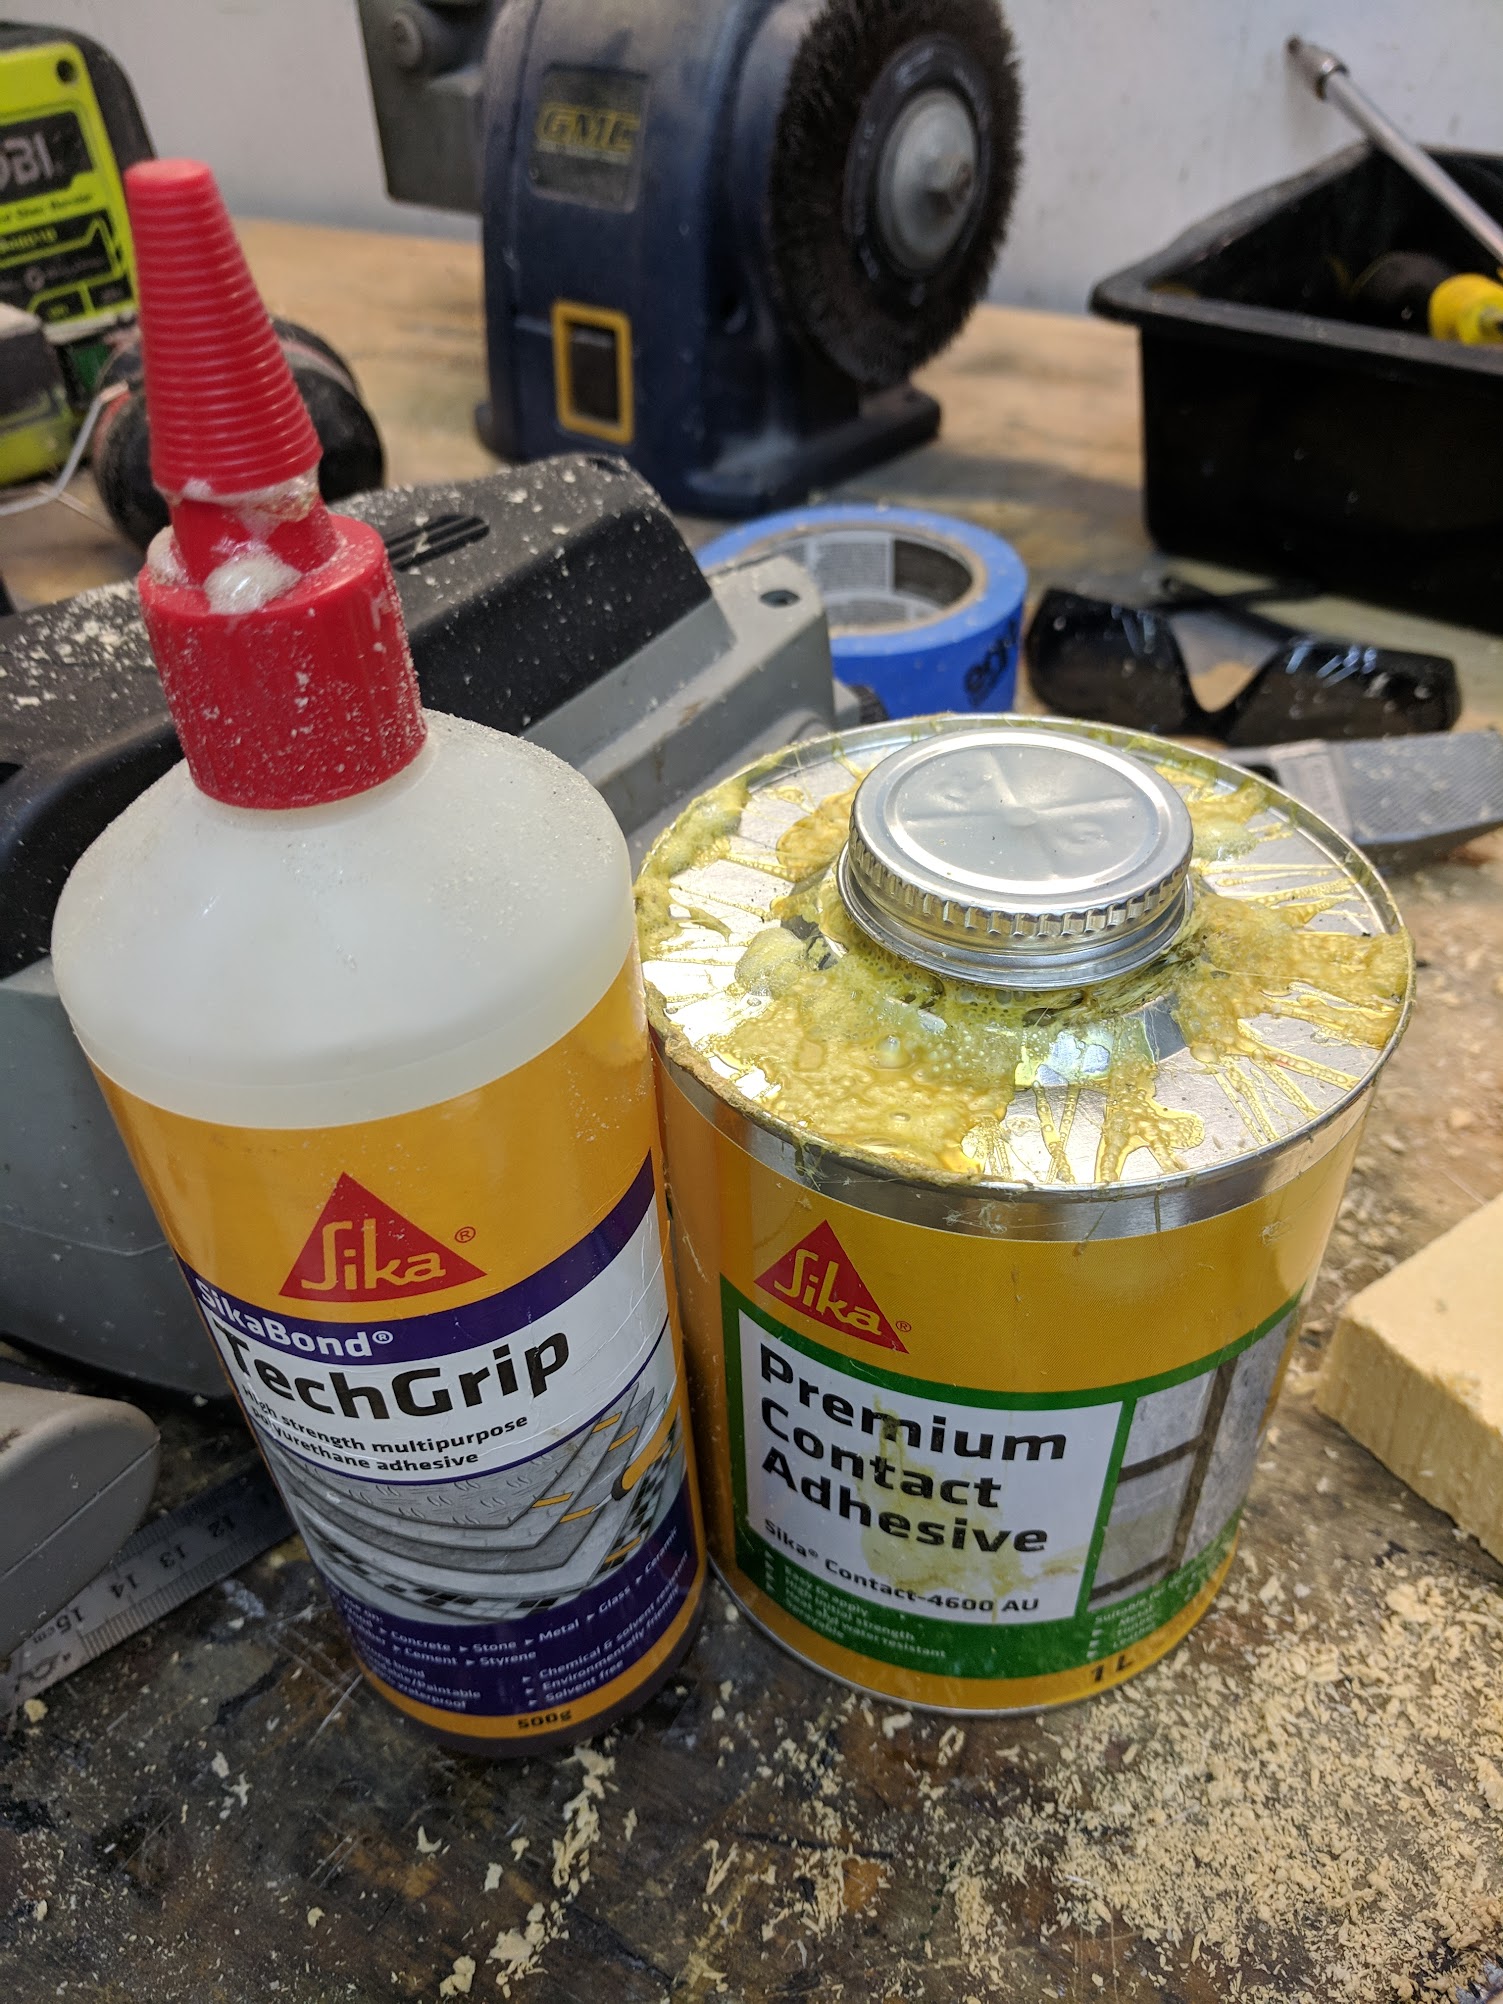
These glues seem to be the best choices for this stuff…
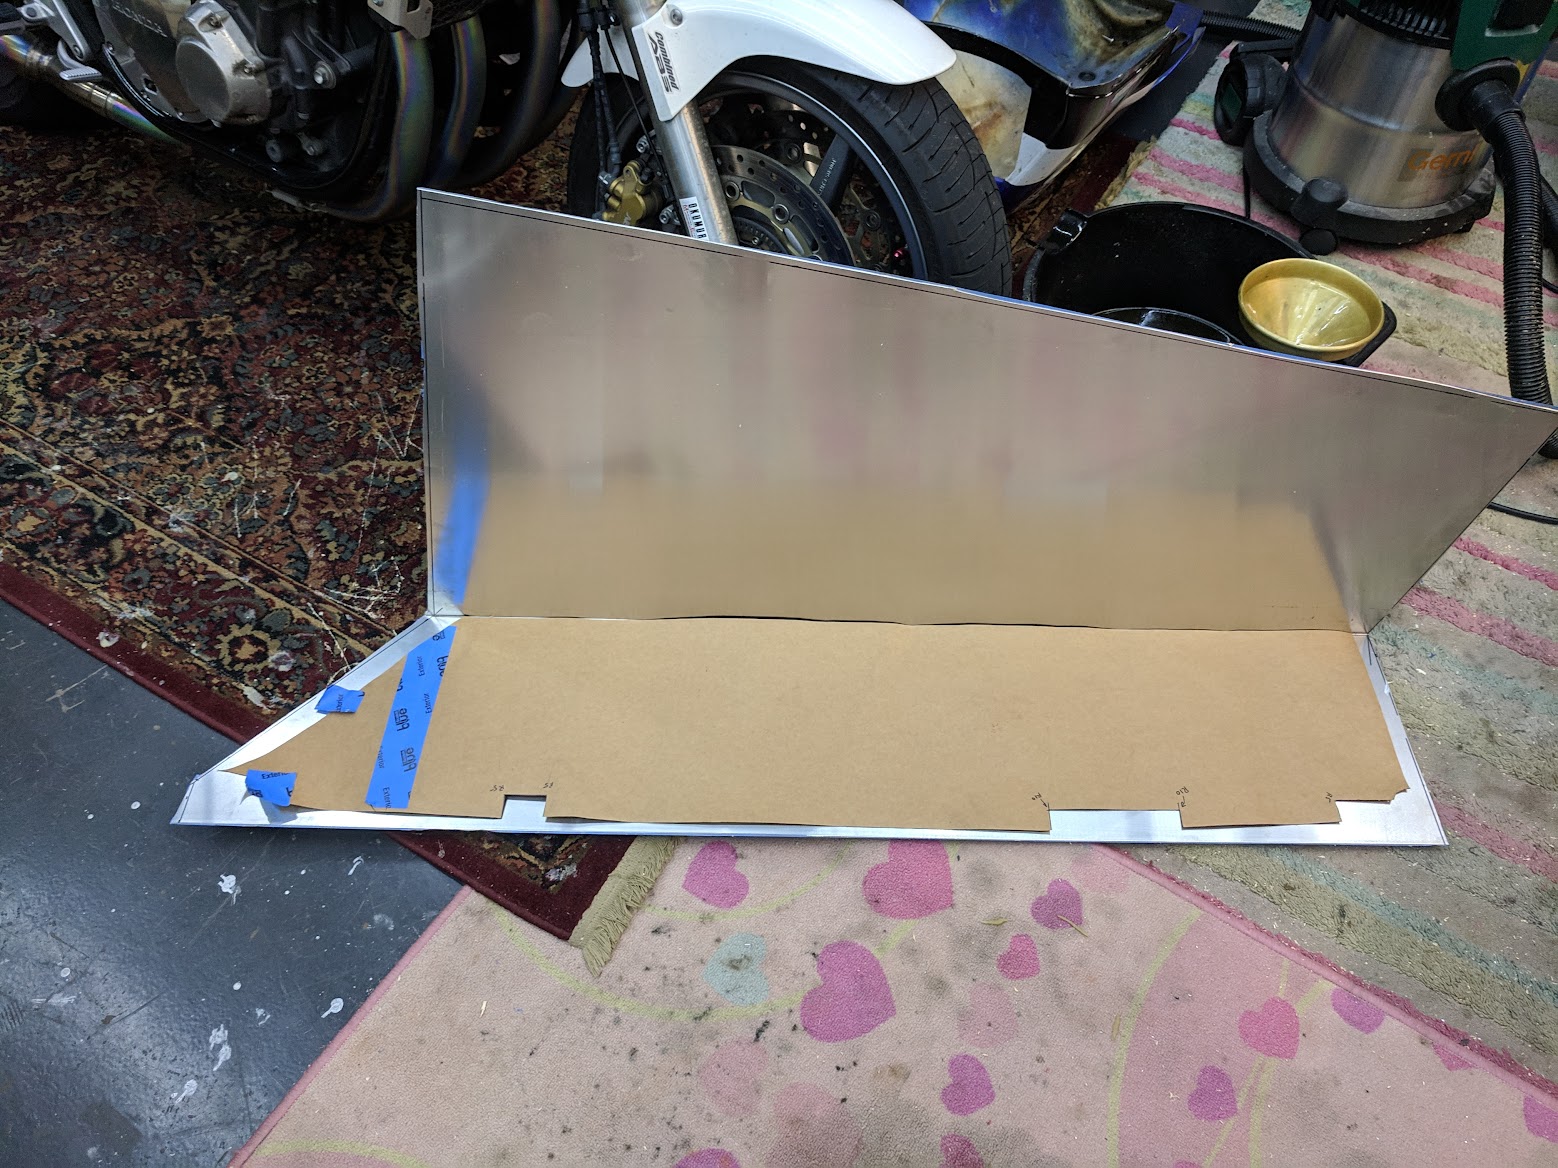
Now I’m on to making the outer panel for the box, the template from the other side is very close. So hopefully it’ll come out close enough to symmetrical.