October 14, 2020
The 3D print of the air filter connection again failed, though it did look pretty.
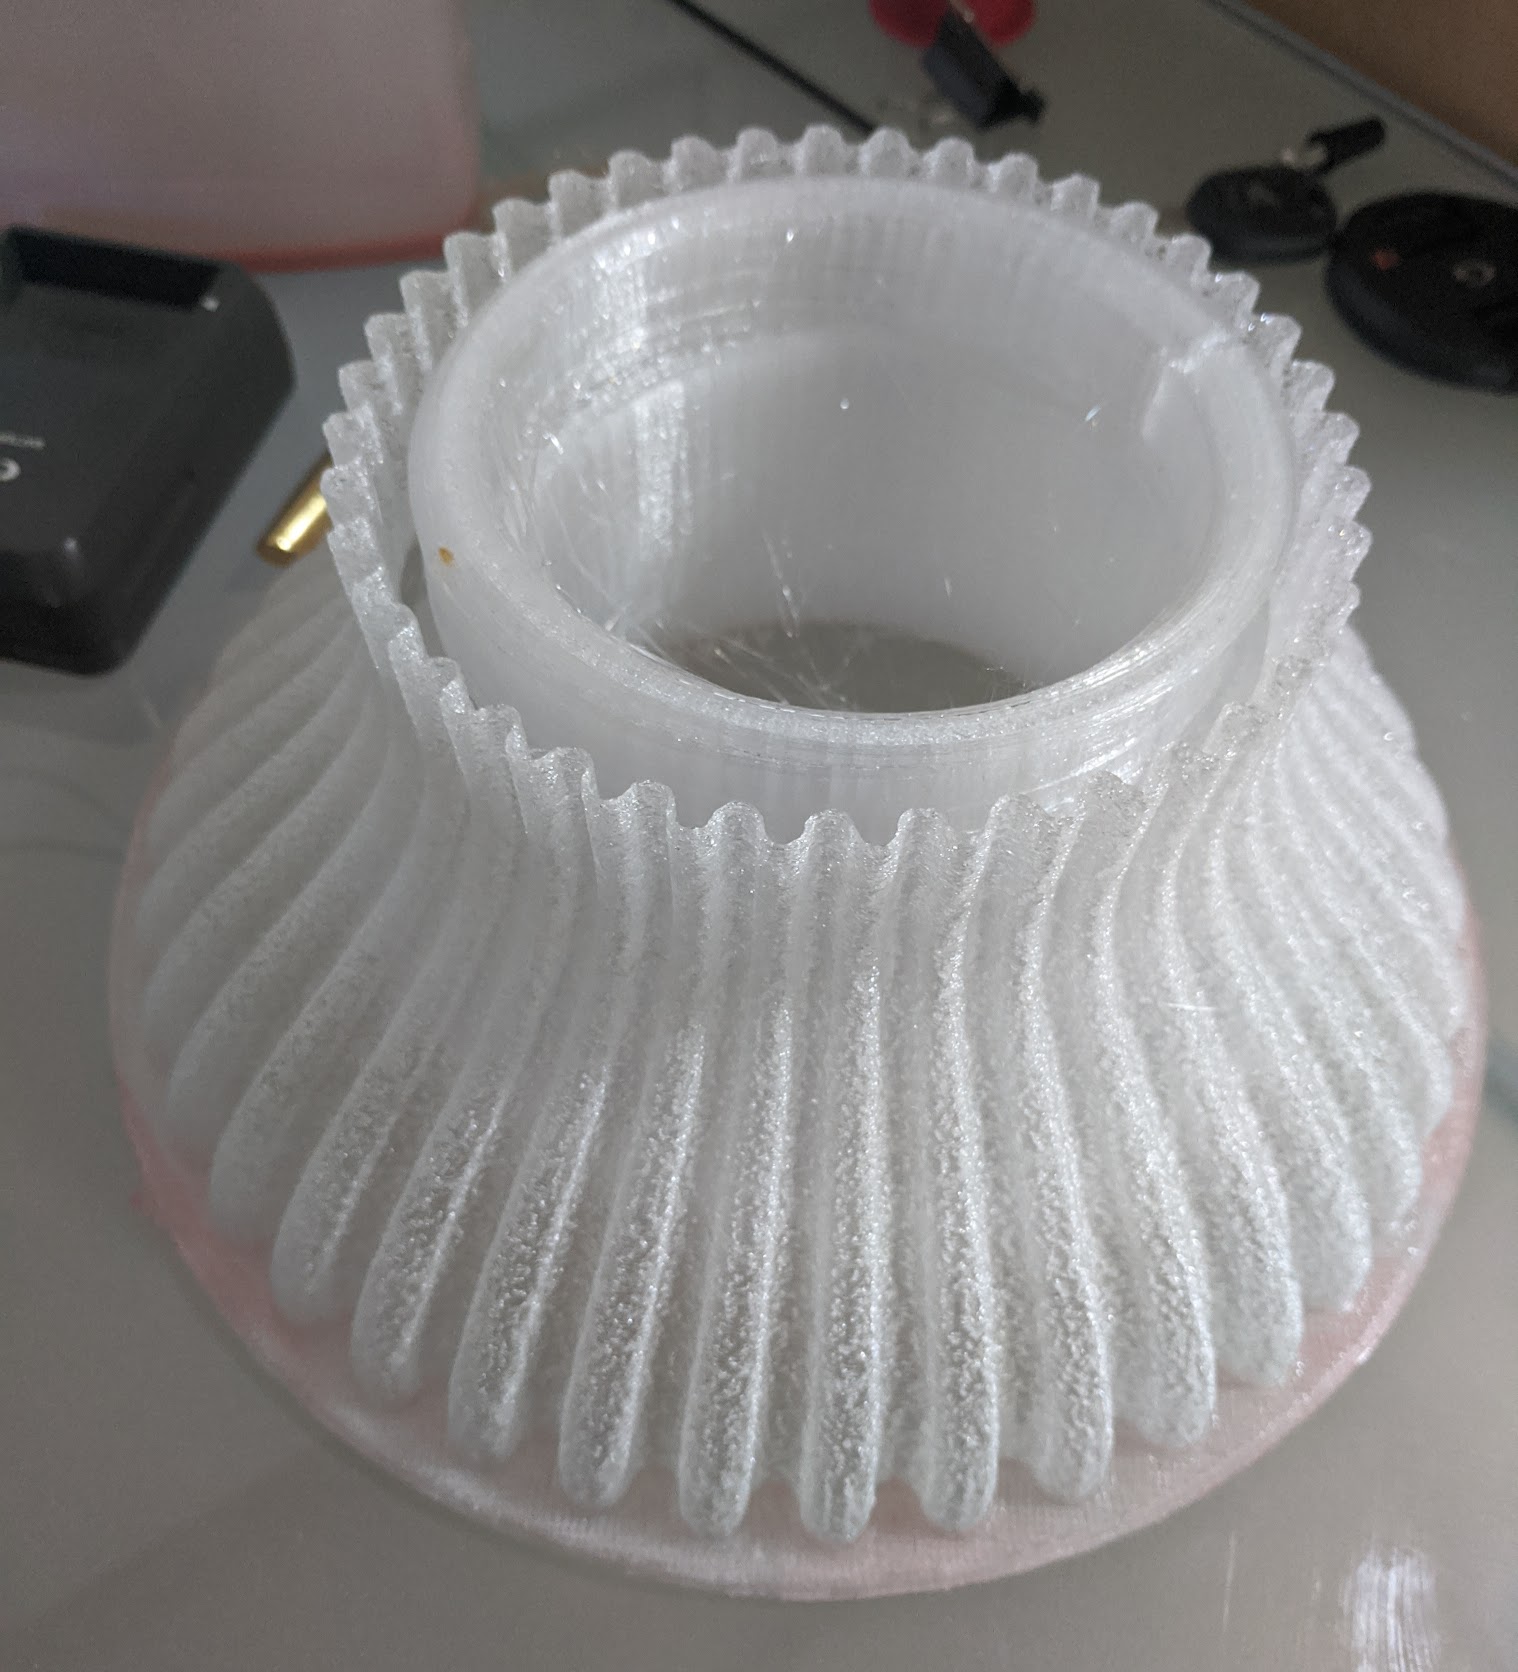
The part still split and it separated from the print bed near the end of the print, I believe I need to slow the print speed to about 1/3 of what I have been using and make a polycarbonate print bed to work from.
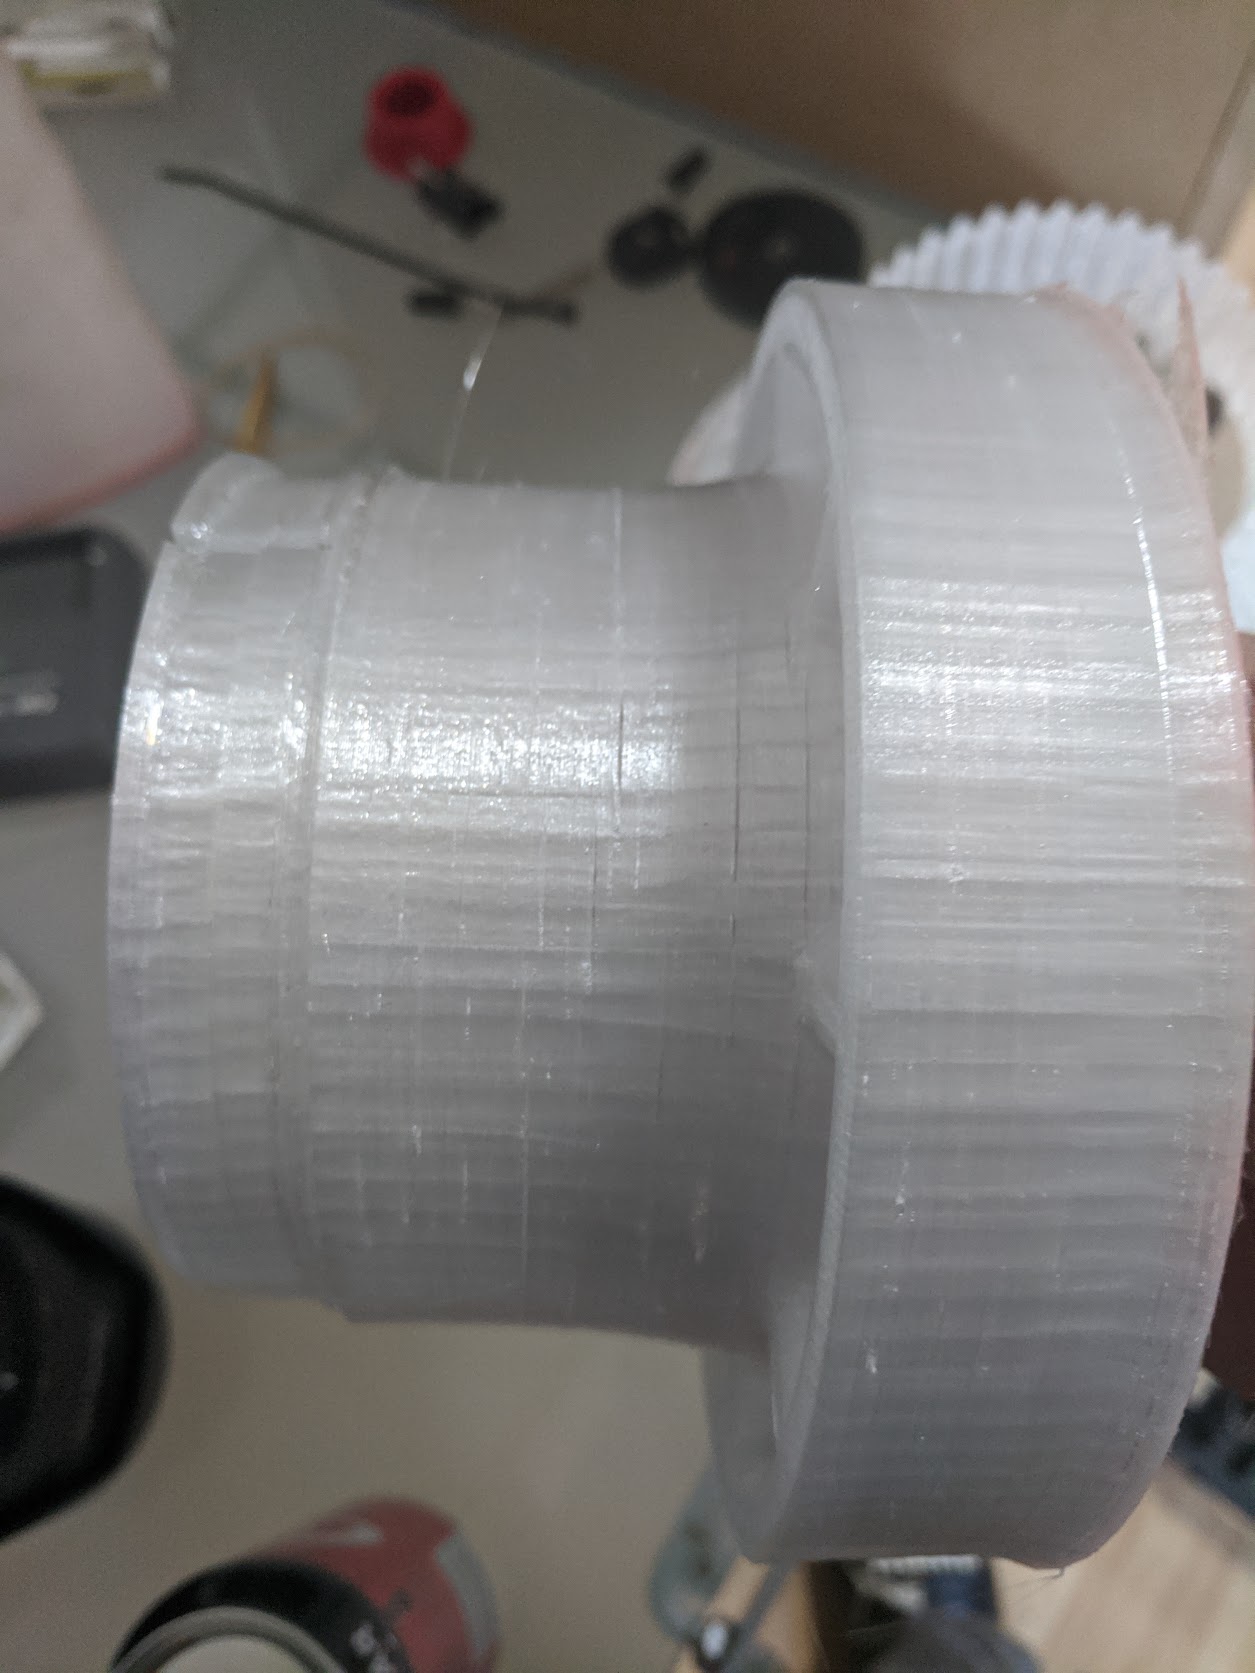
A polycarbonate part that was a success though is a part done to help clamp the air intake tube to the frame, the design is such that all the plastic should be in compression when being loaded. The clamps will be arranged more nicely for the final install.

Another couple of parts that came in the mail are the external thermostats. These are used in various Landrovers and other UK made cars.
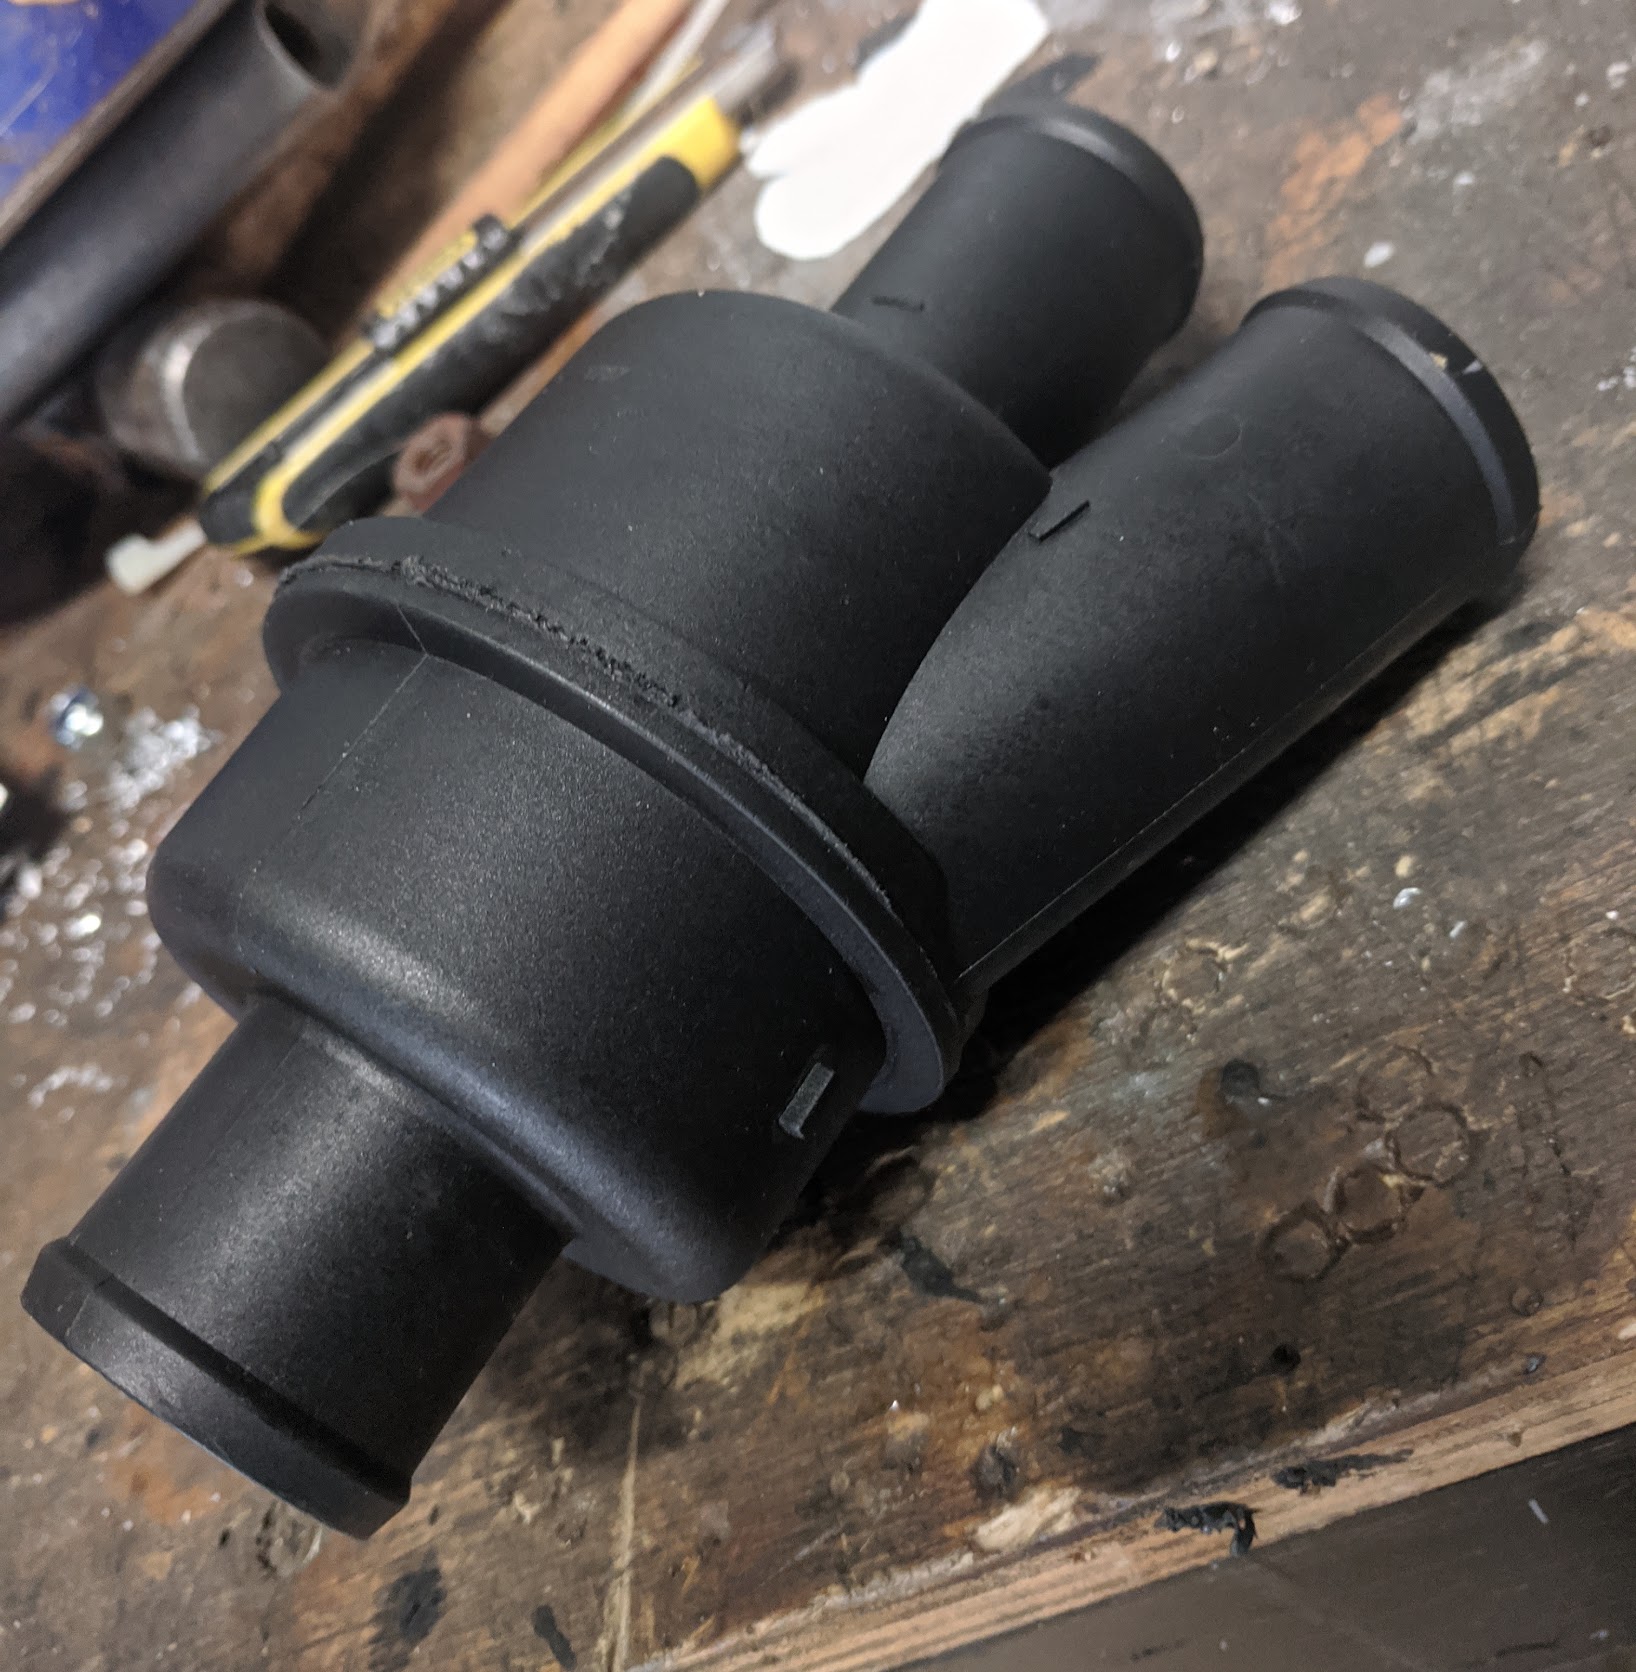
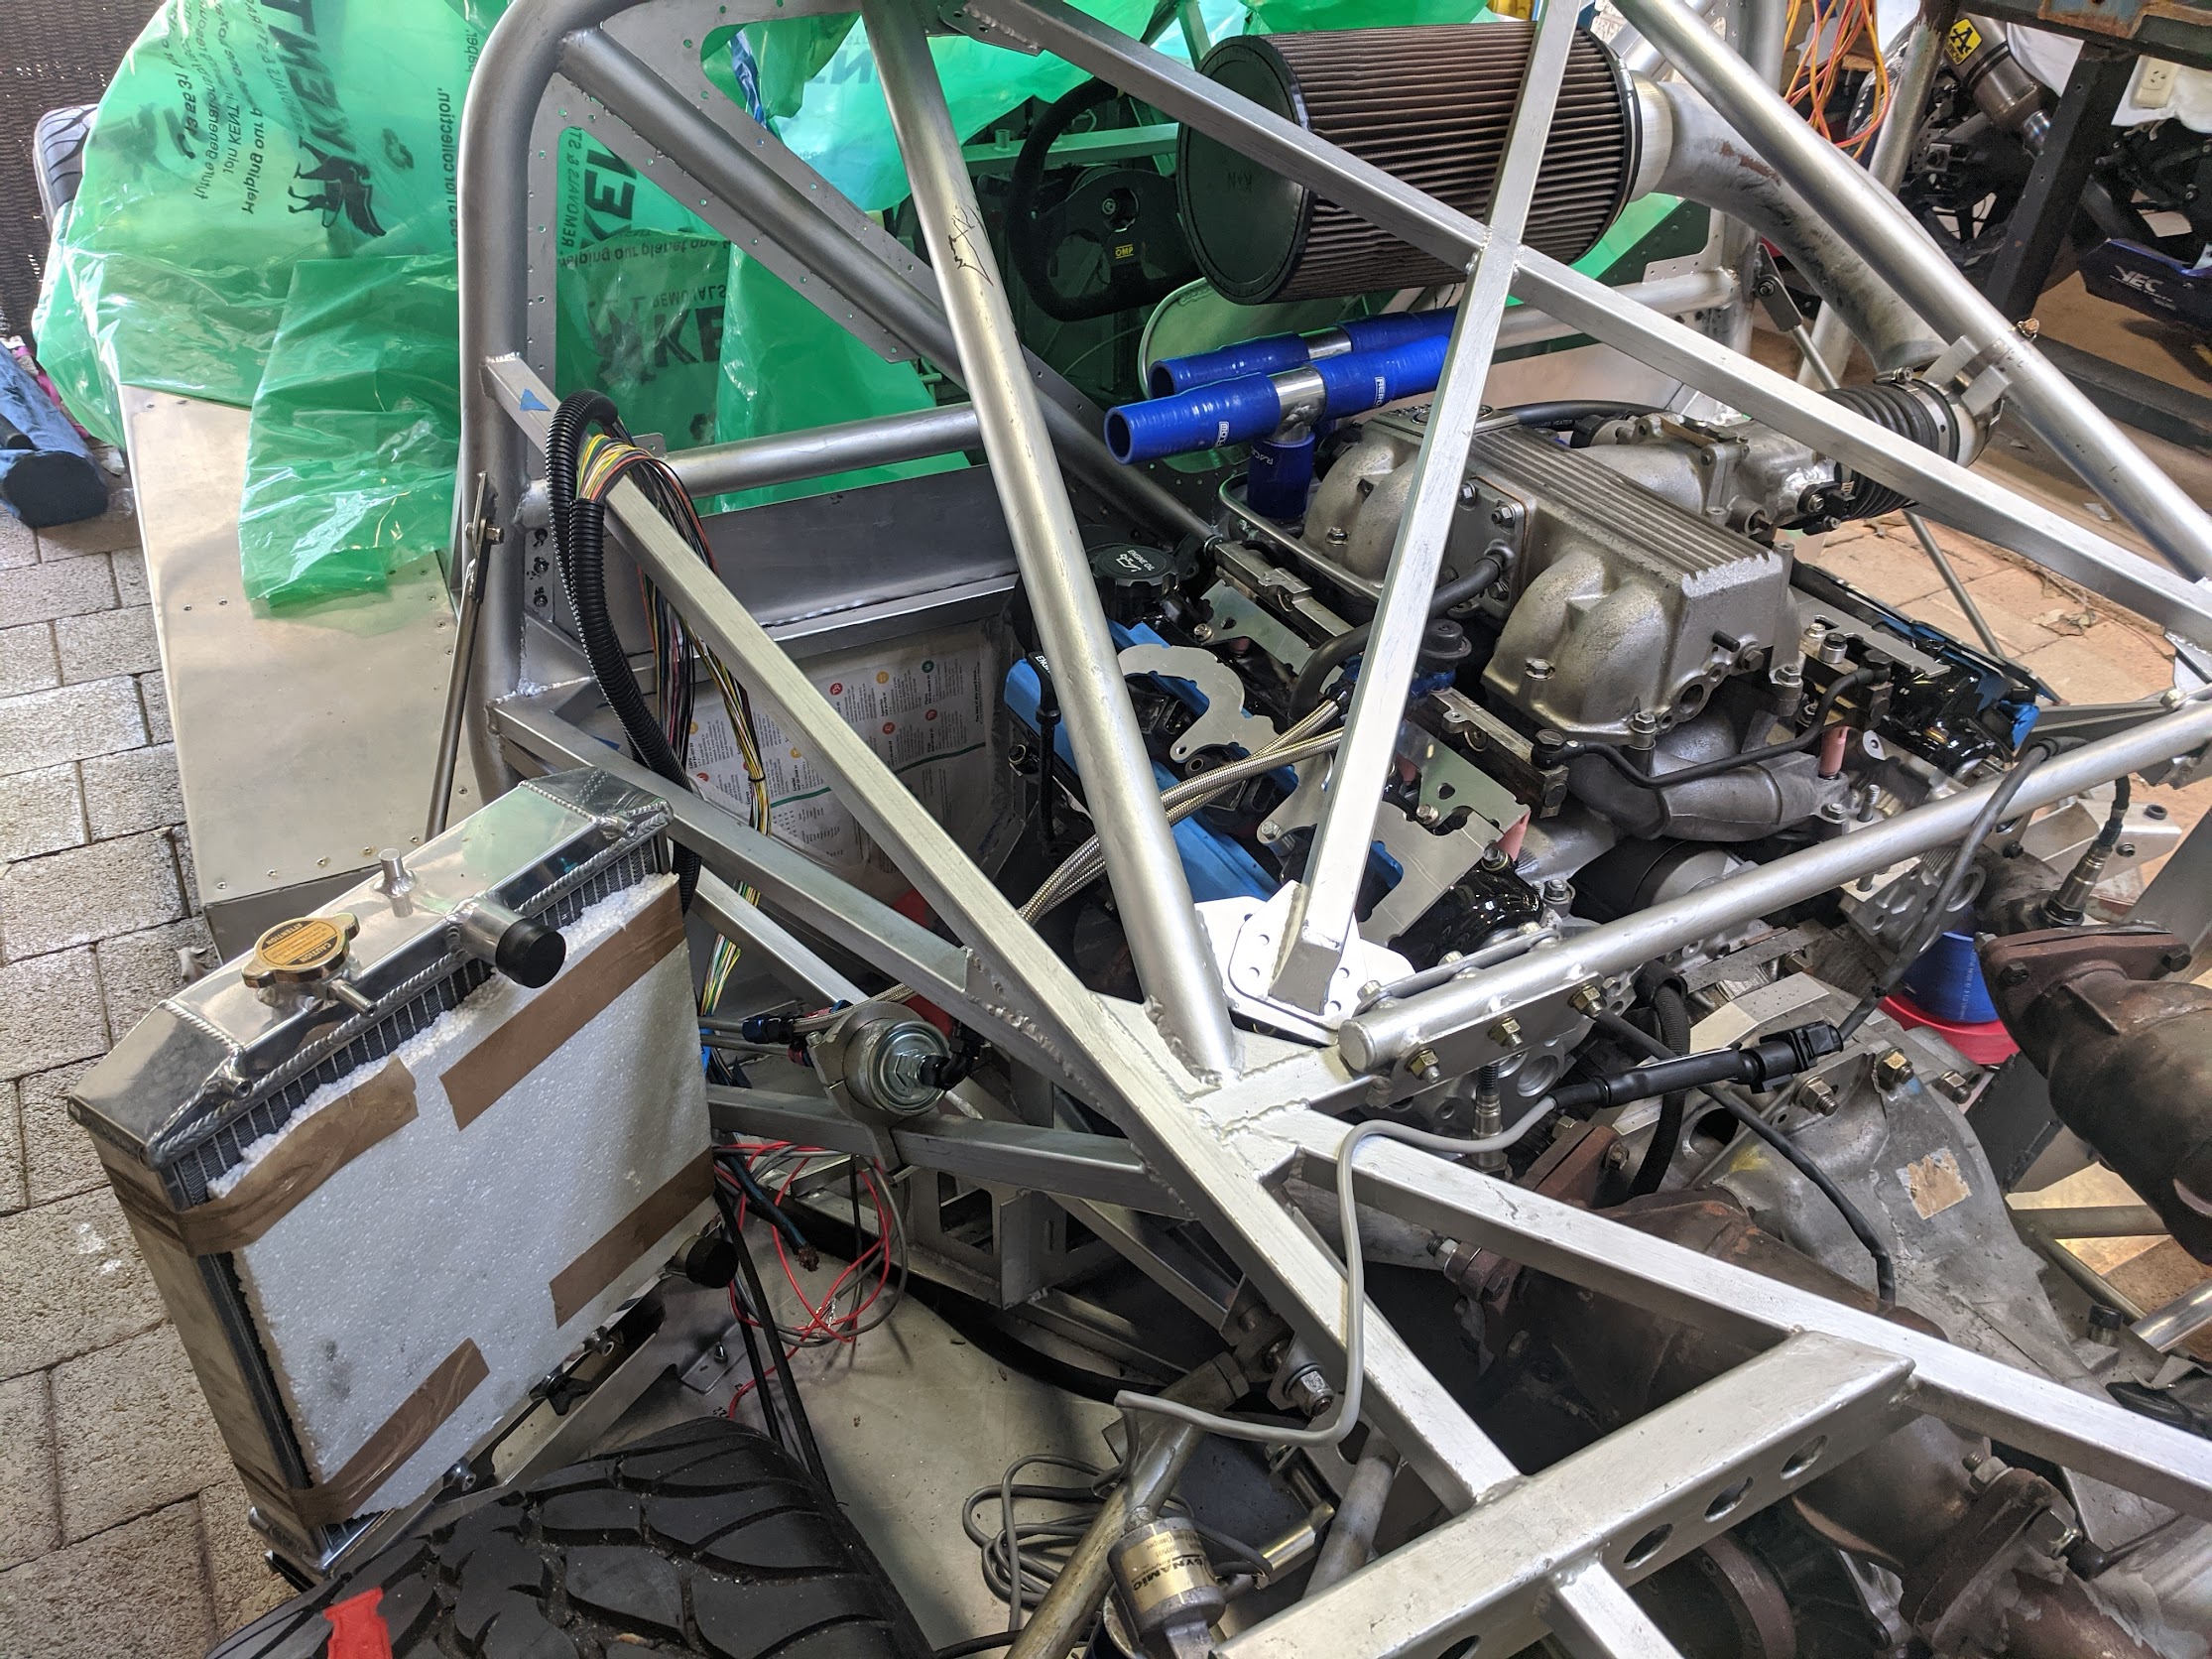
These are part number PEL500110 and open at 82c. Due to the modifications at the front of the engine the original thermostat location was not going to work. The fabricated 1.5″ tees I had welded up as I’d wanted to get them and the reducers properly in place to help design the rest of the connecting tubing for the cooling system.
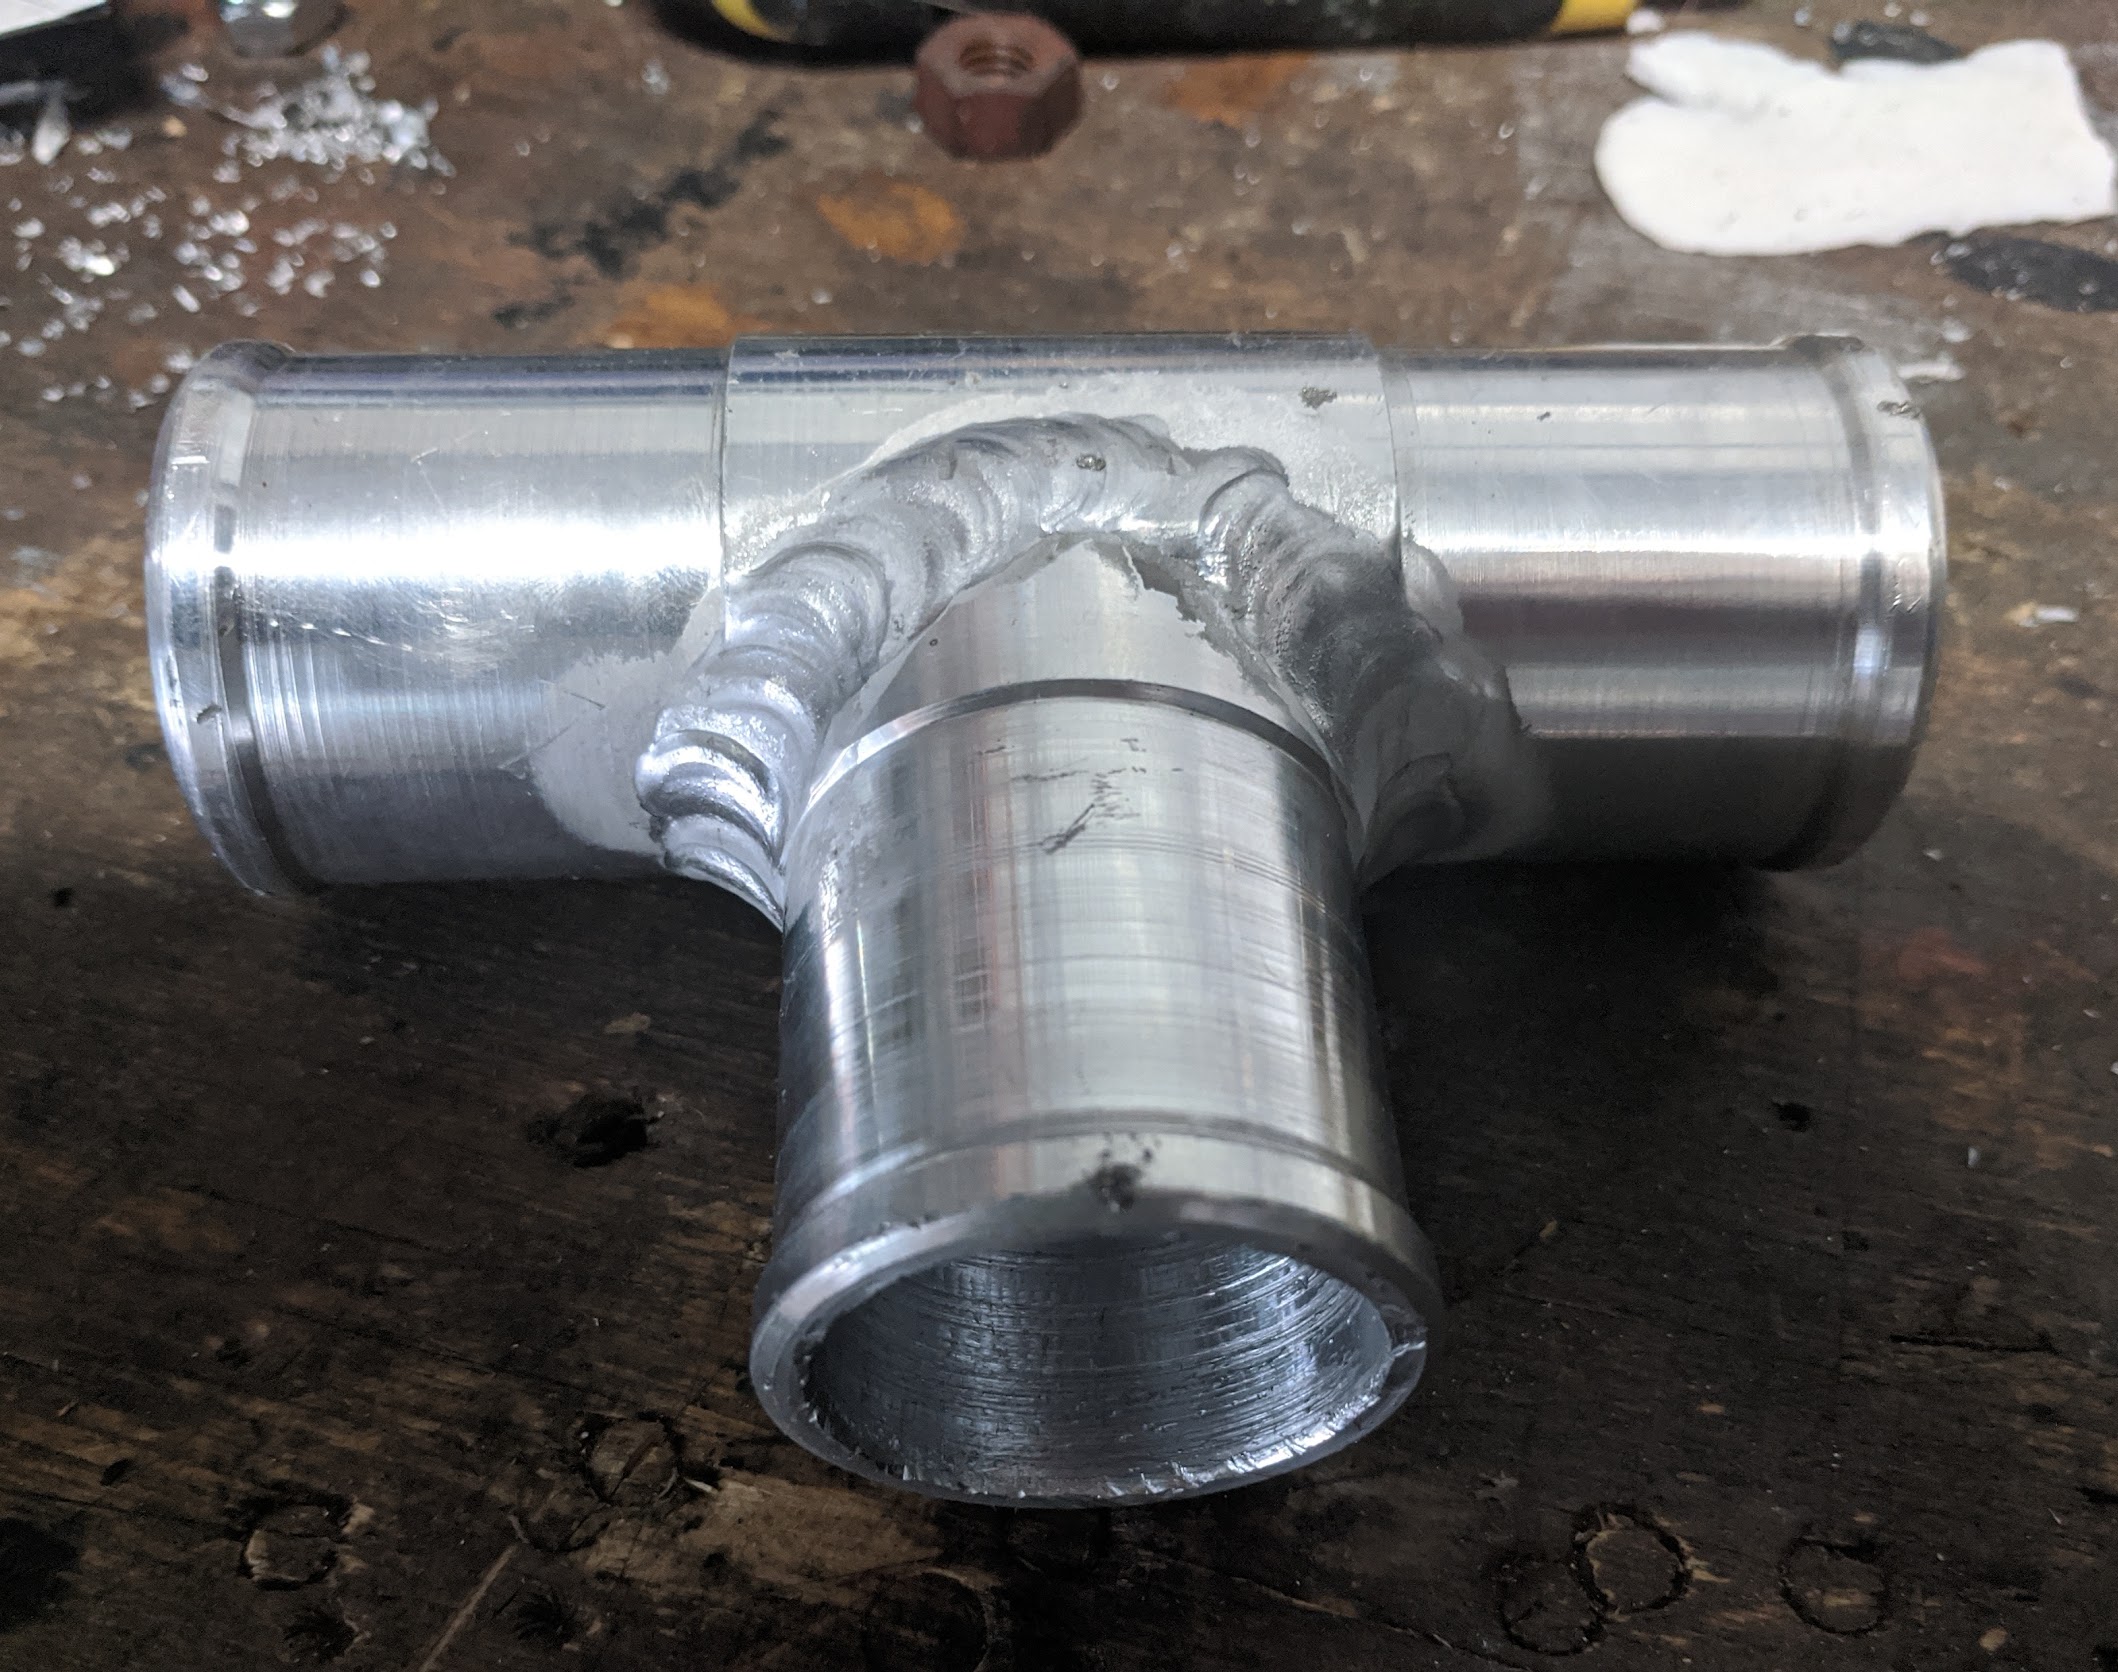
Which looks like this…
After measuring where the tees ended up I could go back to the 3D model to finish the system design. Which now looks like this…
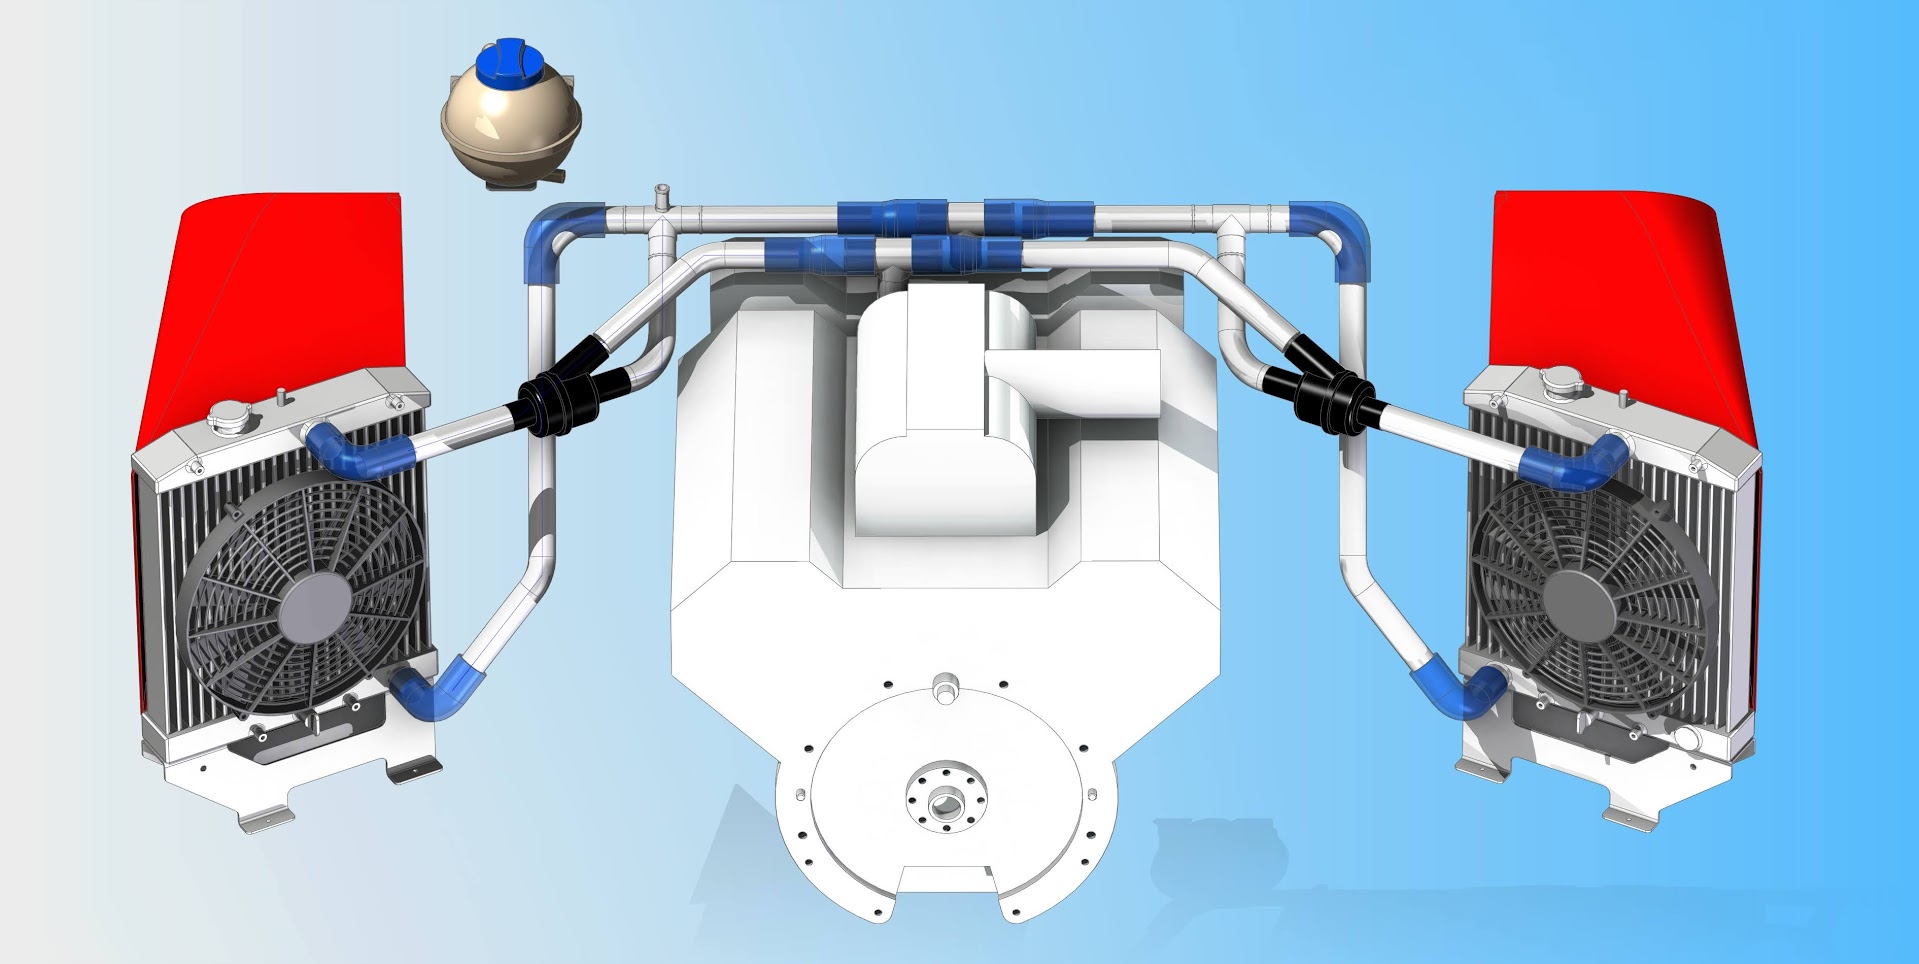
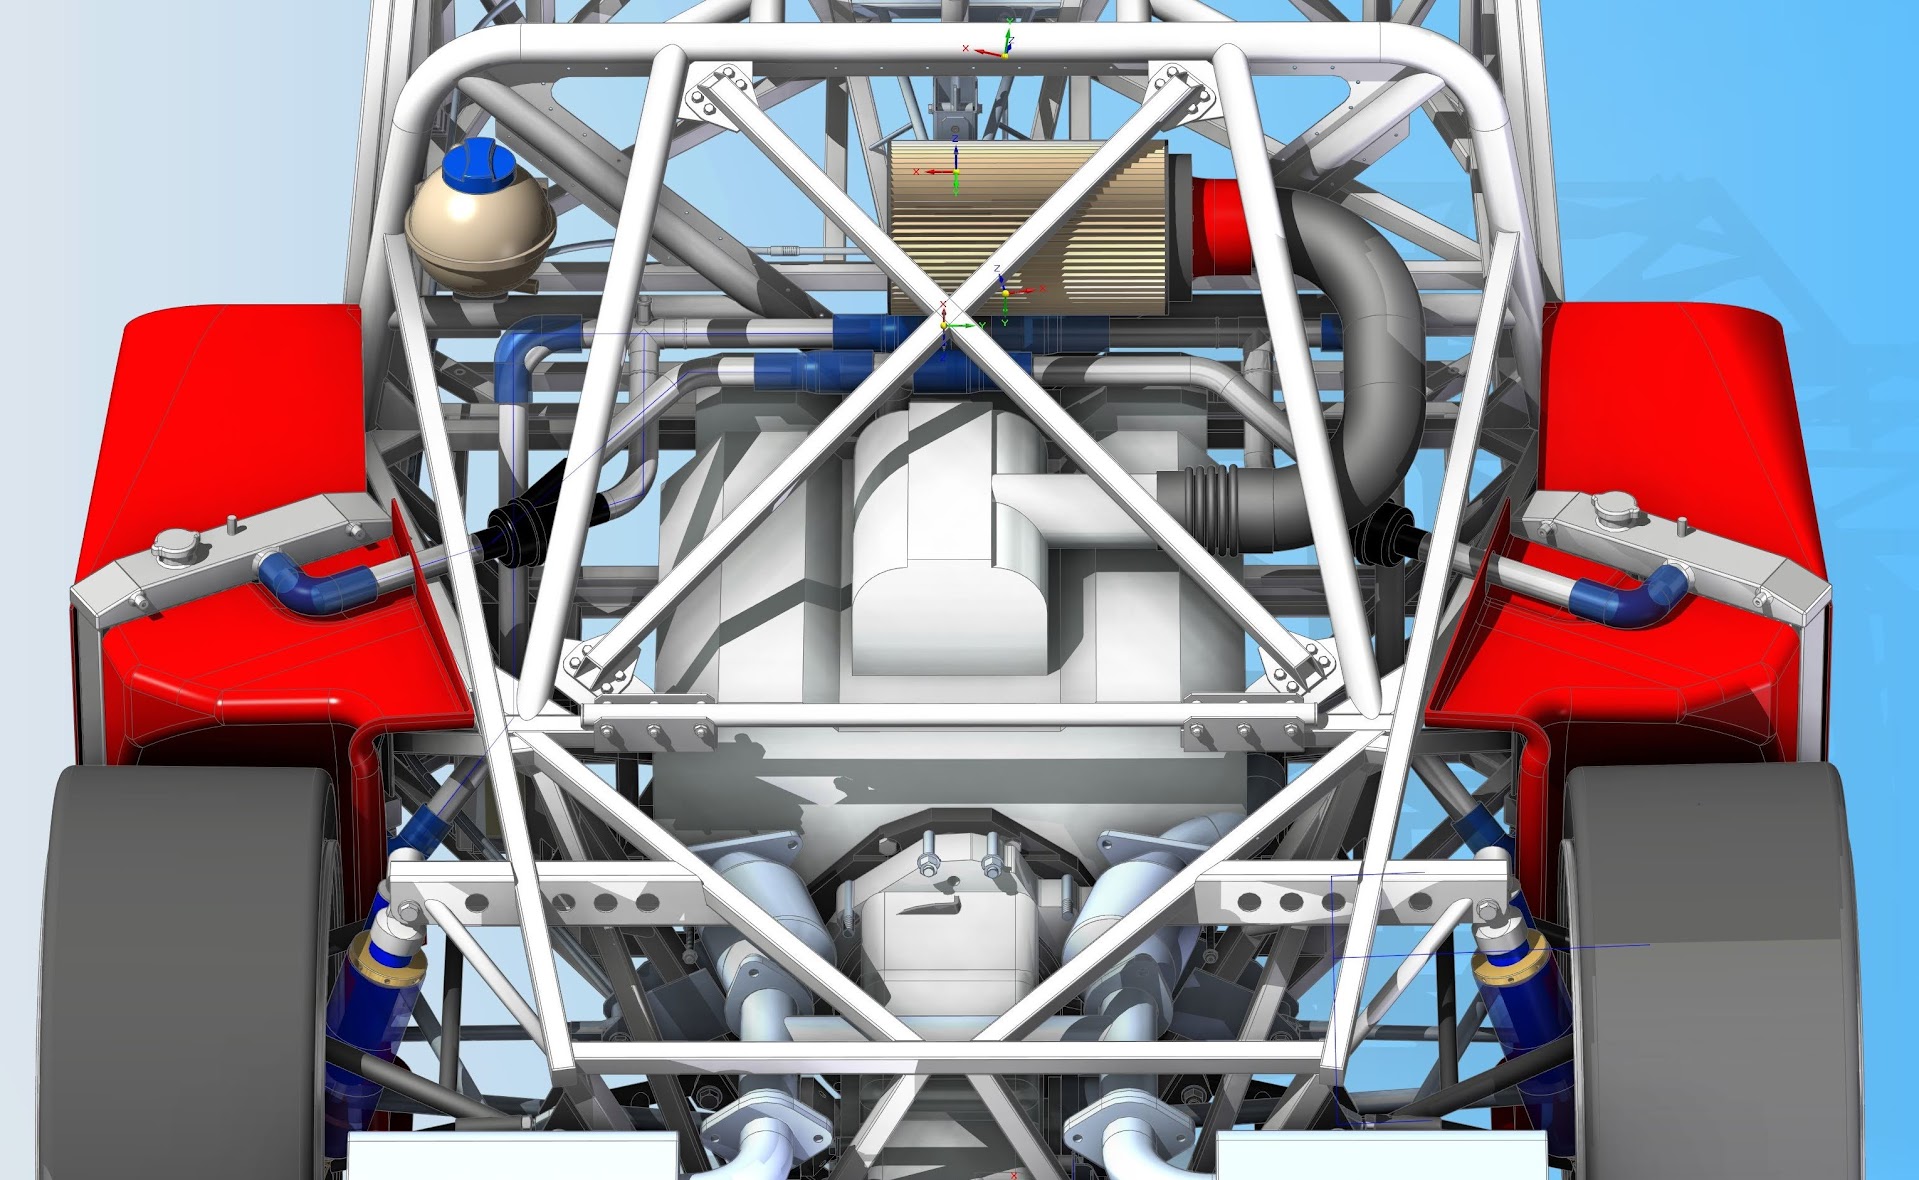
Obviously the routing is affected by the rest of the parts in the car, so with it all together it looks like this…
Another skill I am going to need to learn is bending aluminium tubes. Another small job to do is remove the reliefs from the radiators and block the holes. This will force the system to relieve through the cap in the expansion tank. I also need to add add these to the discharge tee from the engine and two places at the rear of the engine to bleed any air back to the expansion tank.
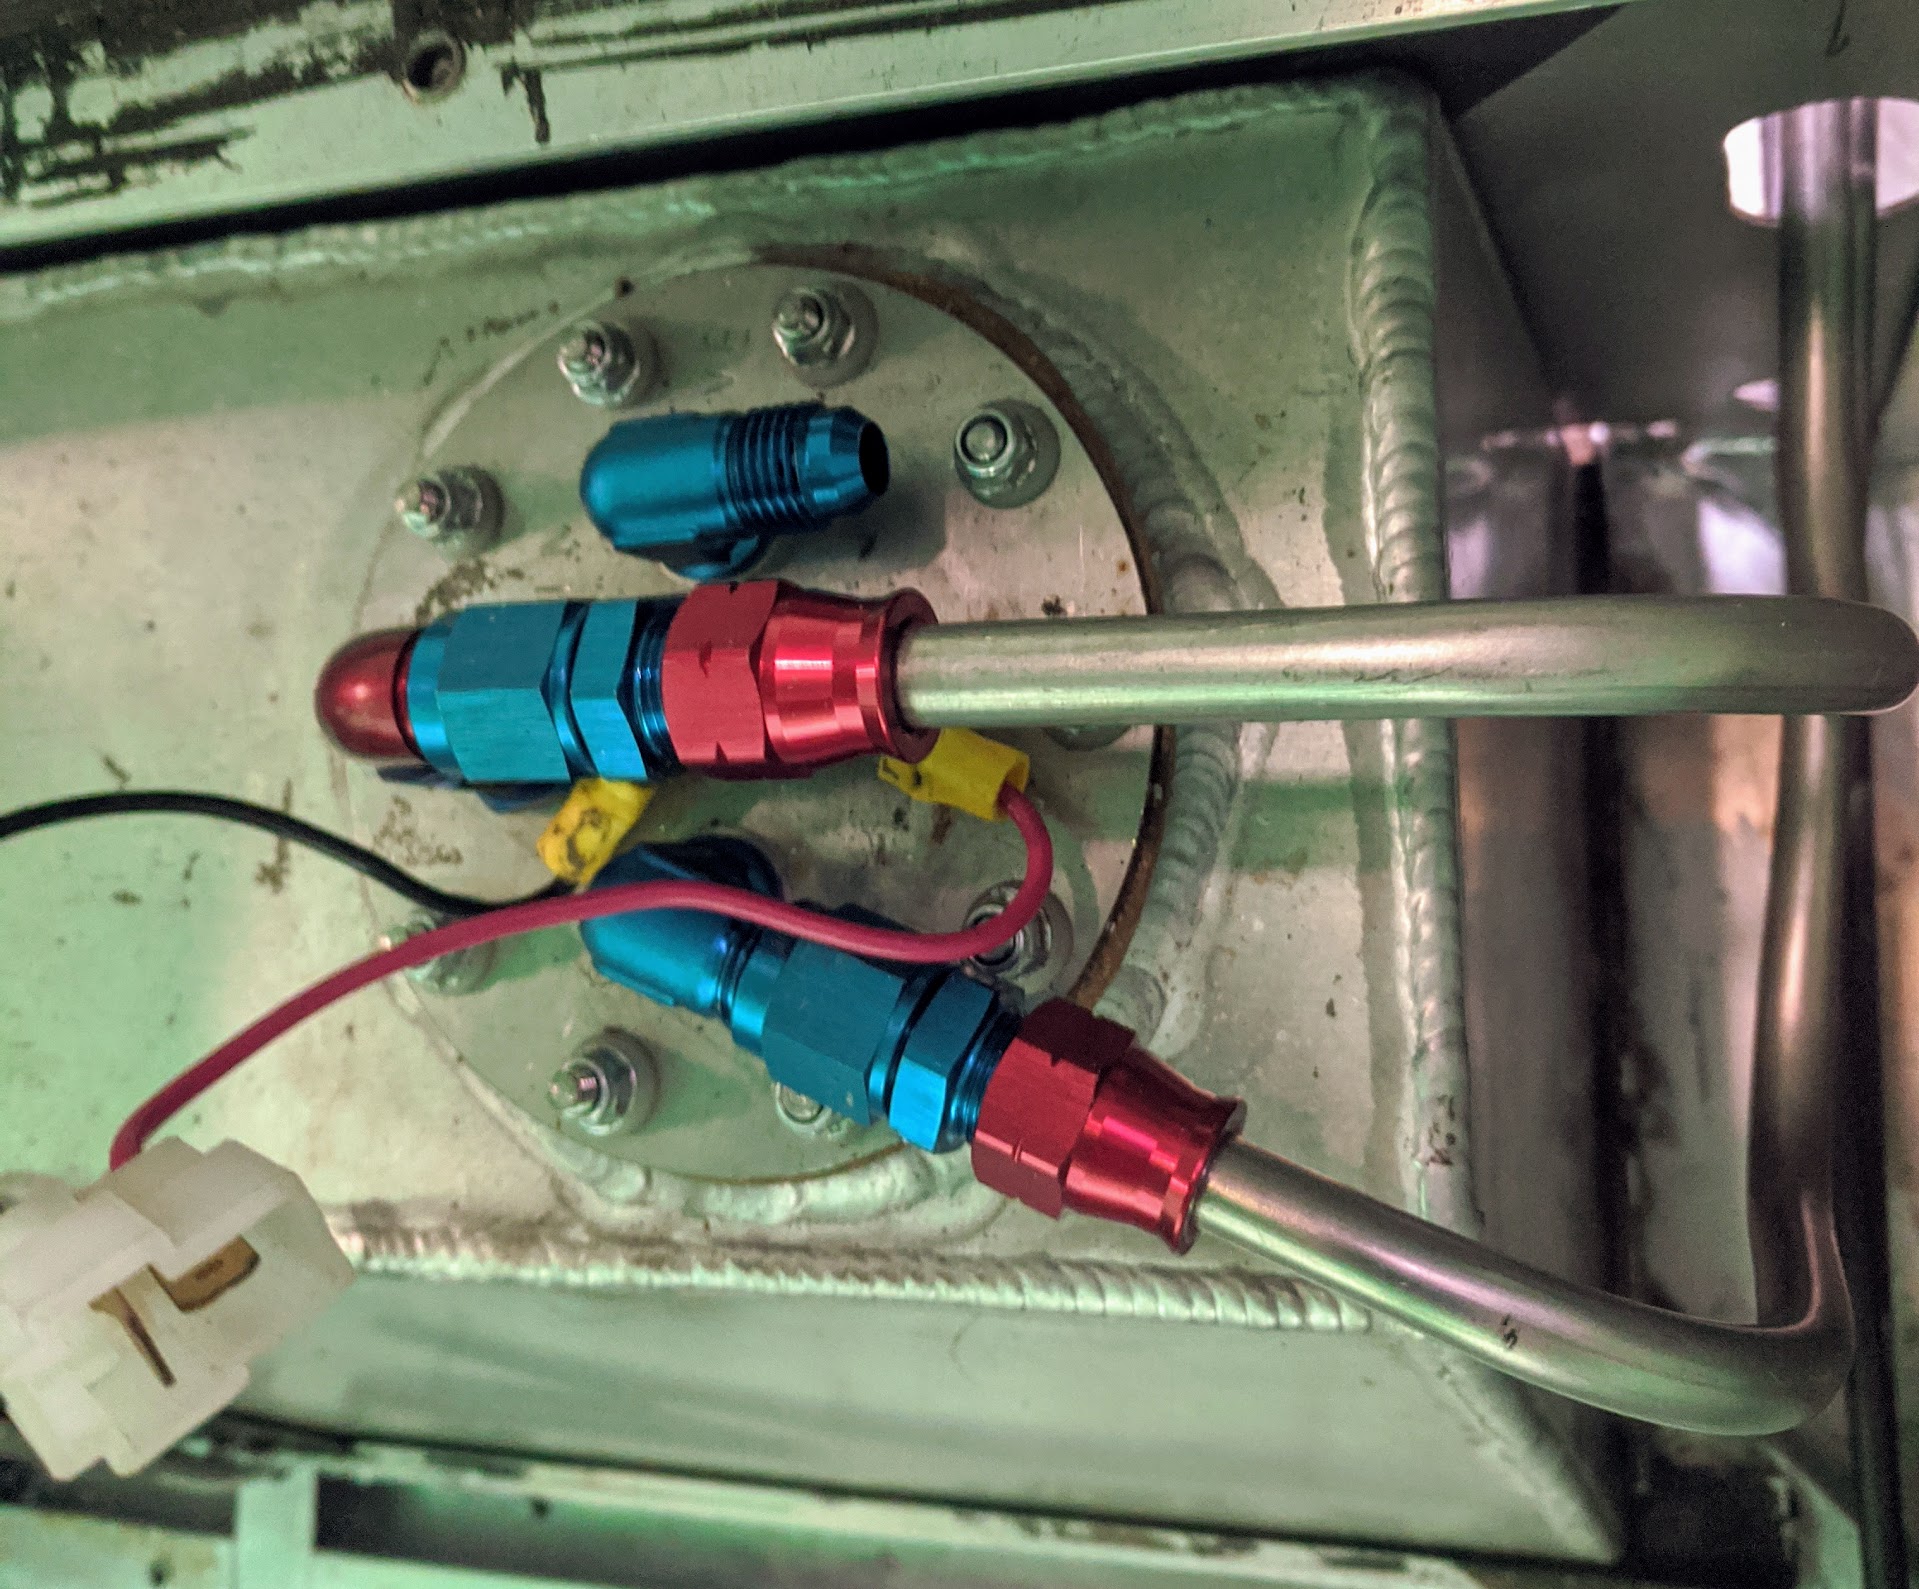
Moving away from the cooling system, the fuel pump was tested and bolted down. This meant the finalizing of the fuel pipes can begin.
The design for this plate is really not very good and has been a pain to make work, I should have left more space for everything. The first part of the engine wiring has been done.
This is the fuel injection sub-harness, I made a string model for this and then the real thing from there. There’s approximately 13 meters of wire in this. If you want to know how to make these types of things look up the https://www.hpacademy.com/ videos on you tube, they do a better job of it than I do.

Next up is to make more wiring whilst waiting for more parts in the mail.