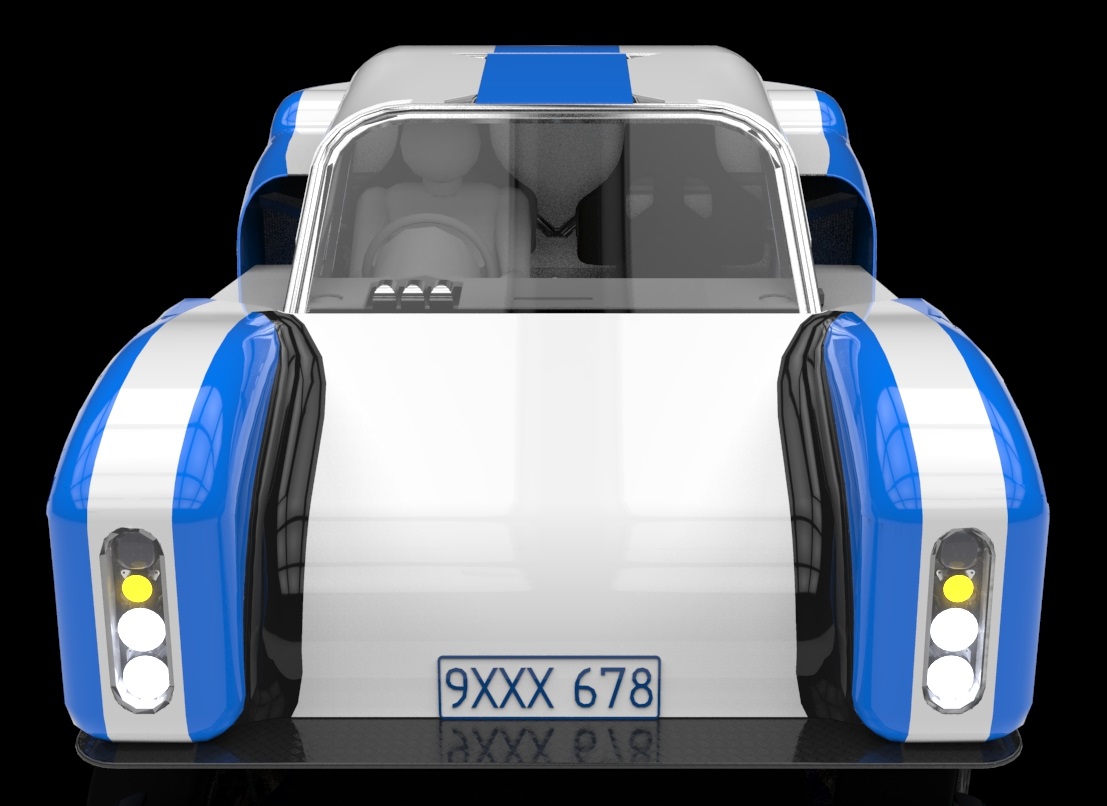
September 26, 2010.
So yesterday I got the tyres mounted on the rims which enabled me to get the car rolled out of the garage. pics below…


The tyres are BFGoodrich g-Force T/A™ KDW’s 245’s on the front and 285’s on the rear which are as narrow as the 9.5″ front and 11″ rear rims will allow. I’d basically been forced into the bigger rims due to the brakes I’m using and I had designed the car around rims 1″ narrower all round. As it turns out though I’m really happy with the result. there’s just enough clearance on full lock at the front and the rears are OK also, so all good.
Speaking of steering, after much frustration trying to find parts locally I gave in and bought the universal joints and other parts needed to compplete the steering from http://www.woodwardsteering.com/ they have many different types of universal joint end that go to a common type of spline for which they can supply splined shaft. Problem solved for less than A$200 so I’m very happy with that. See below…

There’s little clearance between the shaft and chassis, at some point I’ll turn the splines off of the shaft in the areas where they’re not needed to get a bit more.
At the other end of the car the mods to the headers are now more or less complete, the modifications done are the absolute minimum to get the stock headers to fit and work with the stock cats. So hopefully that’ll keep the emissions under control. The piping back from the cats was piping salvaged from the scrap bin of a local performance exhaust shop, on the back end of this will go a pair of mufflers from a Holden VE V8 Commodore, which apparently are very well designed, so hopefully they should be good for the registration process.

Also under way is the intake on the engine, this is constructed from two 3 1/2″ steel exhaust elbows, a little heavy, but easy to refine the design with and I can replace it easily enough in the future with alloy if I wish.
I’m using the biggest K&N filter in their catalogue and this connects onto the MAF via a 1″ thick plate of Tuffnol I turned to a 6″ OD and then cut the square opening in for the air inlet (radiused of course).
The bracketing for holding the thing in place is not yet sorted (no it wont involve string), hence the odd angle it sits at in the picture.


Hey Doug. You got a very ambitious project that takes a long time…something similar happened to me but on a fiero
http://www.youtube.com/watch?v=GzvOUy7gFhM
I am starting a roadster form the ground up …. got the corvette c6 suspension got the whole boxster that will give me the transaxle and the hopefully the boxster engine will give me a c5 zo6 engine that will run with carburetor. i spend 6 months in a race shop that builds gt40 and other projects i am confident i can do it just …. anyways i would like to ask you some stuff if you don’t mind.
[email protected]
thanks
George
Howdy doug,
Started reading your blog yesterday. Such an interesting read. I’ve also read all of dp cars blogs on the 2 cars he had designed.
I’ve recently started toying with the idea or trying to draw a space frame car in solid works. I was wondering if you had links or anything on tutorials on how you went about it? and anymore writing/ pictures from the design stage? first part of your design i have seen is the February, 2007 post.
very interesting to read.
Brad
Hi George,
Sounds like you are going to have some fun! Is it the 5 or 6 speed Boxster transmission you have? I have the 5 speed (Audi 012) which I am told is not that strong from the specs my stock 1UZFE should not break it, but I’m not sure what an LSx would do to it, the 6 speeds however are supposed to be stronger.
By all means ask questions, hopefully I can help.