August 25, 2017. Yet More 3D Printing.
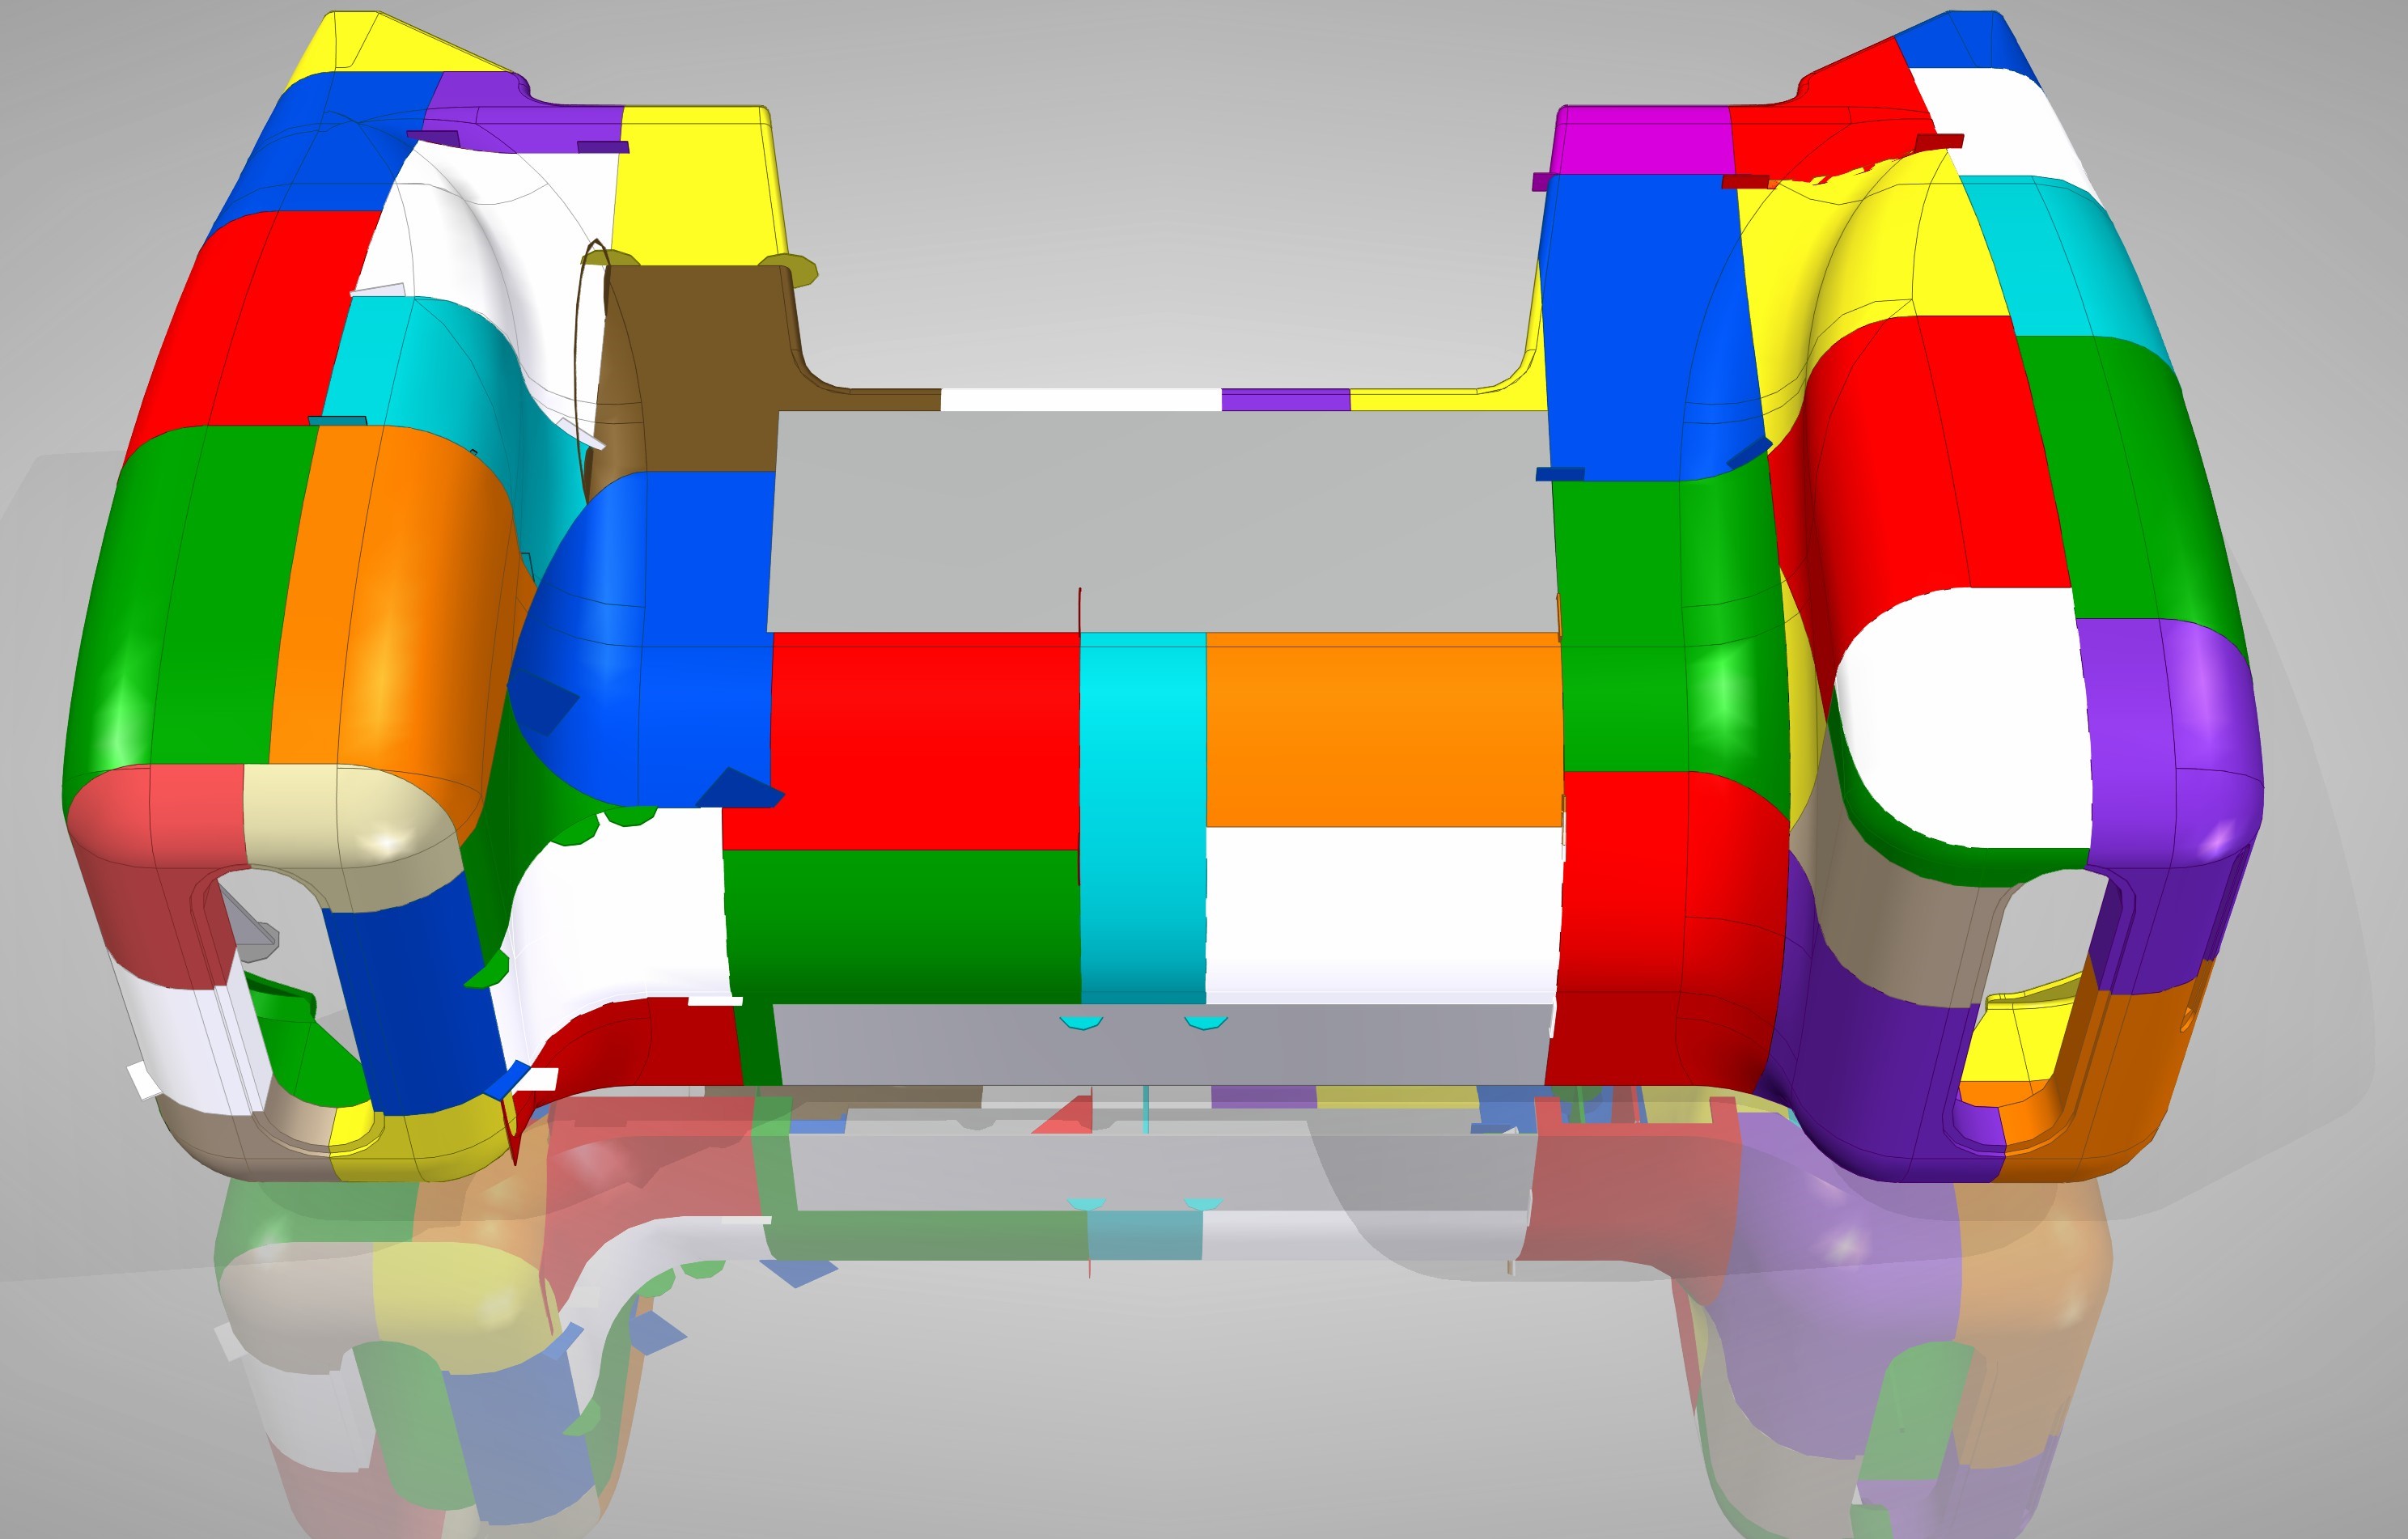
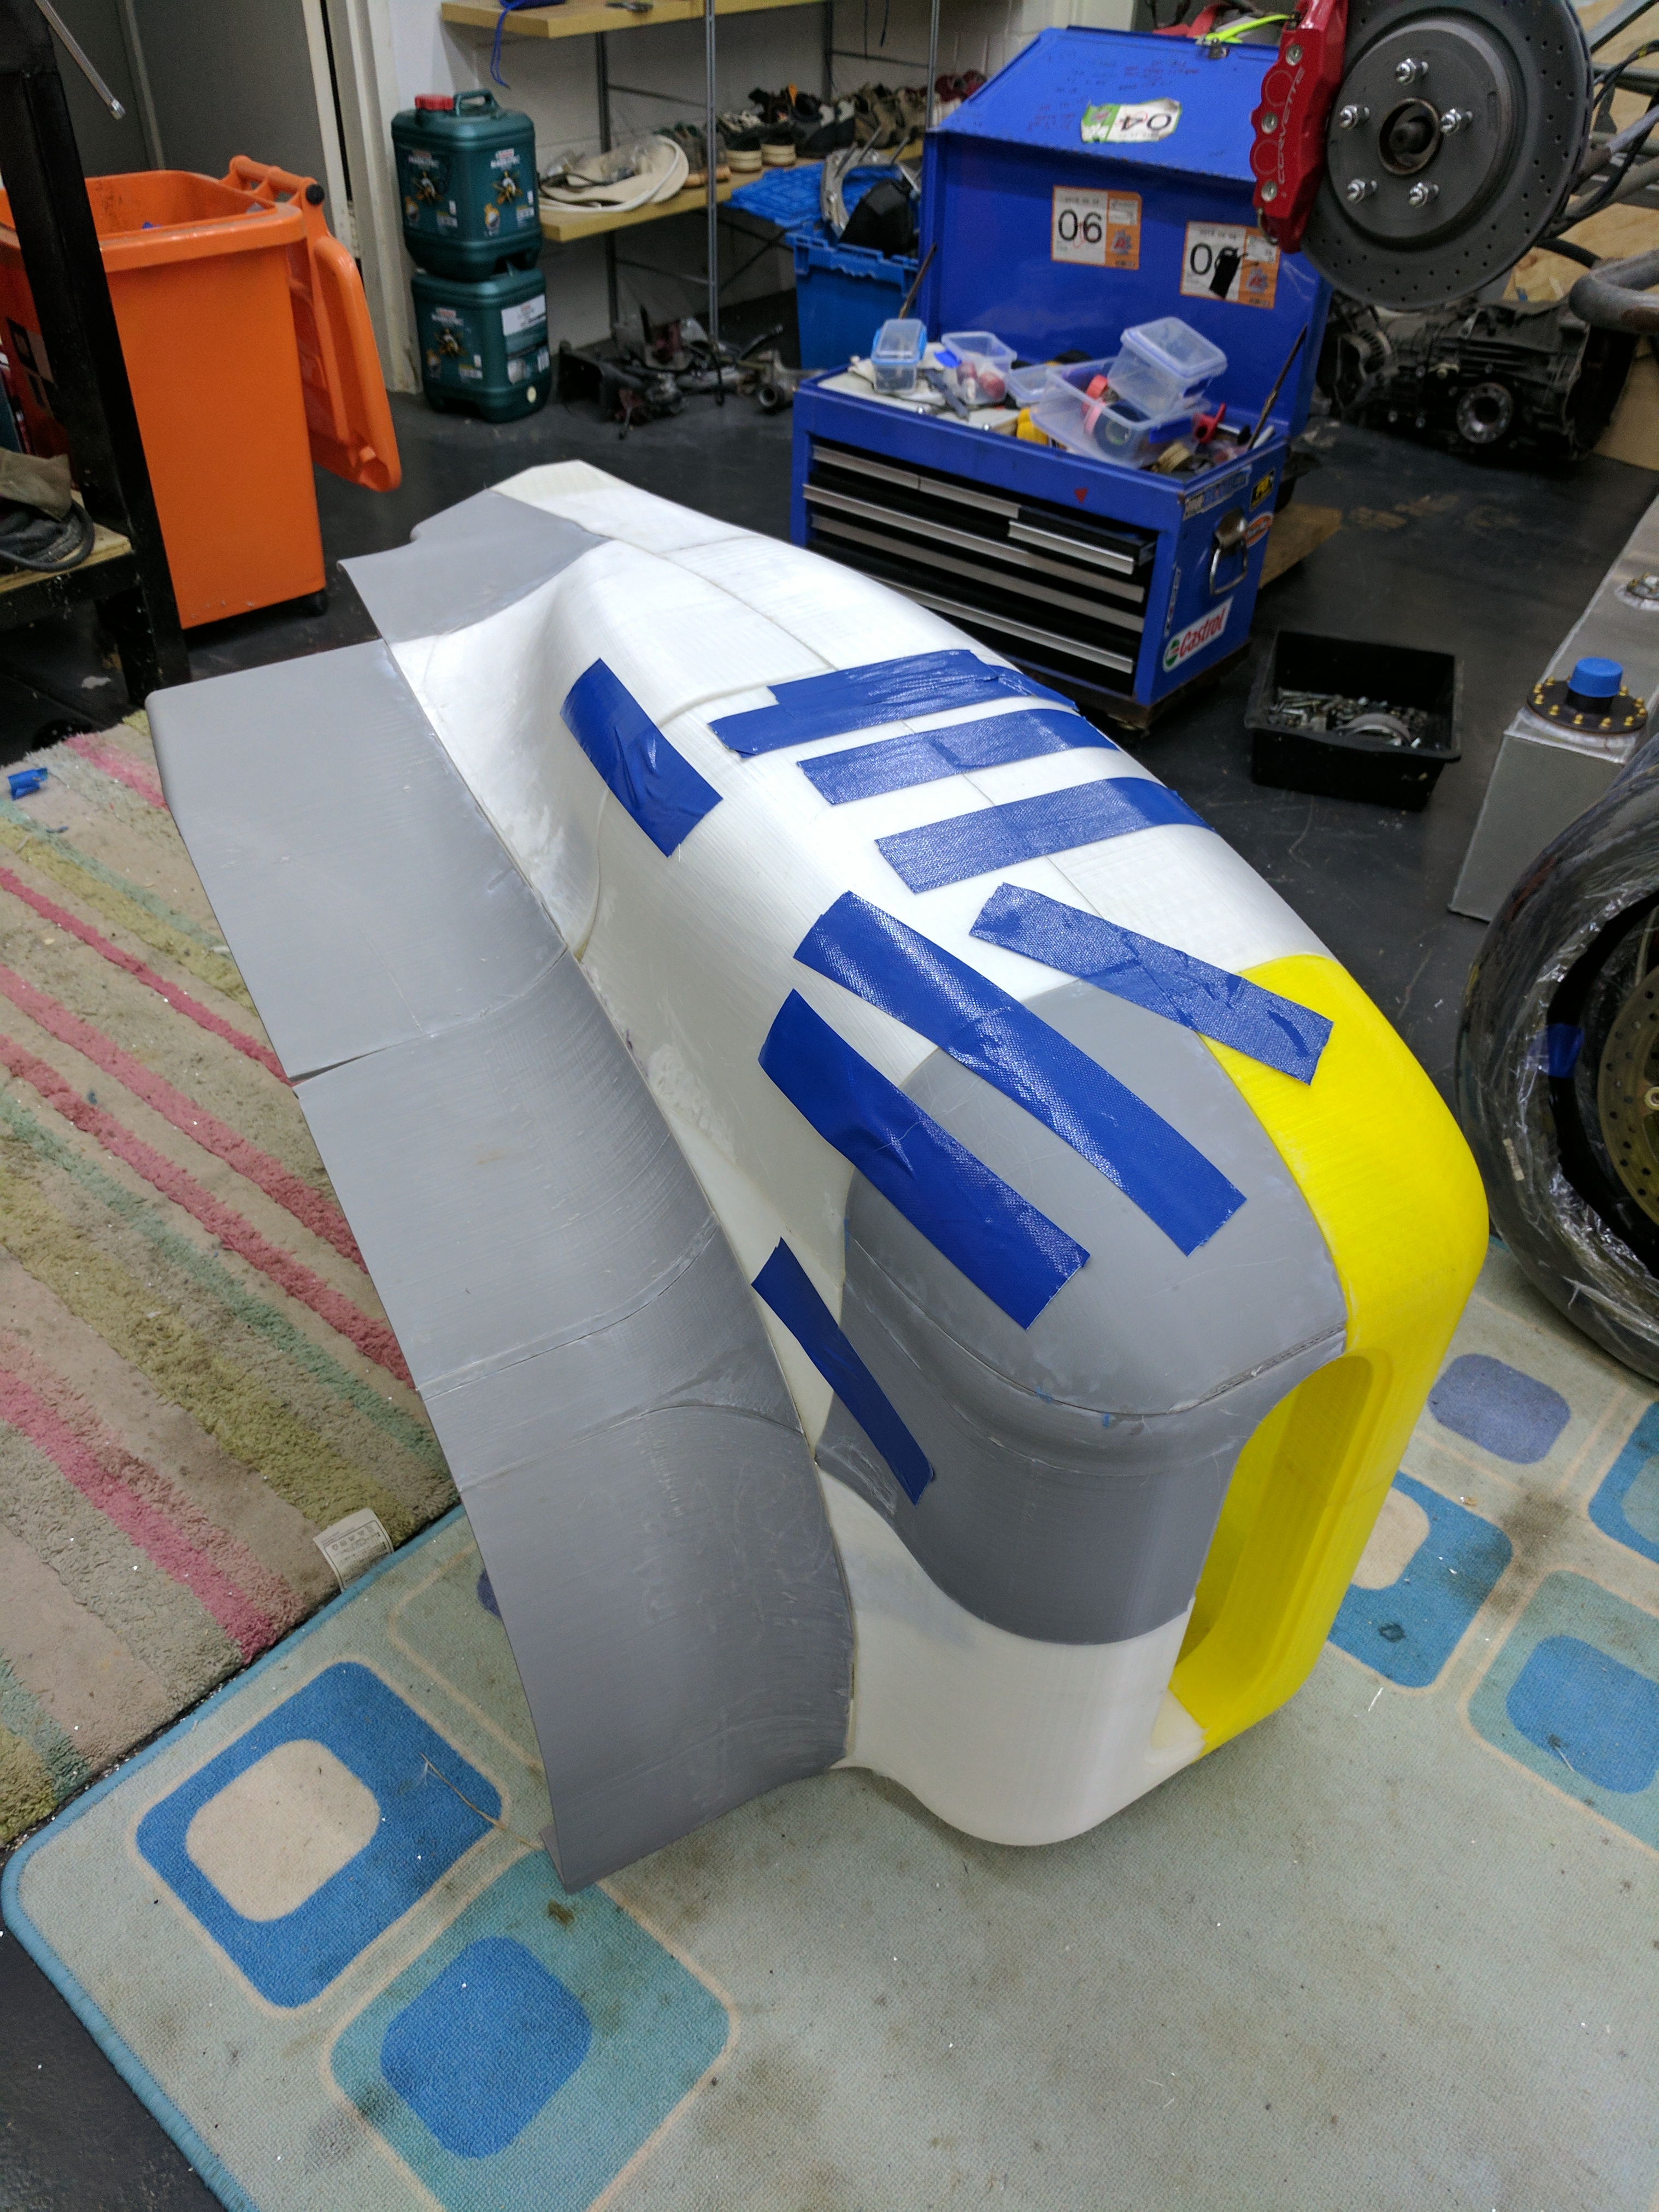
The pictures below show the overall plan for printing the front bodywork of the car. The two grey flat areas are aluminium sheet that’ll be used to fill in flat bits that there’s no point in printing. As of now its basically done printing and the job is moving on to gluing the parts together.
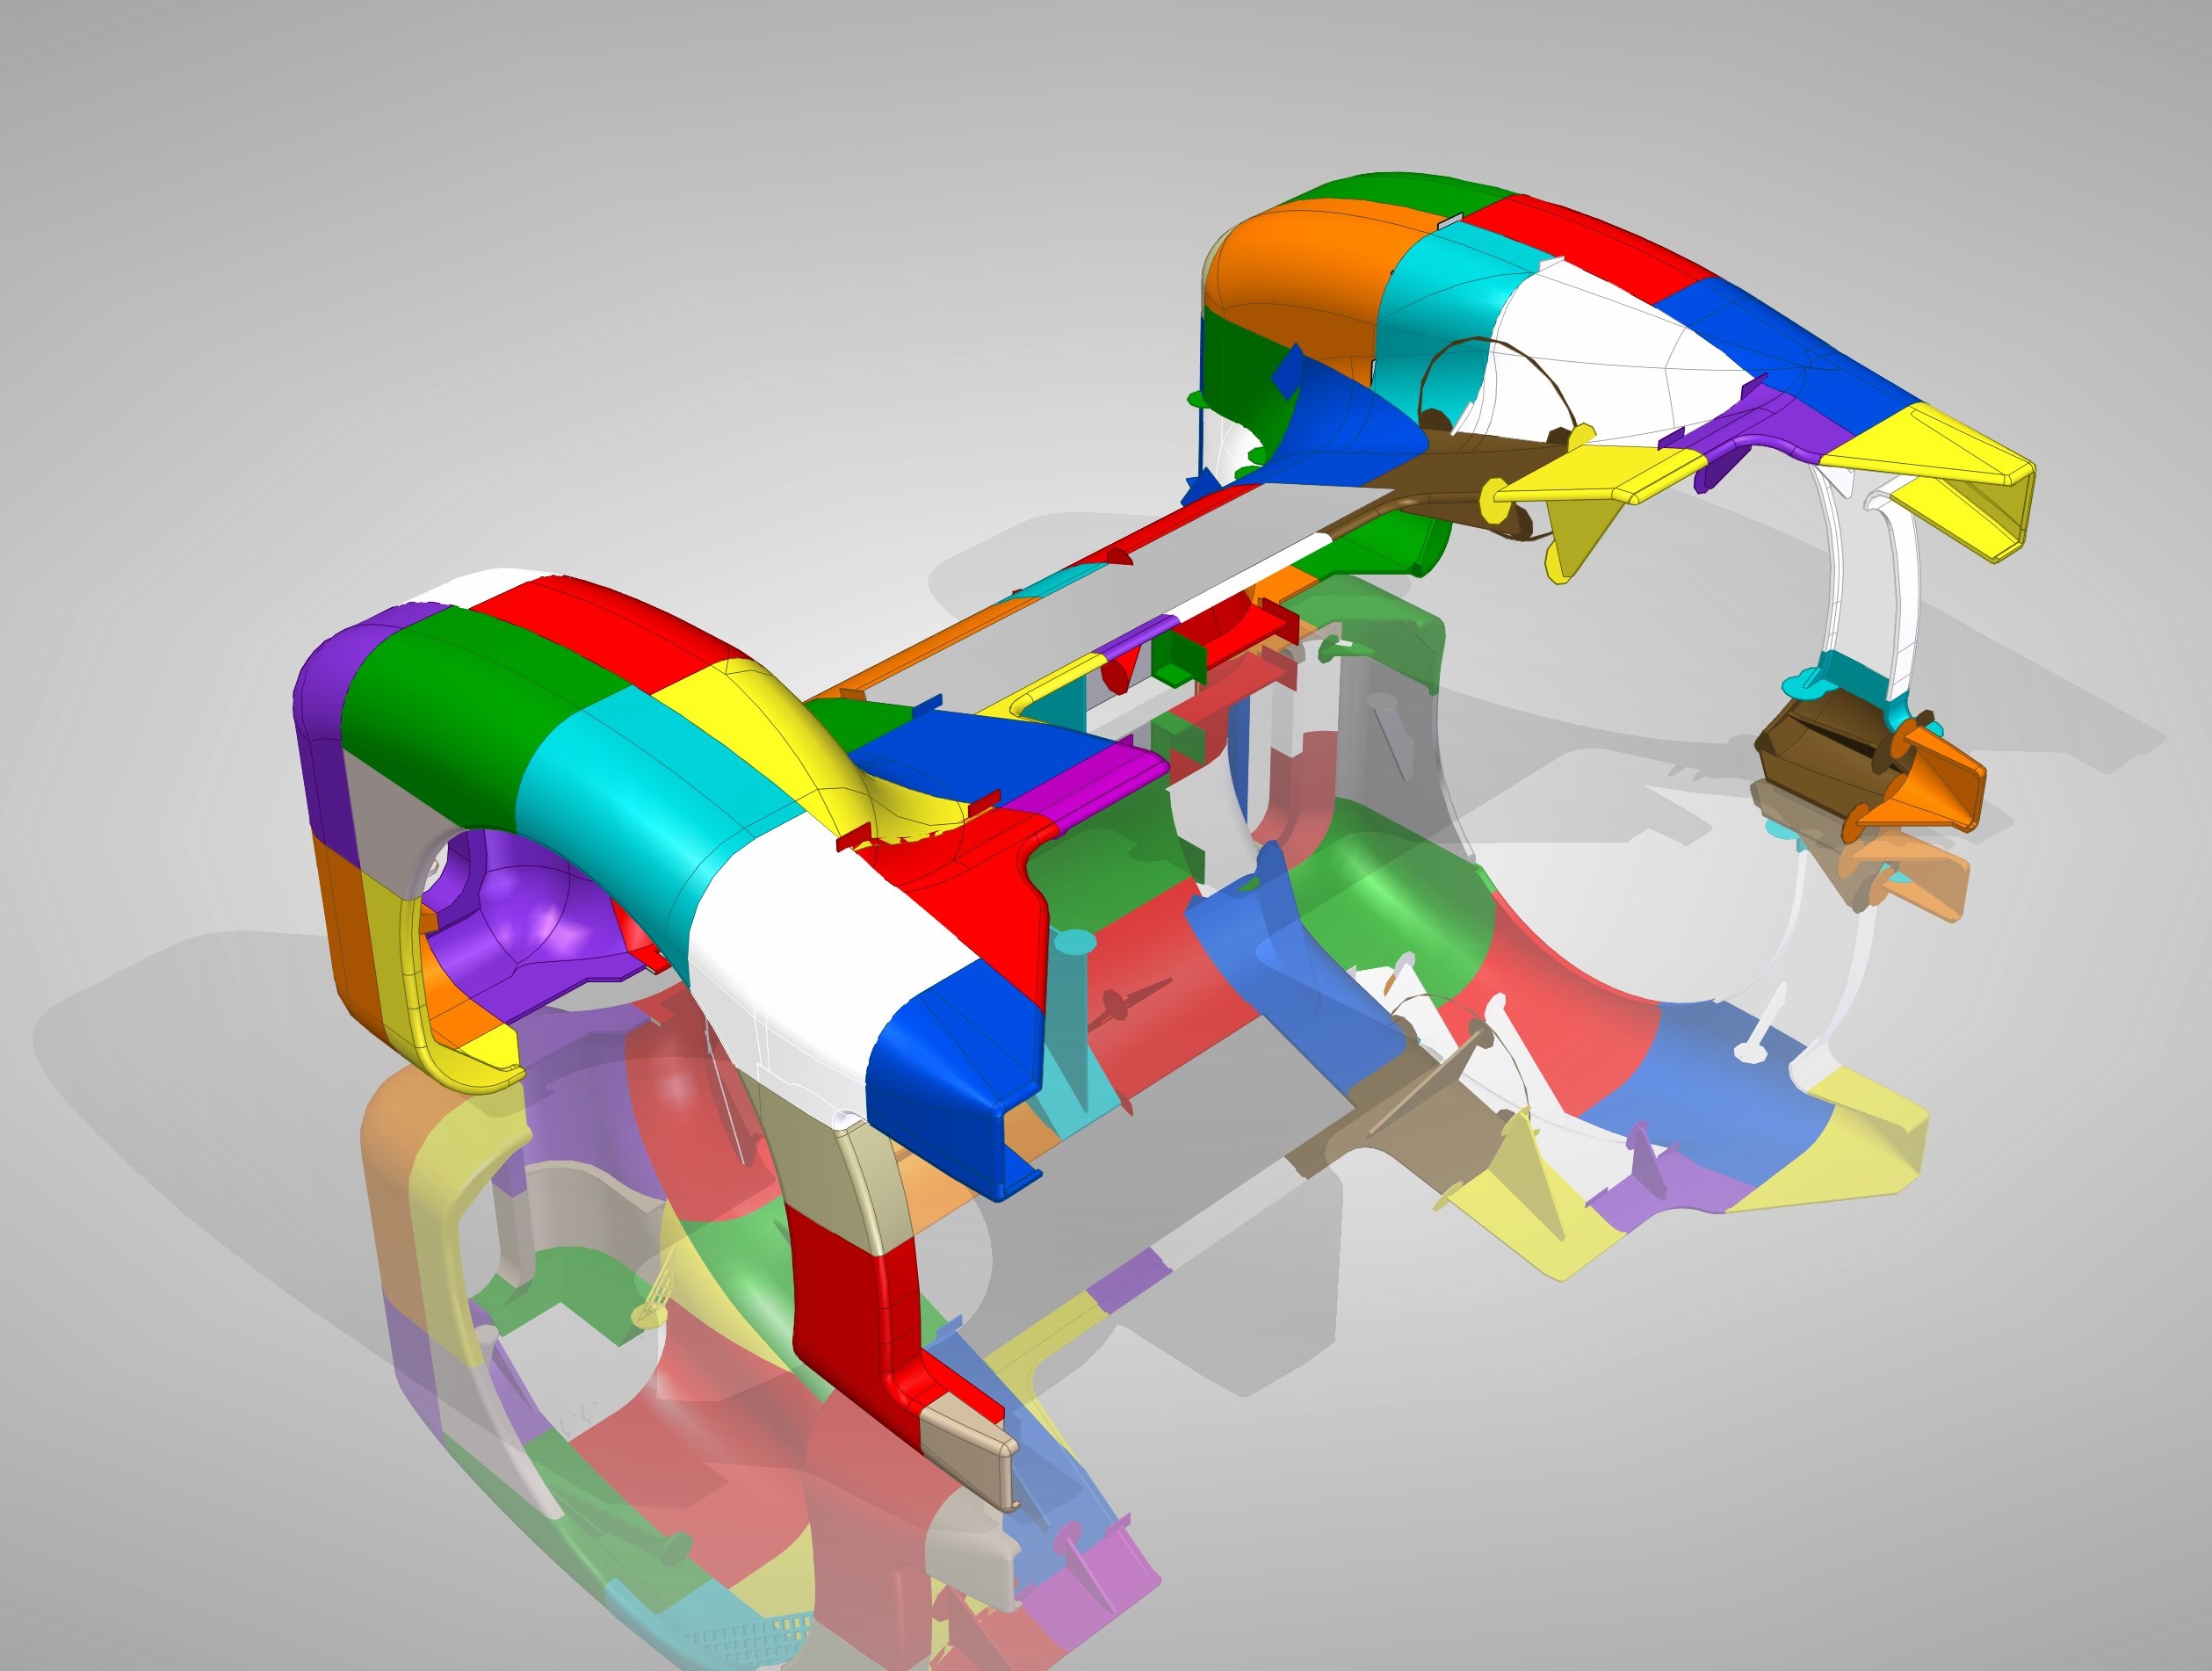

Looking from the front the right hand side was printed first, doing the left hand side I put more effort into cutting up the model to avoid the use of fill material and printing overhangs. Lots of fill slows the process down and increases the risk of failure. Printing overhangs with too flat an angle gives a poor surface finish. Avoiding both sped things up and gave a better result.
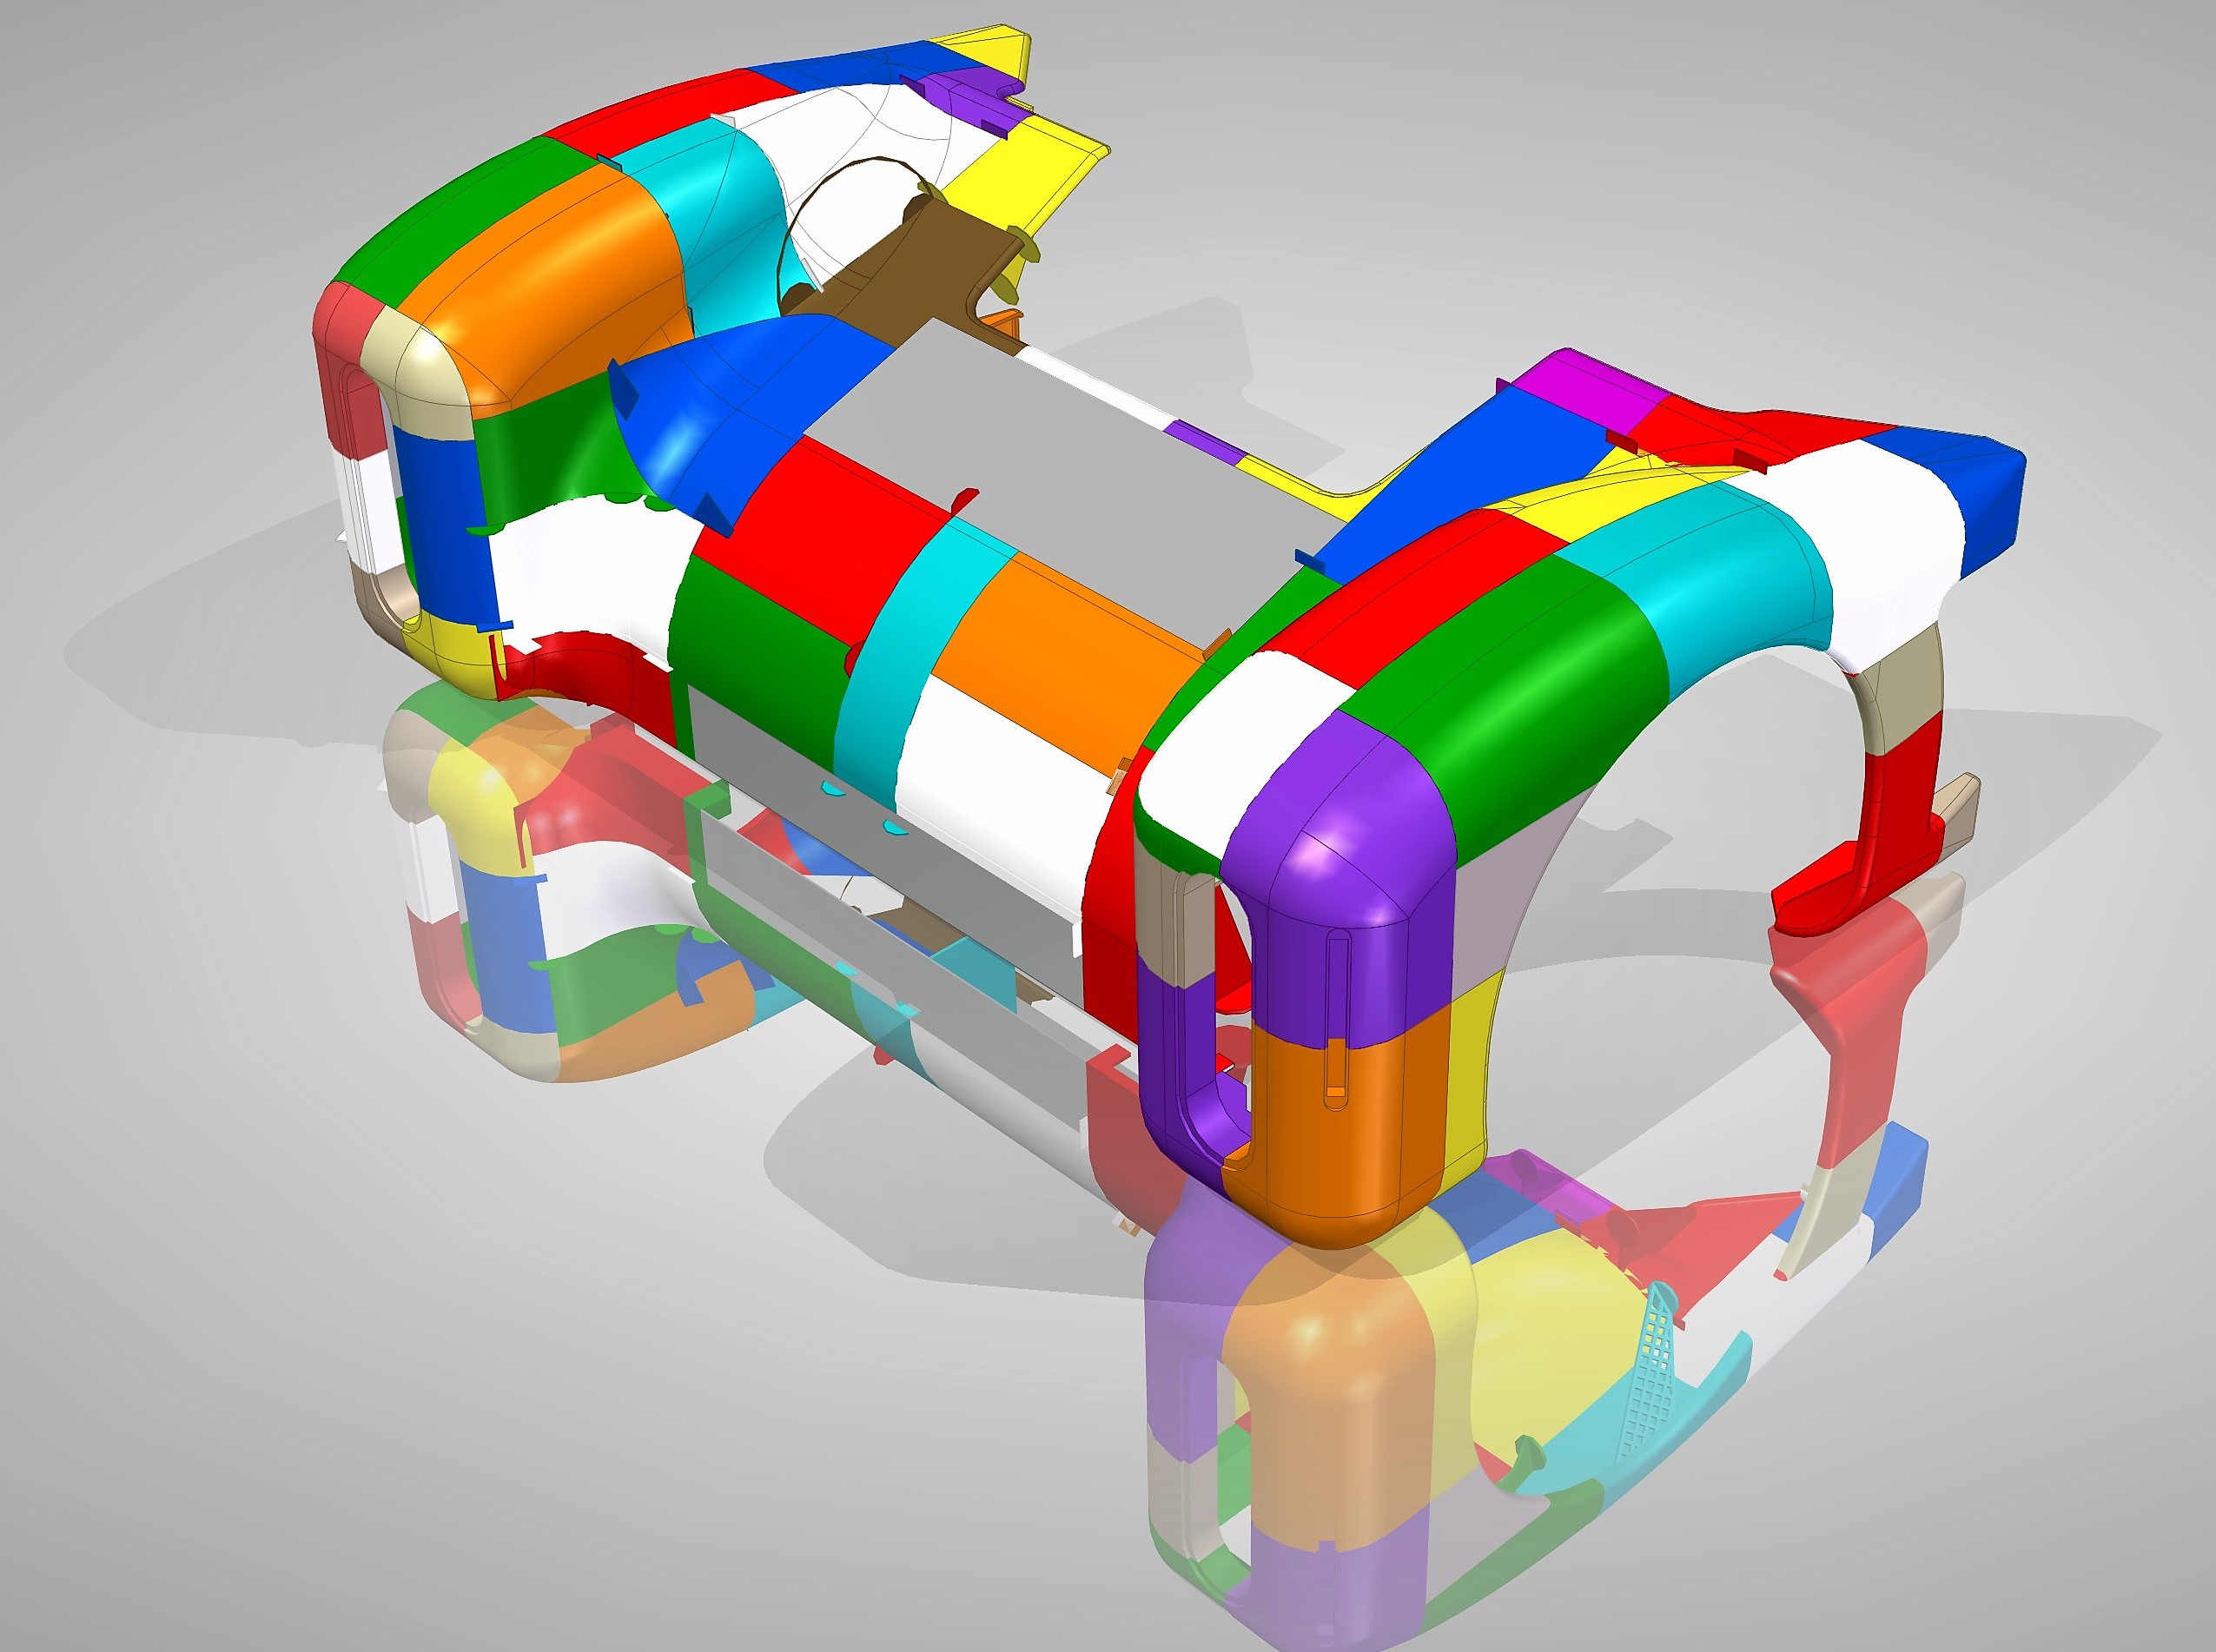
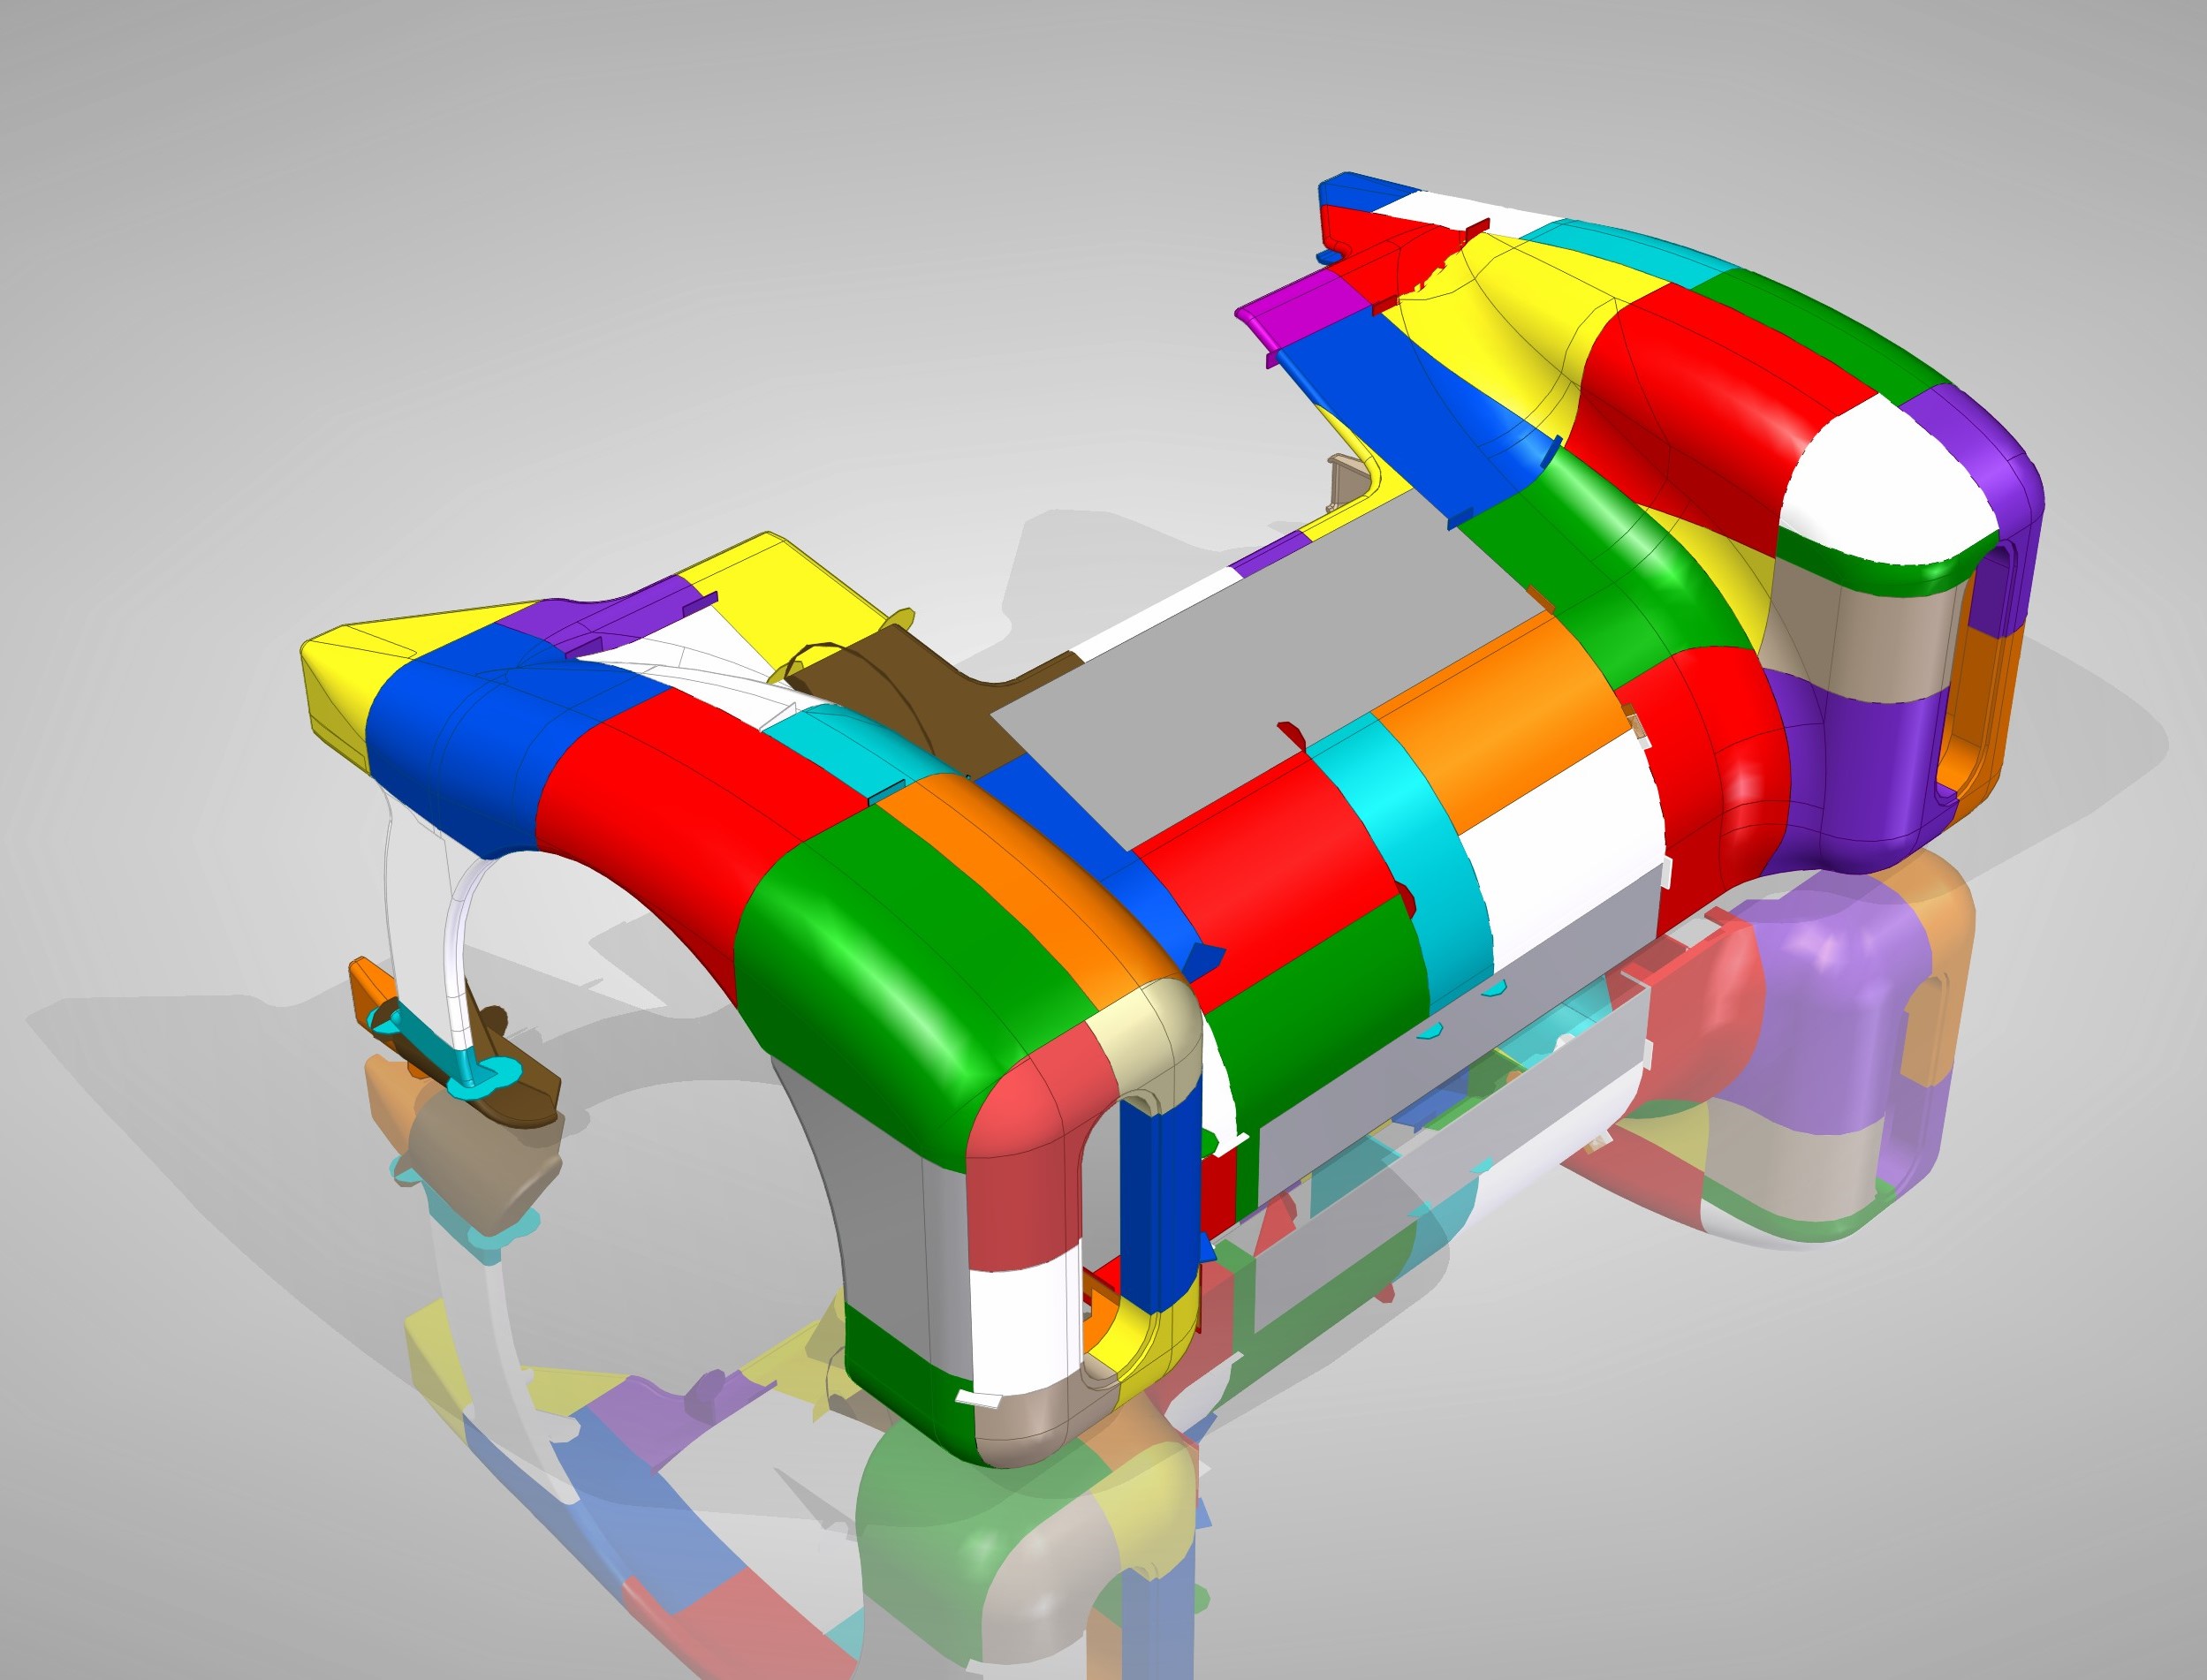
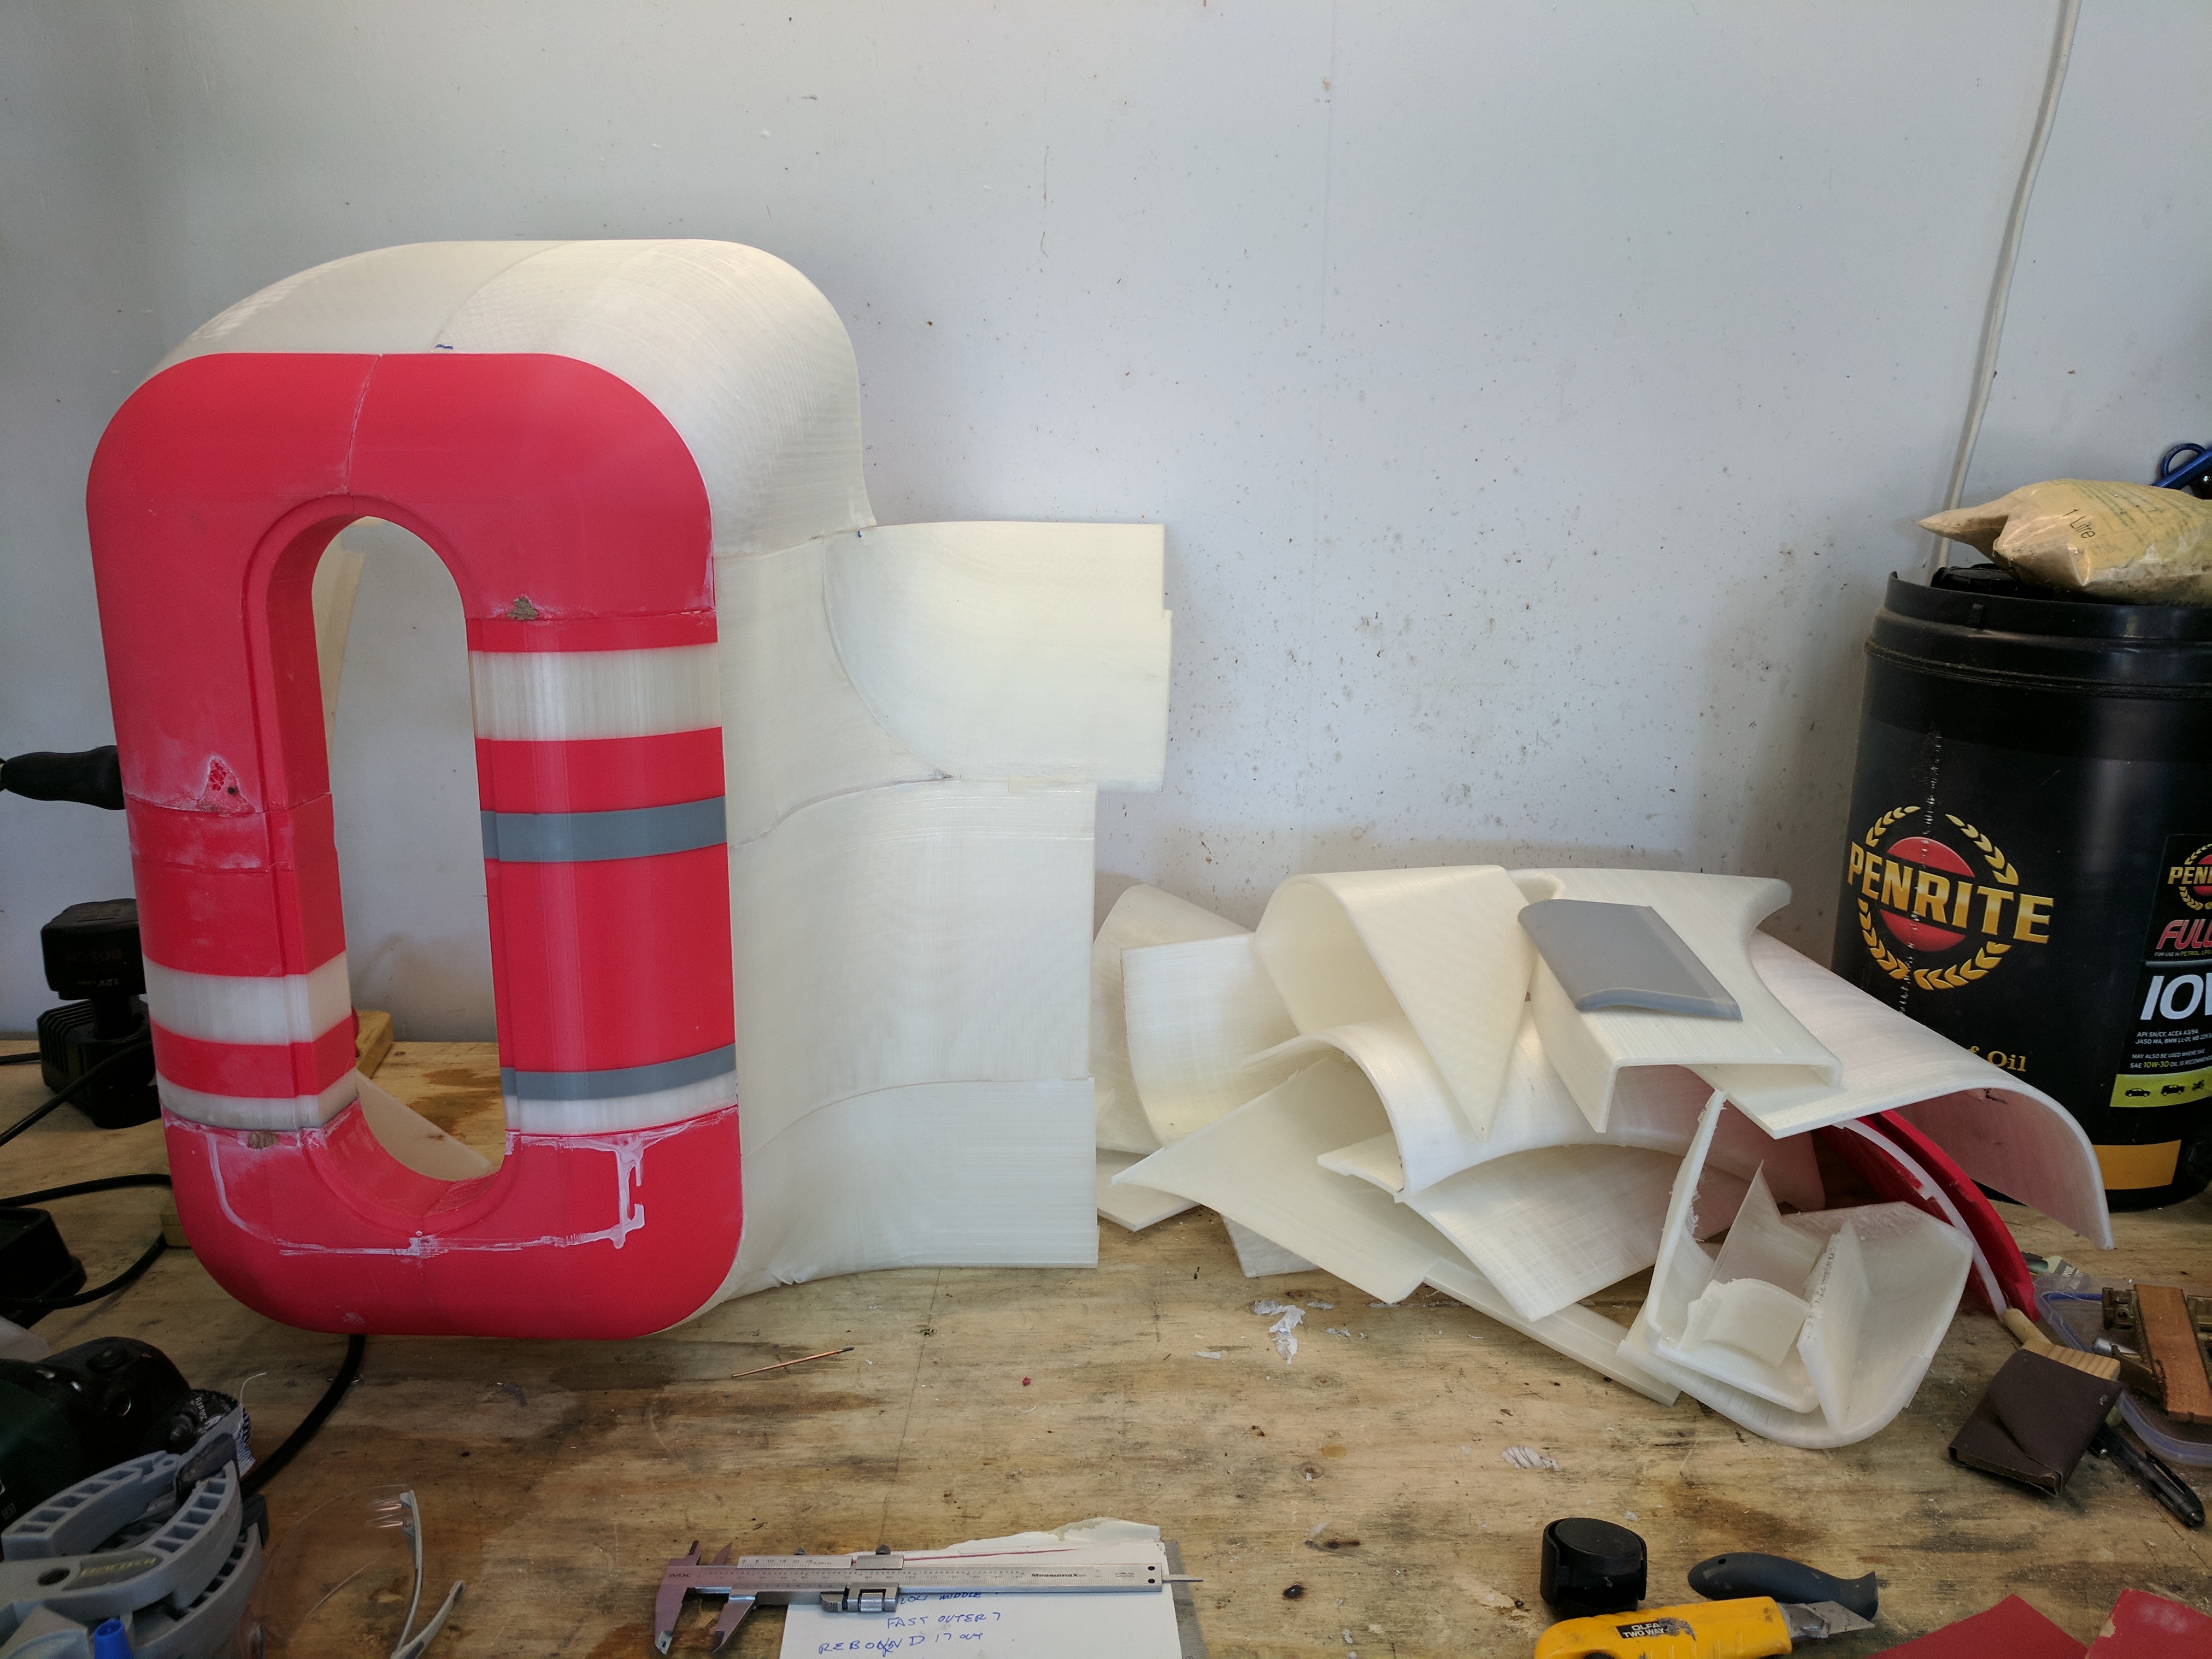
Above the right hand side mostly glued together, initial assembly is with cyanoacrylate (super) glue. Then reinforced on the inside with some FRP.
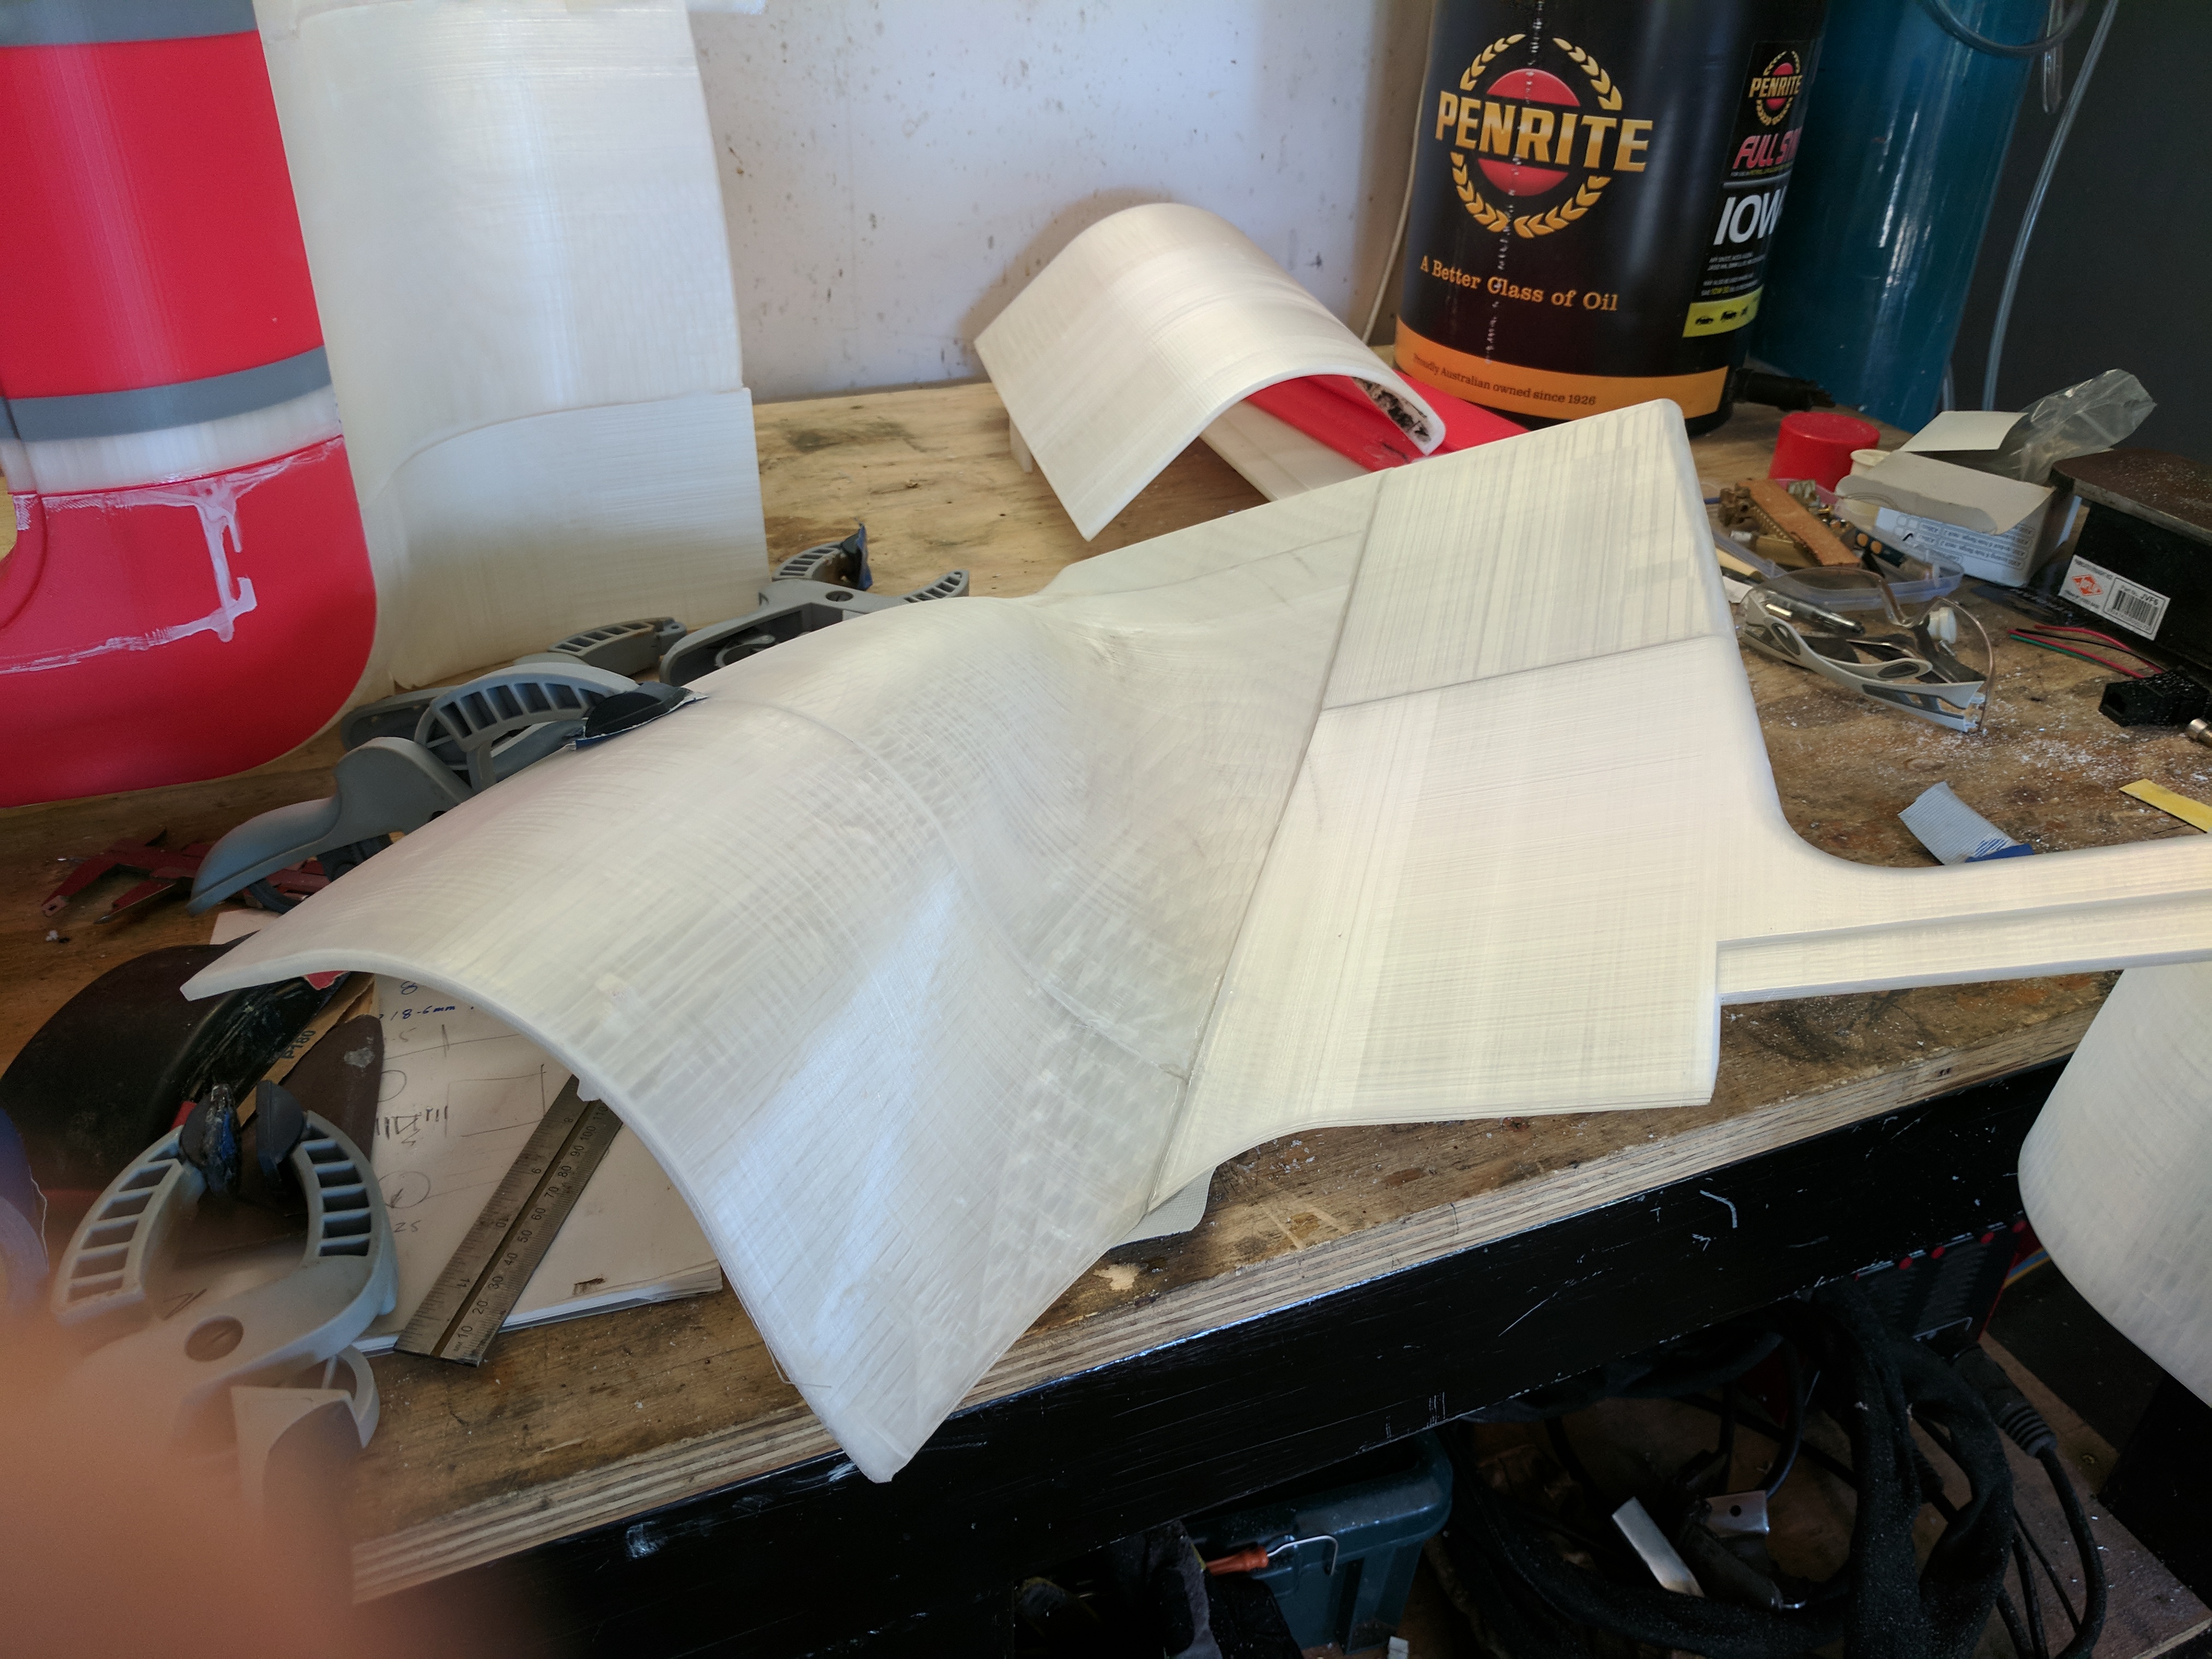
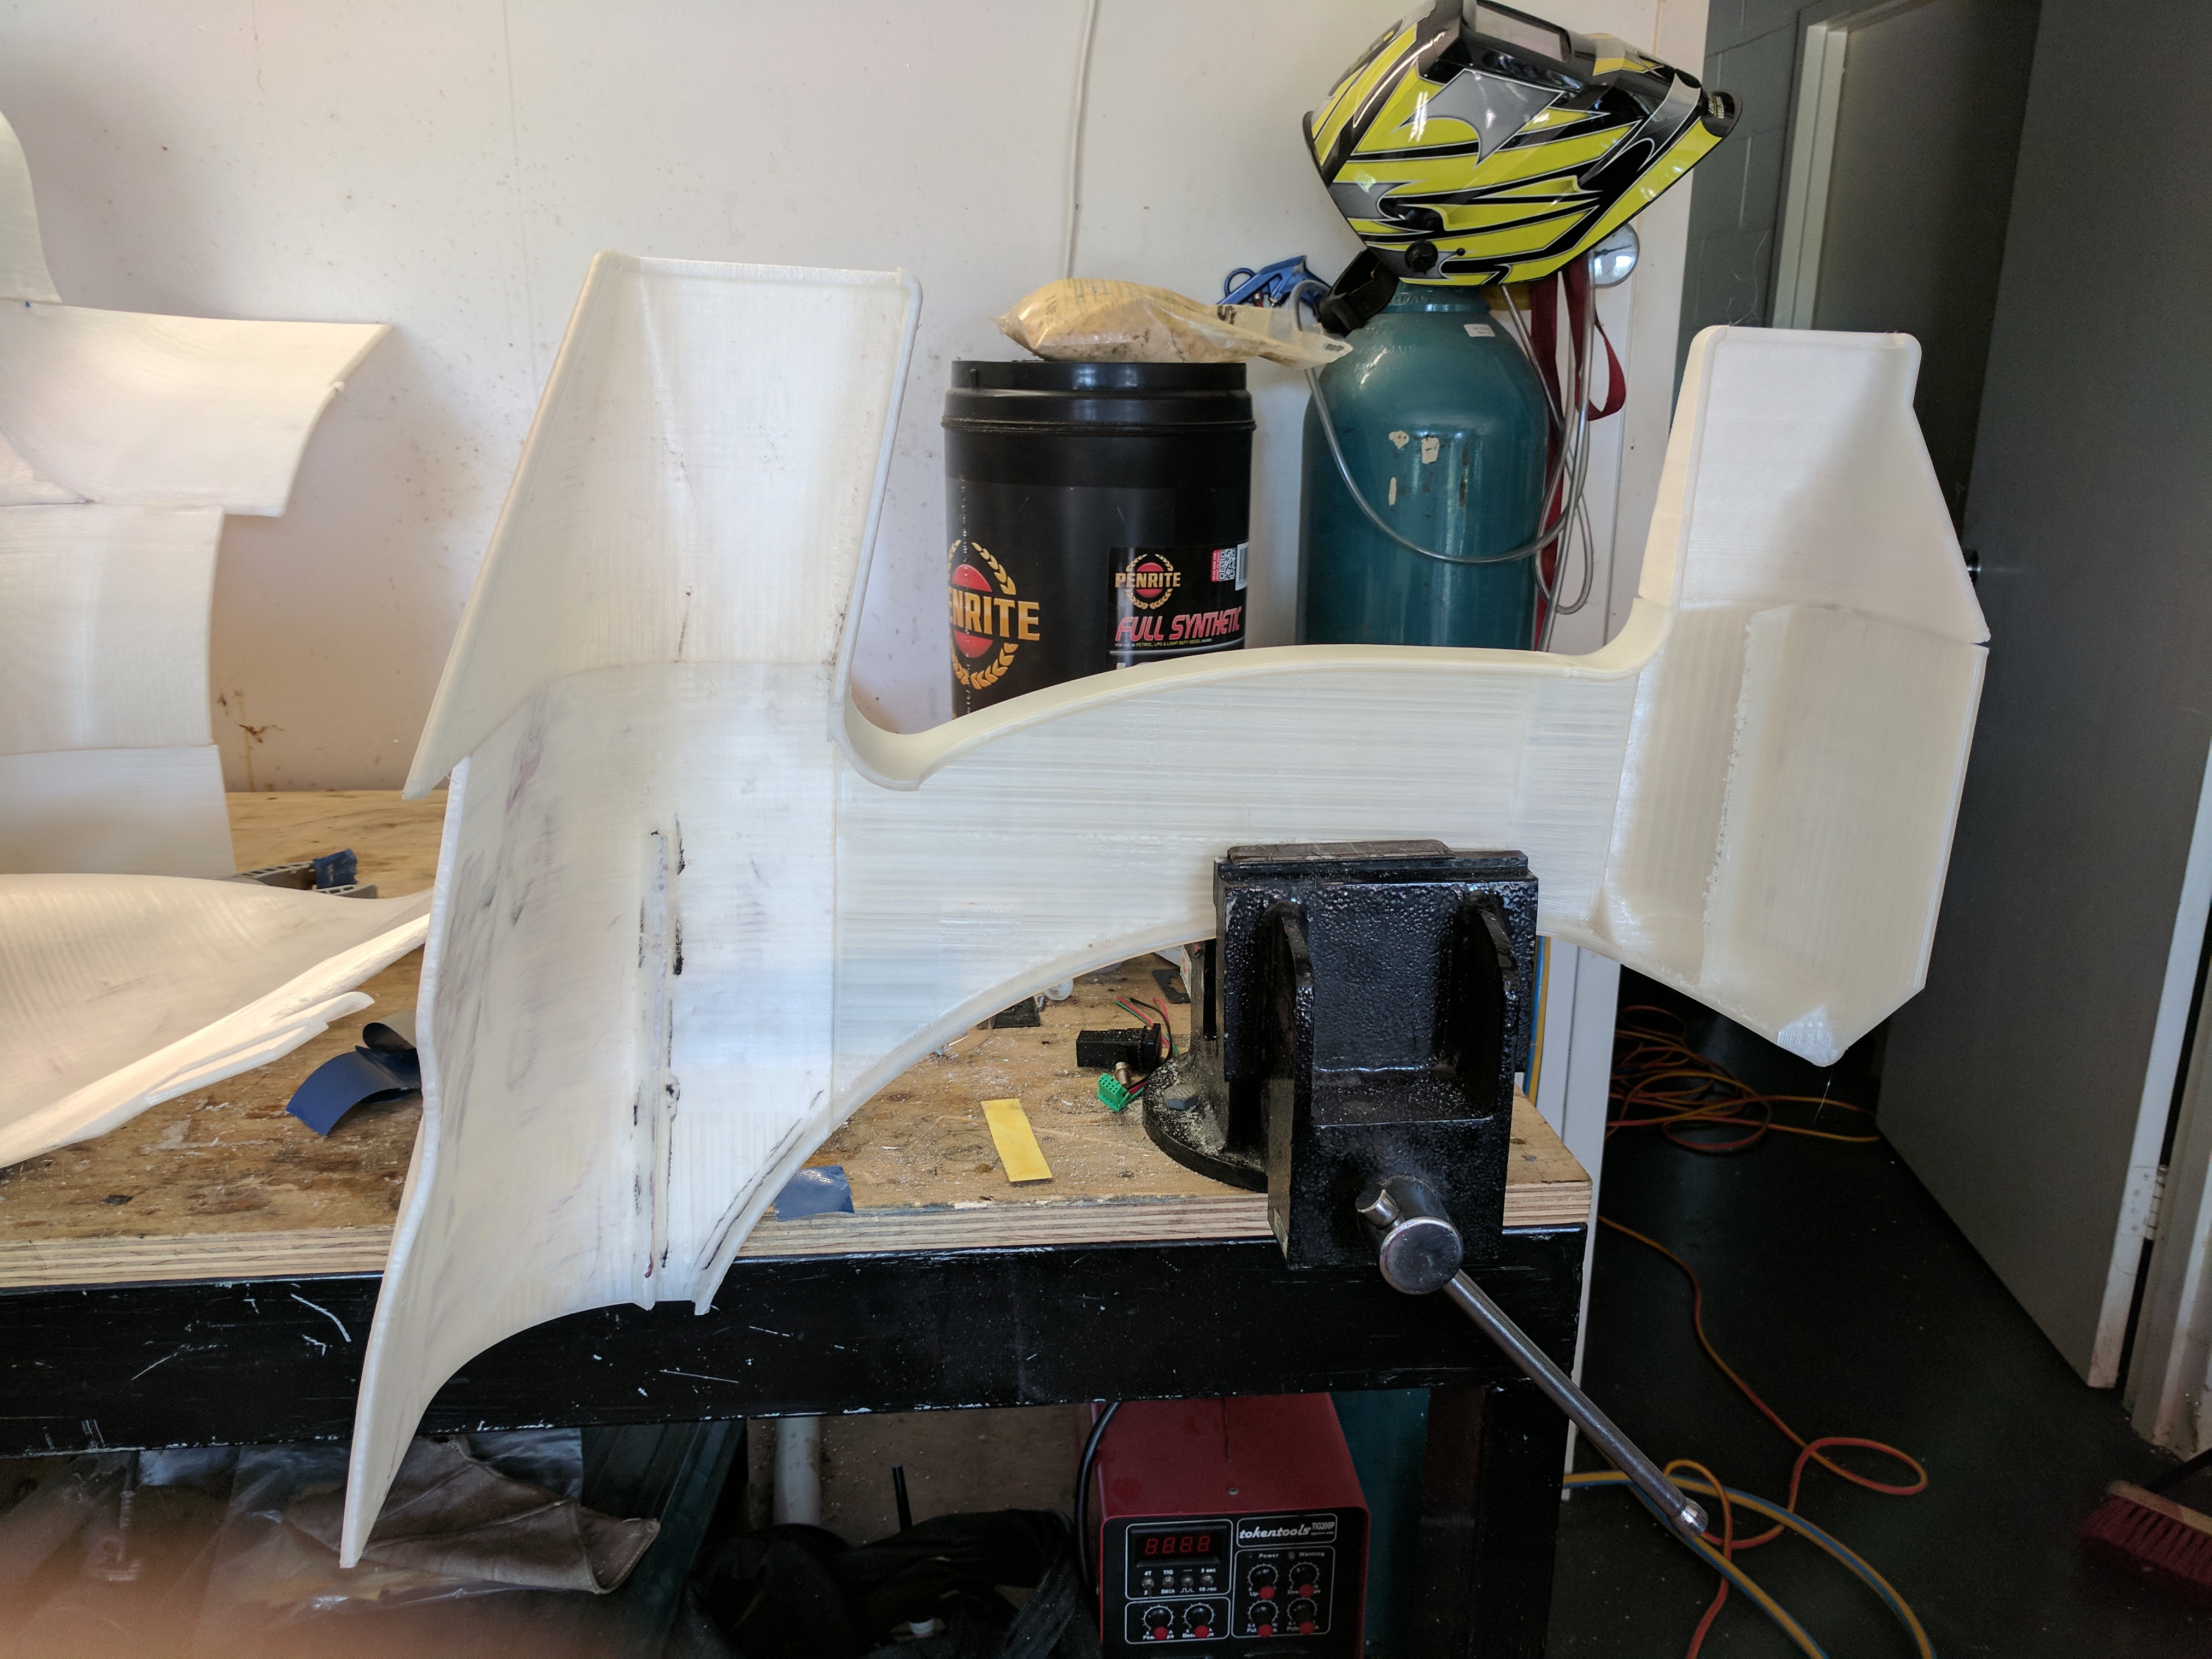
Above the left hand side coming together, generally only minor sanding is needed on the joint faces due to lips or bumps created in the printing surface. A slightly harder issue to deal with is where the face is distorted typically from the part pulling away from the build surface during the print. Mostly this is curable by adding ‘Mick Mouse Ears’ to the parts, I typically add 60mm diameter by 1mm thick discs at the points where I guess the part will try to lift.
Now to buy more glue.