December 1, 2018.
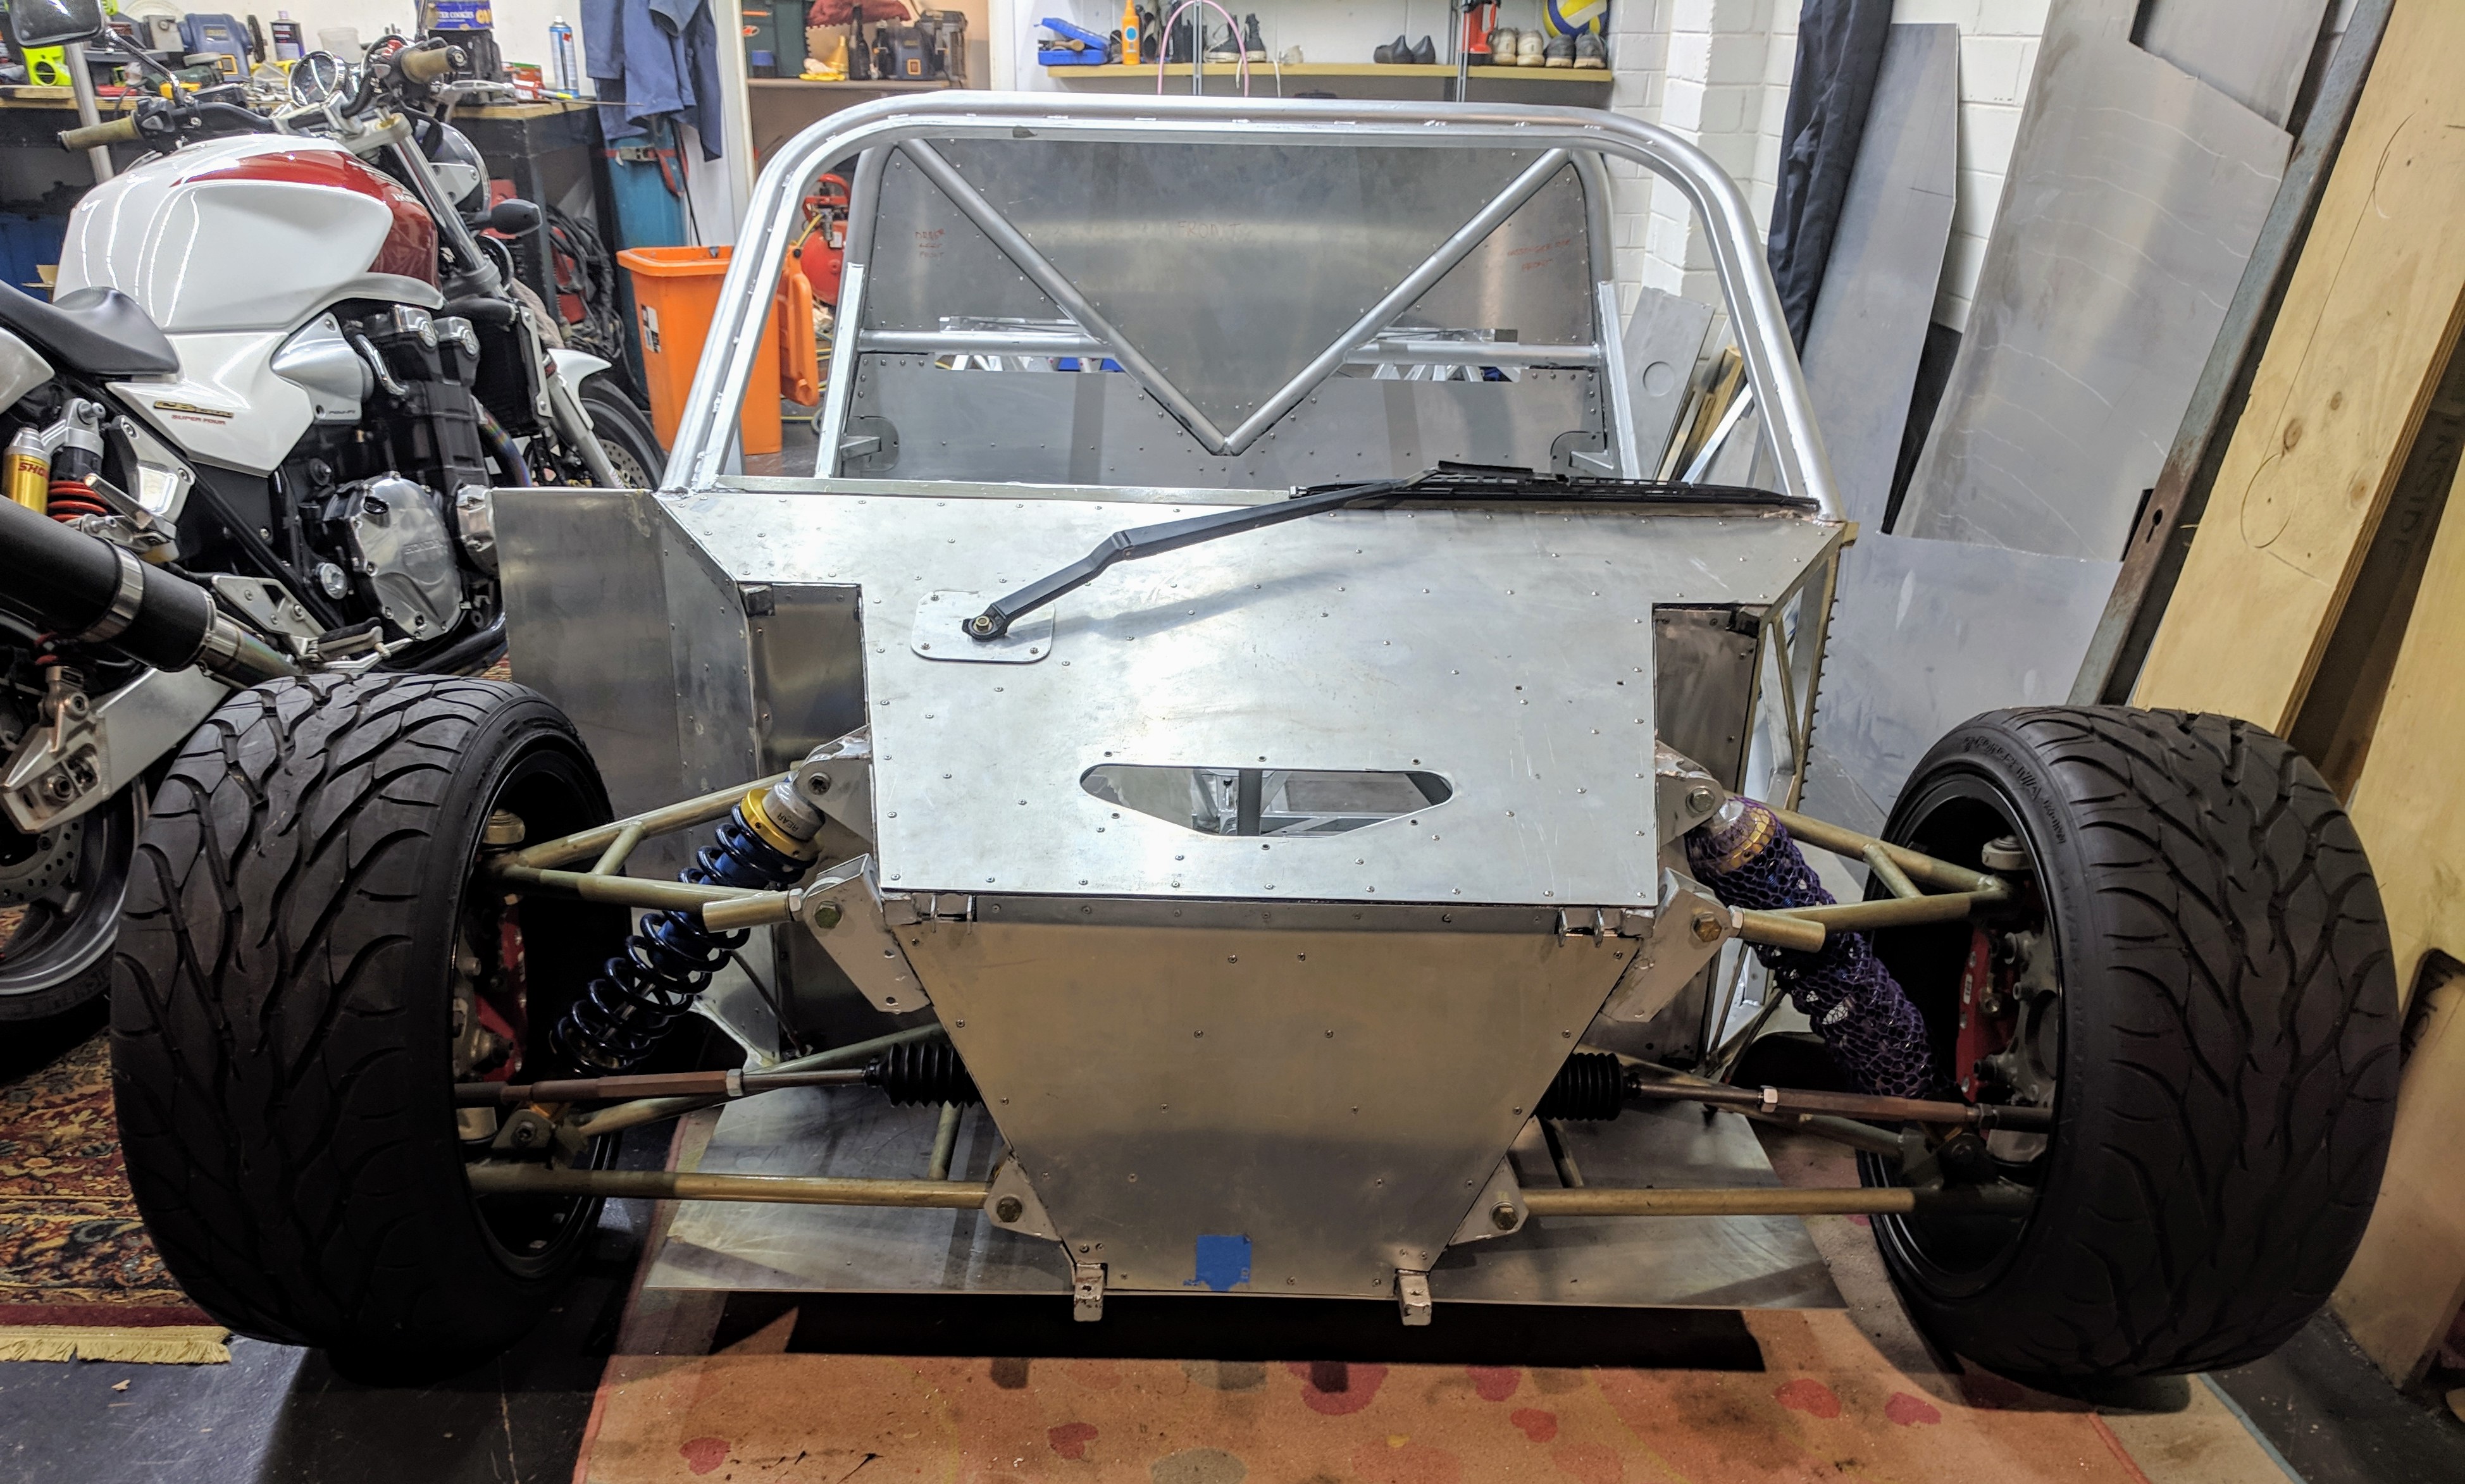
At the front of the car work has been been ongoing to seal the holes and gaps where the weather could get in, there’s a couple of covers required for where a couple of parts stick through the side sheet a little. This one covers up part of the windscreen wiper mount:

All this is required as when I built the frame sheeting in the front was not part of the design. This has led to a few ugly bits to deal with.
On the side pods, in the original design the radiator was to be at the front of the car. This meant the cooling pipes would travel in the left side pod and tubes for ducting wiring and cables would go in the right. Now the radiators have been moved to the rear I’m going to put tubes in both side pods, the aim is to use the left hand side ones as much as possible to help balance the car with the driver in it. The tube is just 50mm PVC, I did not see the need for anything exotic.

On the fuel tank, the connections have been re-done again, stainless hard line will be used from the tank, back to near the engine connections.

I’ve started looking at the engine again, I’m considering this one to be a trial run, If it actually runs that’d be great, but if not at least I’ll be setup to replace the motor and swap all the bits for it.
First step, from the front of the engine, the AC pump, power steering pump, hydraulic fan pump and belt tensioning mechanism are all gone. The standard alternator is a 120amp unit, much bigger than I’ll need I think, but we’ll run with that. A 750mm belt was sourced (Gates 6PK750) and a adjustable bracket made up to suit.

The bracket I was happy with at the 2nd attempt. Cardboard ones to test and the final thing in some 5mm steel. Designed in Onshape.com (Part link)

Just spacers needed to finish.

Back at the front of the car the steering rack was re-installed, this was a total pain to do. I had to walk away repeatedly.

This hole is only just big enough, which means I guess I did it right, but its far from comfortable.

With the rack in the wheels could go on, I could then check the clearance with the floor sheet (which was good) and work out the position for the brake lines to go through into the passenger compartment.


Continuing the theme of jumping all over the place, the rubber supports were glued in for the fuel tank to sit on.

Glueing these in took a few attempts to get a firm hold, the key, just like fixing a bicycle tube was to rough up the surface of the rubber before glueing it in place. Sika 221 was used for this.

The fit is pretty tight into the base hopefully the rubber relaxes a bit. The final part to do is two straps to hold it down in place.