September 20, 2021. MPCNC Machining, 3D Printing and Wiring.
Again long time not update, the main focus I’ve had is to get the car ready to go to the dyno to get the ECU set up correctly. The first part of that is finishing the throttle cable linkage to a hopefully final condition.
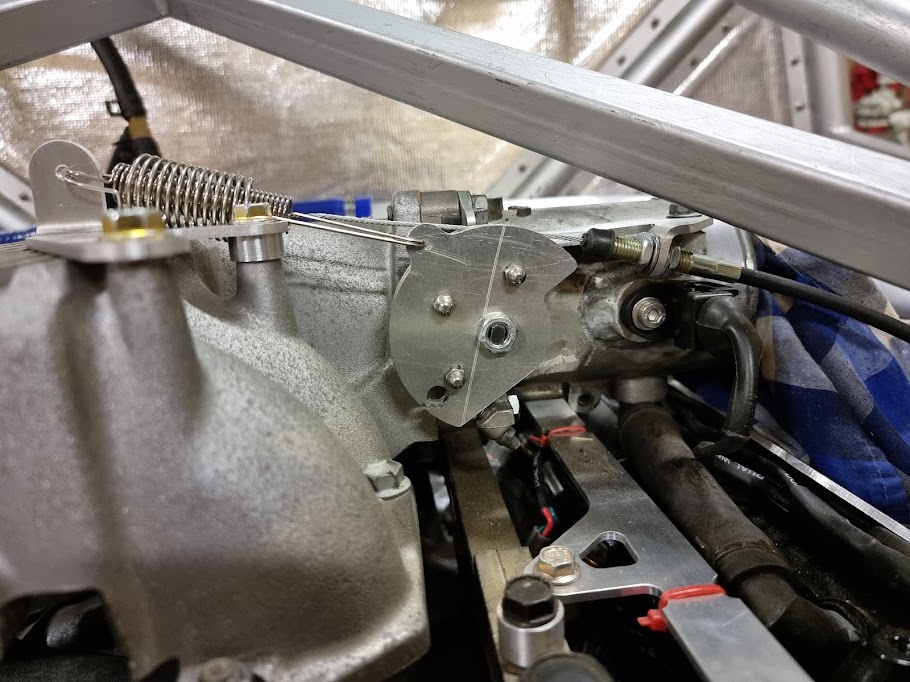
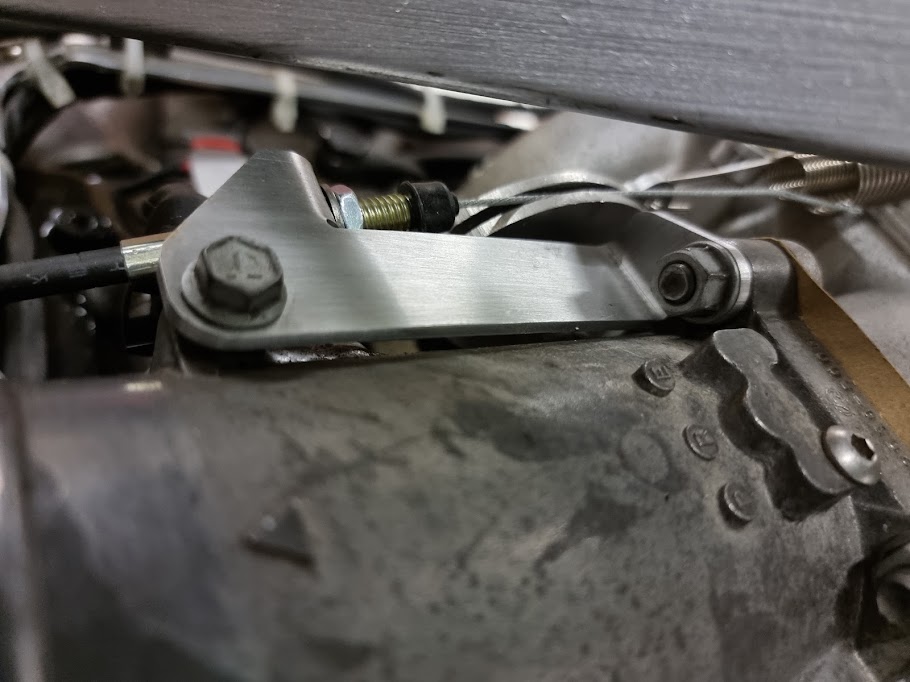
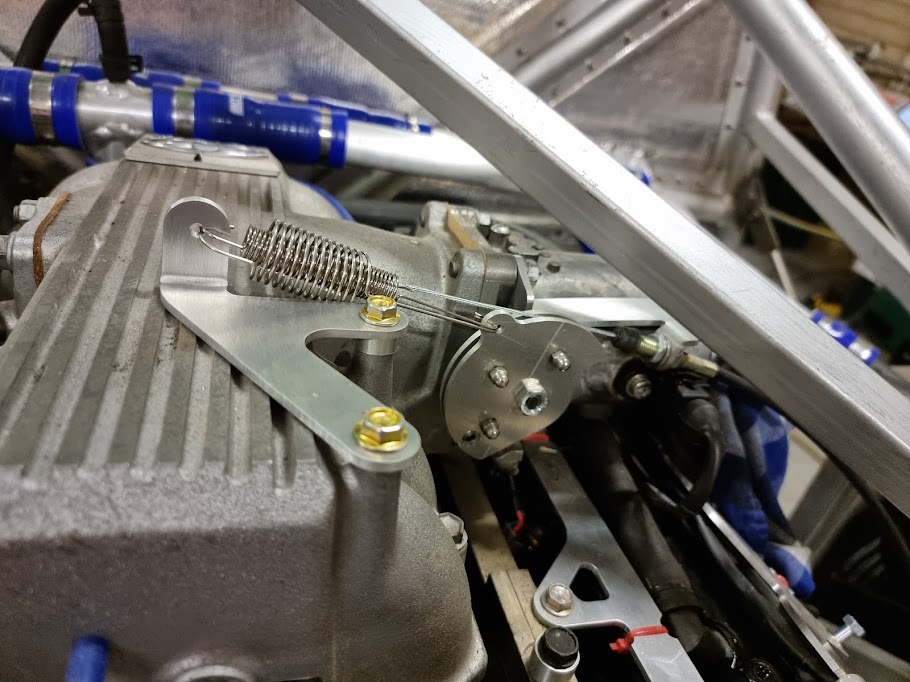
The springs do the job of making it snap shut nicely, keeping it tight against the engine to give clearance against the engine bay cross brace was the main thing. The rotary part is three 3mm thick bits screwed together.
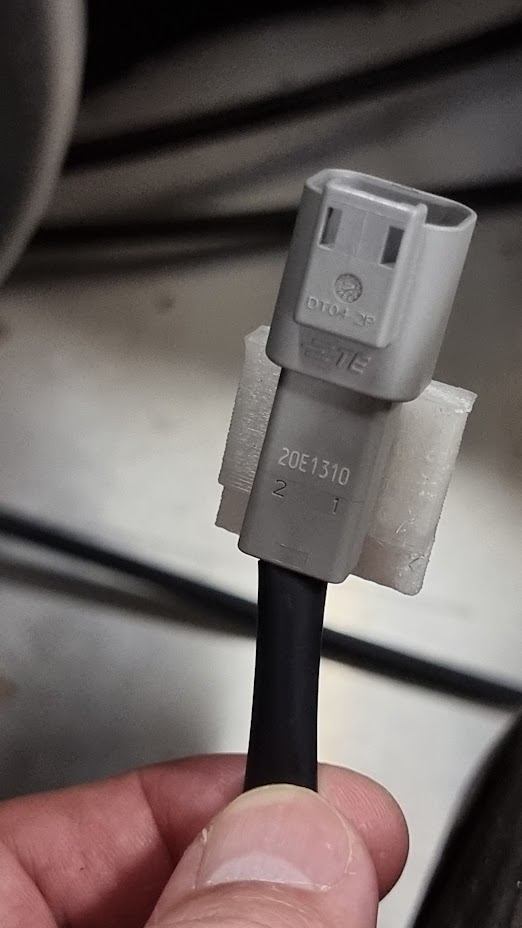
Carrying on from the previous post, the radiator fans needed wiring in. Deutsch connectors were used and 3D printed clips with double sided sticky tape kept the wires under control. Firing up the fans for the first time they promptly blew the installed 15A fuses, the fans are rated at 13A but I guess that the starting current is more than that. Bumping the fuses up to 20A fixed the issue. Then I had a few minutes of Homer Simpson with the laptop testing it, fan goes on, fan goes off, fan goes on and so on, I’m easily amused.
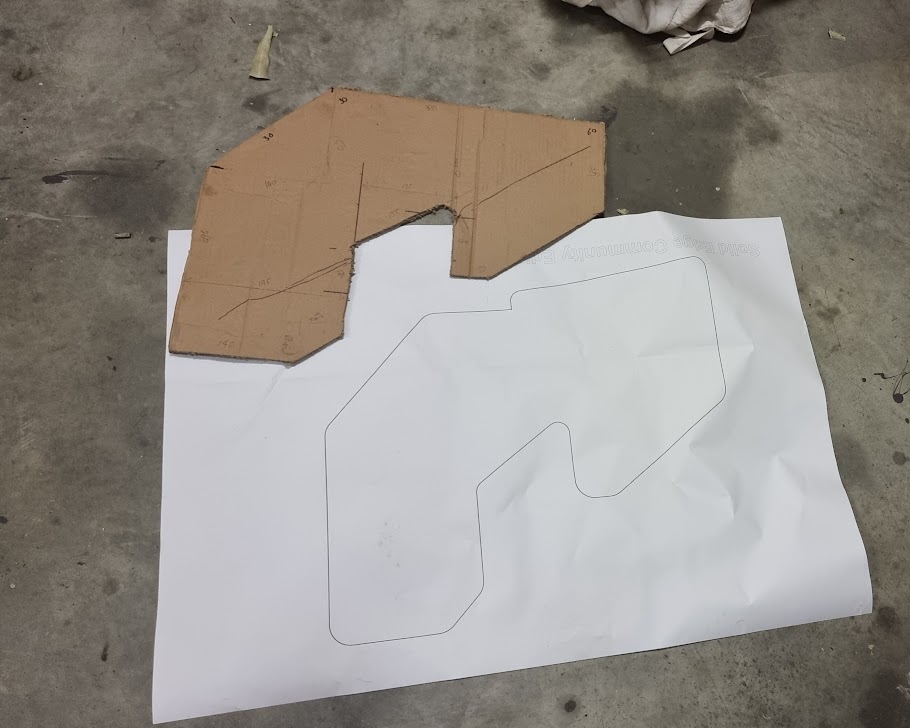
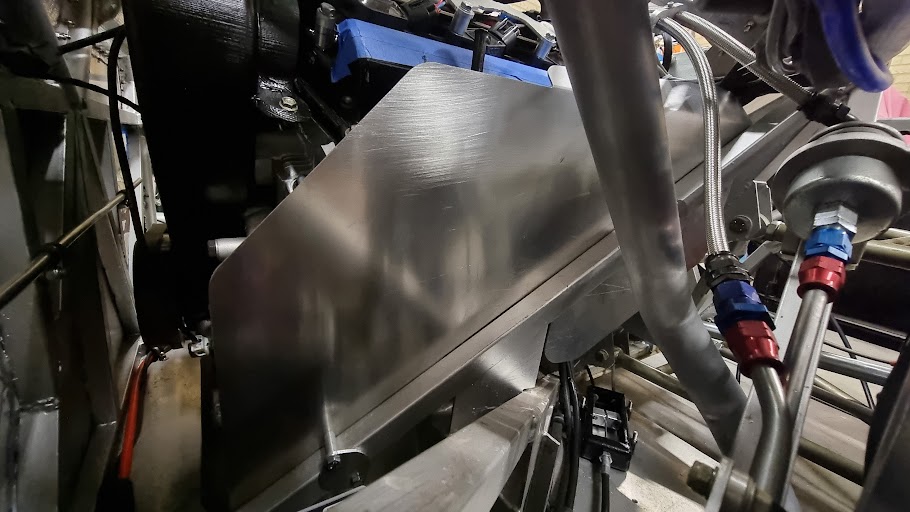
Another part of the engine layout out is the fuel system and a lot of electrics are on the left hand side of the car. To try and protect them from exhaust heat and guard the exhaust manifold from escaped fuel etc. I made a sheet to fit between the engine and this area.
A card board template was made first, this was then transferred to CAD and the part was cut on the MPCNC.
Next the, the steel air inlet tube was proving too problematic, joining to the air filter and supporting it from the chassis just wasn’t working. So I am going to remake it in fibreglass, this is the 3D printed mold for the new part.
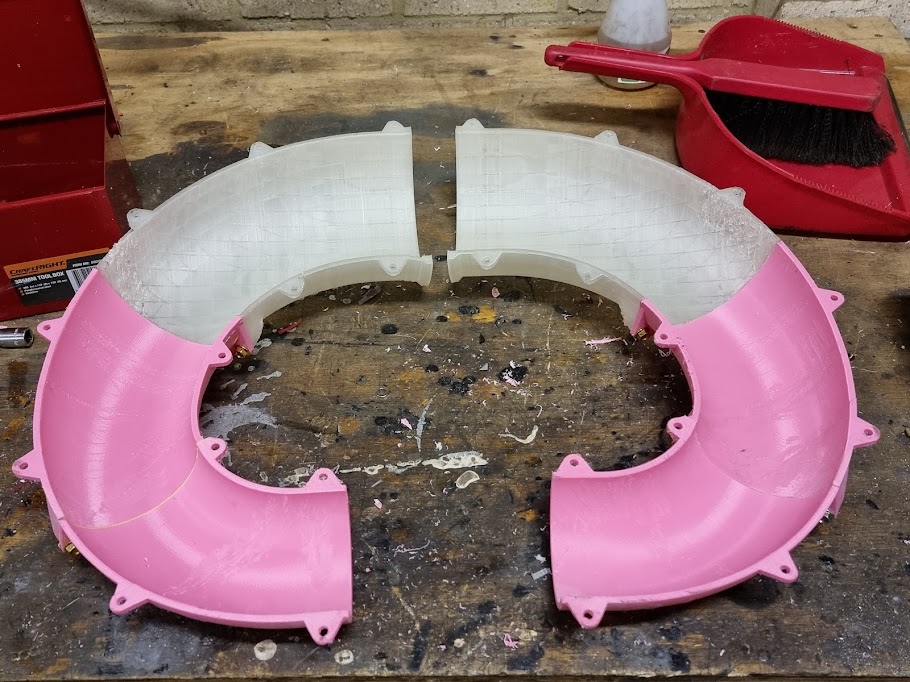
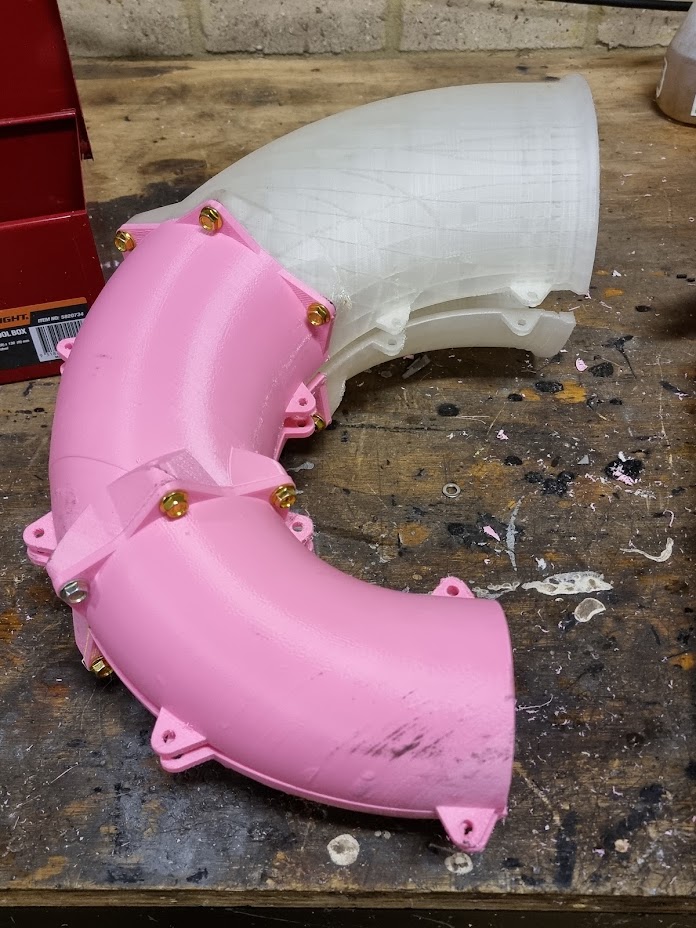
This needs some more work to finish off.
Separately I’d decided to do more work on the body design, this is the current revision. Mostly the front and doors have been changed. I think that this is an improvement so far.

Whilst fiddling with the ECU and attempting to set up the tick over on the engine. I was not happy that the stock fuel pressure regulator was working correctly or more importantly was supplying the correct pressure for the injectors I am using. With no method to measure or adjust the fuel pressure the answer was a adjustable fuel pressure regulator and pressure sensor. This is it with the bracket made to clamp it to a chassis rail. Next to install it. The extra bit on the side of the bracket is to cable tie wiring too that passing this point, trying to get more that one use out of each part going on to the car.
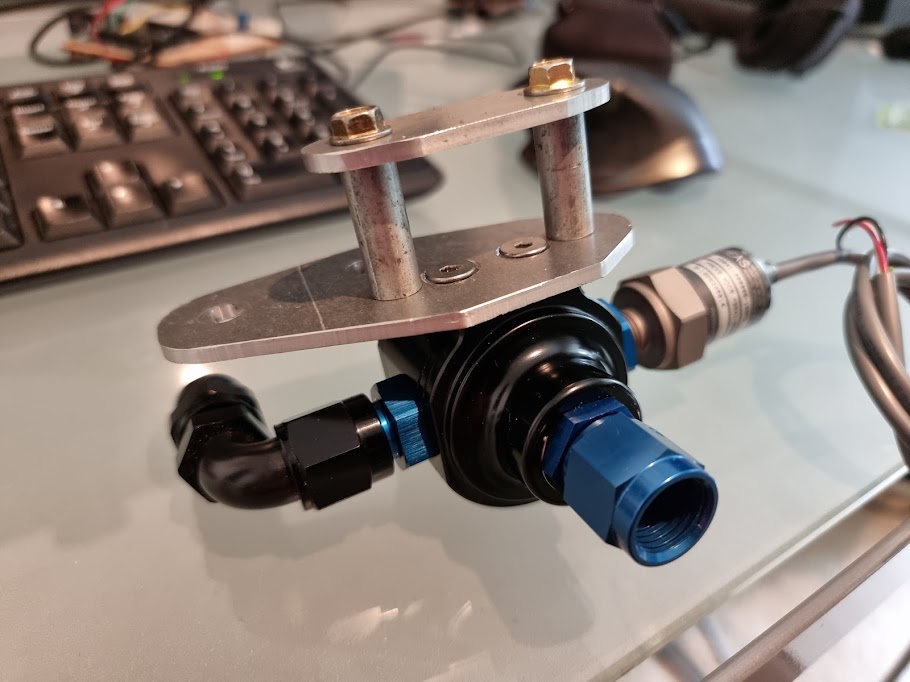
The location of the regulator will be above near the fuel filter so hopefully if it fails its protected from spraying fuel over the engine.